This is an automated email from the ASF dual-hosted git repository.

zky pushed a commit to branch main
in repository https://gitbox.apache.org/repos/asf/incubator-devlake-website.git
The following commit(s) were added to refs/heads/main by this push:
new 66fa671d87 docs: polish Bitbucket docs to v1.0 (#739)
66fa671d87 is described below
commit 66fa671d87f1048c7d15636898c28d743955f1ec
Author: abeizn <[email protected]>
AuthorDate: Sat Mar 16 22:36:28 2024 +0800
docs: polish Bitbucket docs to v1.0 (#739)
---
.../version-v1.0/Configuration/BitBucket.md | 117 ++++++++++++---------
.../version-v1.0/Configuration/BitBucketServer.md | 101 +++++++++++++-----
2 files changed, 146 insertions(+), 72 deletions(-)
diff --git a/versioned_docs/version-v1.0/Configuration/BitBucket.md
b/versioned_docs/version-v1.0/Configuration/BitBucket.md
index cf69391ddb..556e1a7e36 100644
--- a/versioned_docs/version-v1.0/Configuration/BitBucket.md
+++ b/versioned_docs/version-v1.0/Configuration/BitBucket.md
@@ -1,30 +1,30 @@
---
-title: "BitBucket Cloud"
+title: "Bitbucket Cloud"
sidebar_position: 7
-description: Config UI instruction for BitBucket(Cloud)
+description: Config UI instruction for Bitbucket(Cloud)
---
-Visit Config UI at : `http://localhost:4000` and go to `Connections` page.
+Visit Config UI at `http://localhost:4000` and go to the `Connections` page.
## Step 1 - Add Data Connections

-### Connection Name
+### Step 1.1 - Authentication
-Give your connection a unique name to help you identify it in the future.
+#### Connection Name
-### Endpoint URL
+Give your connection a unique name to help you identify it in the future.
-For BitBucket Cloud, you do not need to enter the REST API endpoint URL, which
is always `https://api.bitbucket.org/2.0/`.
+#### Endpoint URL
-DevLake will support BitBucket Server in the future.
+For Bitbucket Cloud, you do not need to enter the REST API endpoint URL, which
is always `https://api.bitbucket.org/2.0/`.
-### Username and App Password
+#### Username and App Password
-Learn about [how to create a BitBucket app
password](https://support.atlassian.com/bitbucket-cloud/docs/create-an-app-password/).
+Learn about [how to create a Bitbucket app
password](https://support.atlassian.com/bitbucket-cloud/docs/create-an-app-password/).
-The following permissions are required to collect data from BitBucket
repositories:
+The following permissions are required to collect data from Bitbucket
repositories:
- Account:Read
- Workspace membership:Read
@@ -38,52 +38,52 @@ The following permissions are required to collect data from
BitBucket repositori

-### Proxy URL (Optional)
+#### Proxy URL (Optional)
If you are behind a corporate firewall or VPN you may need to utilize a proxy
server. Enter a valid proxy server address on your network, e.g.
`http://your-proxy-server.com:1080`
-### Fixed Rate Limit (Optional)
+#### Fixed Rate Limit (Optional)
-DevLake uses a dynamic rate limit to collect BitBucket data. You can adjust
the rate limit if you want to increase or lower the speed.
+DevLake uses a dynamic rate limit to collect Bitbucket data. You can adjust
the rate limit if you want to increase or lower the speed.
-The maximum rate limit for different entities in BitBucket(Cloud) [varies from
1,000 - 60,000
requests/hour](https://support.atlassian.com/bitbucket-cloud/docs/api-request-limits/).
The rate limit to access repository data is 1,000 requests/hour, but we find
it can still run when we input a value that exceeds 1,000. You can try using a
larger rate limit if you have large repositories.
+The maximum rate limit for different entities in Bitbucket(Cloud) [varies from
1,000 - 60,000
requests/hour](https://support.atlassian.com/bitbucket-cloud/docs/api-request-limits/).
The rate limit to access repository data is 1,000 requests/hour, but we find
it can still run when we input a value that exceeds 1,000. You can try using a
larger rate limit if you have large repositories.
<!--
-->
-### Test and Save Connection
+#### Test and Save Connection
Click `Test Connection`, if the connection is successful, click `Save
Connection` to add the connection.
-## Step 2 - Configure Blueprint
-
-
-
-### Repositories
+### Step 1.2 - Add Data Scopes
-Select the BitBucket repositories to collect.
+Choose the Bitbucket repositories you wish to collect either by finding them
in the miller column, or searching. You can only add public repositories
through the search box.
-### Data Entities
+
-Usually, you don't have to modify this part. However, if you don't want to
collect certain BitBucket entities, you can unselect some entities to
accelerate the collection speed.
+### Step 1.3 - Add Scope Config (Optional)
+#### Entities
+The entities of which domain you wish to collect: Usually, you don't have to
modify this part. However, if you don't want to collect certain Bitbucket
entities, you can unselect some entities to accelerate the collection speed.
+ - Issue Tracking: Bitbucket issues, issue comments, etc.
+ - Source Code Management: Bitbucket repos, refs, commits, etc.
+ - Code Review: Bitbucket PRs, PR comments, etc.
+ - CI/CD: Bitbucket Pipelines, Bitbucket Deployments, etc.
+ - Cross Domain: Bitbucket users, etc.
-- Issue Tracking: BitBucket issues, issue comments, etc.
-- Source Code Management: BitBucket repos, refs, commits, etc.
-- Code Review: BitBucket PRs, PR comments, etc.
-- CI/CD: BitBucket Pipelines, BitBucket Deployments, etc.
-- Cross Domain: BitBucket accounts, etc.
+#### Transformations
+The transformations on the Bitbucket data you are going to collect.
+ - The details of the transformations will be explained below.
+ - Without adding transformation rules, you can still view the 'Bitbucket'
dashboard. However, if you want to view more pre-built dashboards, finish the
transformations required.
+ - Each Bitbucket repo has at most ONE set of transformations.
-## Step 3 - Adding Transformation Rules (Optional)
-You can add a `transformation` to standardize the data. A `transformation`
acts on the BitBucket data in the [tool
layer](/docs/DataModels/ToolLayerSchema.md), transforming it to the [domain
layer](/docs/DataModels/DevLakeDomainLayerSchema.md).
-### Issue Tracking
+###### Issue Tracking > Issue Status Mapping
-**Issue Status Mapping**<br/>

-The given settings transformed the BitBucket issue statuses to the issue
statuses used by DevLake, enabling you to measure metrics like the Issue
Delivery Rate on the pre-built dashboards, as DevLake understands your
definition of when an issue is considered as completed (status = 'DONE').
+The given settings transformed the Bitbucket issue statuses to the issue
statuses used by DevLake, enabling you to measure metrics like the Issue
Delivery Rate on the pre-built dashboards, as DevLake understands your
definition of when an issue is considered as completed (status = 'DONE').
- TODO: The issues that are planned but have not been worked on yet
- IN-PROGRESS: The issues that are work-in-progress
@@ -92,13 +92,14 @@ The given settings transformed the BitBucket issue statuses
to the issue statuse
The original status will be saved in the column `original_status` of the table
'issues', and the new status will be saved in the column `status` of the same
table.
-**Issue Type Mapping**<br/>
-DevLake will convert the issue types of 'enhancement', 'proposal', and 'task'
from BitBucket into the new issue type 'REQUIREMENT' for DevLake. In contrast,
any issues classified as 'bug' in BitBucket will be converted into the new
issue type 'BUG' for DevLake. The original type will be saved in the column
`original_type` of the table 'issues', and the new type will be saved in the
column `type` of the same table.
+###### Issue Tracking > Issue Type Mapping
-### CI/CD
-The CI/CD configuration for BitBucket is used for calculating [DORA
metrics](../DORA.md).
+DevLake will convert the issue types of 'enhancement', 'proposal', and 'task'
from Bitbucket into the new issue type 'REQUIREMENT' for DevLake. In contrast,
any issues classified as 'bug' in Bitbucket will be converted into the new
issue type 'BUG' for DevLake. The original type will be saved in the column
`original_type` of the table 'issues', and the new type will be saved in the
column `type` of the same table.
-By default, DevLake will identify the deployment and environment settings that
are defined in the BitBucket CI .yml file.
+###### CI/CD
+The CI/CD configuration for Bitbucket is used for calculating [DORA
metrics](../DORA.md).
+
+By default, DevLake will identify the deployment and environment settings that
are defined in the Bitbucket CI .yml file.

@@ -107,26 +108,26 @@ However, to ensure this works properly, you must specify
the deployment settings
The pipeline steps with the `deployment` key will be recognized as DevLake
deployments. The value of the `deployment` key will be recognized as the
environment of DevLake deployments.
-All BitBucket pipeline steps will be saved in table 'cicd_tasks', but DevLake
deployments will be set as `type` = 'deployment' and `environment` =
'{BitBucket-pipeline-step.deployment.value}'.
+All Bitbucket pipeline steps will be saved in table 'cicd_tasks', but DevLake
deployments will be set as `type` = 'deployment' and `environment` =
'{Bitbucket-pipeline-step.deployment.value}'.
-If you have not defined these settings in the .yml file, please select 'Detect
Deployments from Pipeline steps in BitBucket', and input the RegEx in the
following fields:
+If you have not defined these settings in the .yml file, please select 'Detect
Deployments from Pipeline steps in Bitbucket', and input the RegEx in the
following fields:

- Deployment: A pipeline step with a name that matches the given RegEx will be
recognized as a DevLake deployment.
- Production: A pipeline step with a name that matches the given RegEx will be
recognized as a DevLake cicd_task in the production environment.
-**Introduction to BitBucket CI entities**<br/>
-BitBucket has several key CI entities: `pipelines`, `pipeline steps`, and
`deployments`. A Bitbucket pipeline contains several pipeline steps. Each
pipeline step defined with a deployment key can be mapped to a BitBucket
deployment.
+###### Introduction to Bitbucket CI entities
+Bitbucket has several key CI entities: `pipelines`, `pipeline steps`, and
`deployments`. A Bitbucket pipeline contains several pipeline steps. Each
pipeline step defined with a deployment key can be mapped to a Bitbucket
deployment.
Each Bitbucket pipeline is converted to a cicd_pipeline in DevLake's domain
layer schema and each Bitbucket pipeline step is converted to a cicd_task in
DevLake's domain layer.

-If a pipeline step defines `deployment` with a value (usually indicating the
environment), this pipeline step is also a BitBucket deployment.
+If a pipeline step defines `deployment` with a value (usually indicating the
environment), this pipeline step is also a Bitbucket deployment.

-### Additional Settings (Optional)
+###### Additional Settings (Optional)
- Tags Limit: DevLake compares the last N pairs of tags to get the "commit
diff', "issue diff" between tags. N defaults to 10.
@@ -139,9 +140,31 @@ If a pipeline step defines `deployment` with a value
(usually indicating the env
Please click `Save` to save the transformation rules for the repo. In the data
scope list, click `Next Step` to continue configuring.
-## Step 4 - Setting Sync Policy
-You can choose how often you would like to sync your data in this step by
selecting a sync frequency option or entering a cron code to specify your
prefered schedule.
+
+## Step 2 - Collect Data in a Project
+### Step 2.1 - Create a Project
+Collecting Bitbucket data requires creating a project first. You can visit the
Project page from the side menu and create a new project by following the
instructions on the user interface.
+
+
+
+### Step 2.2 - Add a Bitbucket Connection
+You can add a previously configured Bitbucket connection to the project and
select the boards for which you wish to collect the data for.
+Please note: if you don't see the repositories you are looking for, please
check if you have added them to the connection first.
+
+
+
+### Step 2.3 - Set the Sync Policy
+There are three settings for Sync Policy:
+- Data Time Range: You can select the time range of the data you wish to
collect. The default is set to the past six months.
+- Sync Frequency: You can choose how often you would like to sync your data in
this step by selecting a sync frequency option or enter a cron code to specify
your preferred schedule.
+- Skip Failed Tasks: sometime a few tasks may fail in a long pipeline; you can
choose to skip them to avoid spending more time in running the pipeline all
over again.
+
+
+
+### Step 2.4 - Start Data Collection
+Click on "Collect Data" to start collecting data for the whole project. You
can check the status in the Status tab on the same page.
+
## Troubleshooting
diff --git a/versioned_docs/version-v1.0/Configuration/BitBucketServer.md
b/versioned_docs/version-v1.0/Configuration/BitBucketServer.md
index 018c53f933..3baaf9972a 100644
--- a/versioned_docs/version-v1.0/Configuration/BitBucketServer.md
+++ b/versioned_docs/version-v1.0/Configuration/BitBucketServer.md
@@ -1,71 +1,122 @@
---
-title: "BitBucket Data Center"
+title: "Bitbucket Server/Data Center"
sidebar_position: 7
-description: Config UI instruction for BitBucket(Data Center)
+description: Config UI instruction for Bitbucket Server/Data Center
---
-Visit Config UI at : `http://localhost:4000` and go to `Connections` page.
+Visit Config UI at `http://localhost:4000` and go to the `Connections` page.
## Step 1 - Add Data Connections

-### Connection Name
+### Step 1.1 - Authentication
-Give your connection a unique name to help you identify it in the future.
+#### Connection Name
-### Endpoint URL
+Give your connection a unique name to help you identify it in the future.
-For BitBucket Data Center/Server, you do need to enter the REST API endpoint
URL, which generally is `https://<bitbucket-server>/`.
+#### Endpoint URL
-DevLake will support BitBucket Server in the future.
+For Bitbucket Server/Data Center, you do need to enter the REST API endpoint
URL, which generally is `https://<bitbucket-server>/`.
-### Username and App Password
+#### Username and App Password
-The following permissions are required to collect data from BitBucket
repositories:
+The following permissions are required to collect data from Bitbucket
repositories:
- Repository read

-### Proxy URL (Optional)
+#### Proxy URL (Optional)
If you are behind a corporate firewall or VPN you may need to utilize a proxy
server. Enter a valid proxy server address on your network, e.g.
`http://your-proxy-server.com:1080`
-### Fixed Rate Limit (Optional)
+#### Fixed Rate Limit (Optional)
-DevLake uses a dynamic rate limit to collect BitBucket data. You can adjust
the rate limit if you want to increase or lower the speed.
+DevLake uses a dynamic rate limit to collect Bitbucket Server/Data Center
data. You can adjust the rate limit if you want to increase or lower the speed.
-The maximum rate limit for different entities in BitBucket(Cloud) [varies from
1,000 - 60,000
requests/hour](https://support.atlassian.com/bitbucket-cloud/docs/api-request-limits/).
The rate limit to access repository data is 1,000 requests/hour, but we find
it can still run when we input a value that exceeds 1,000. You can try using a
larger rate limit if you have large repositories.
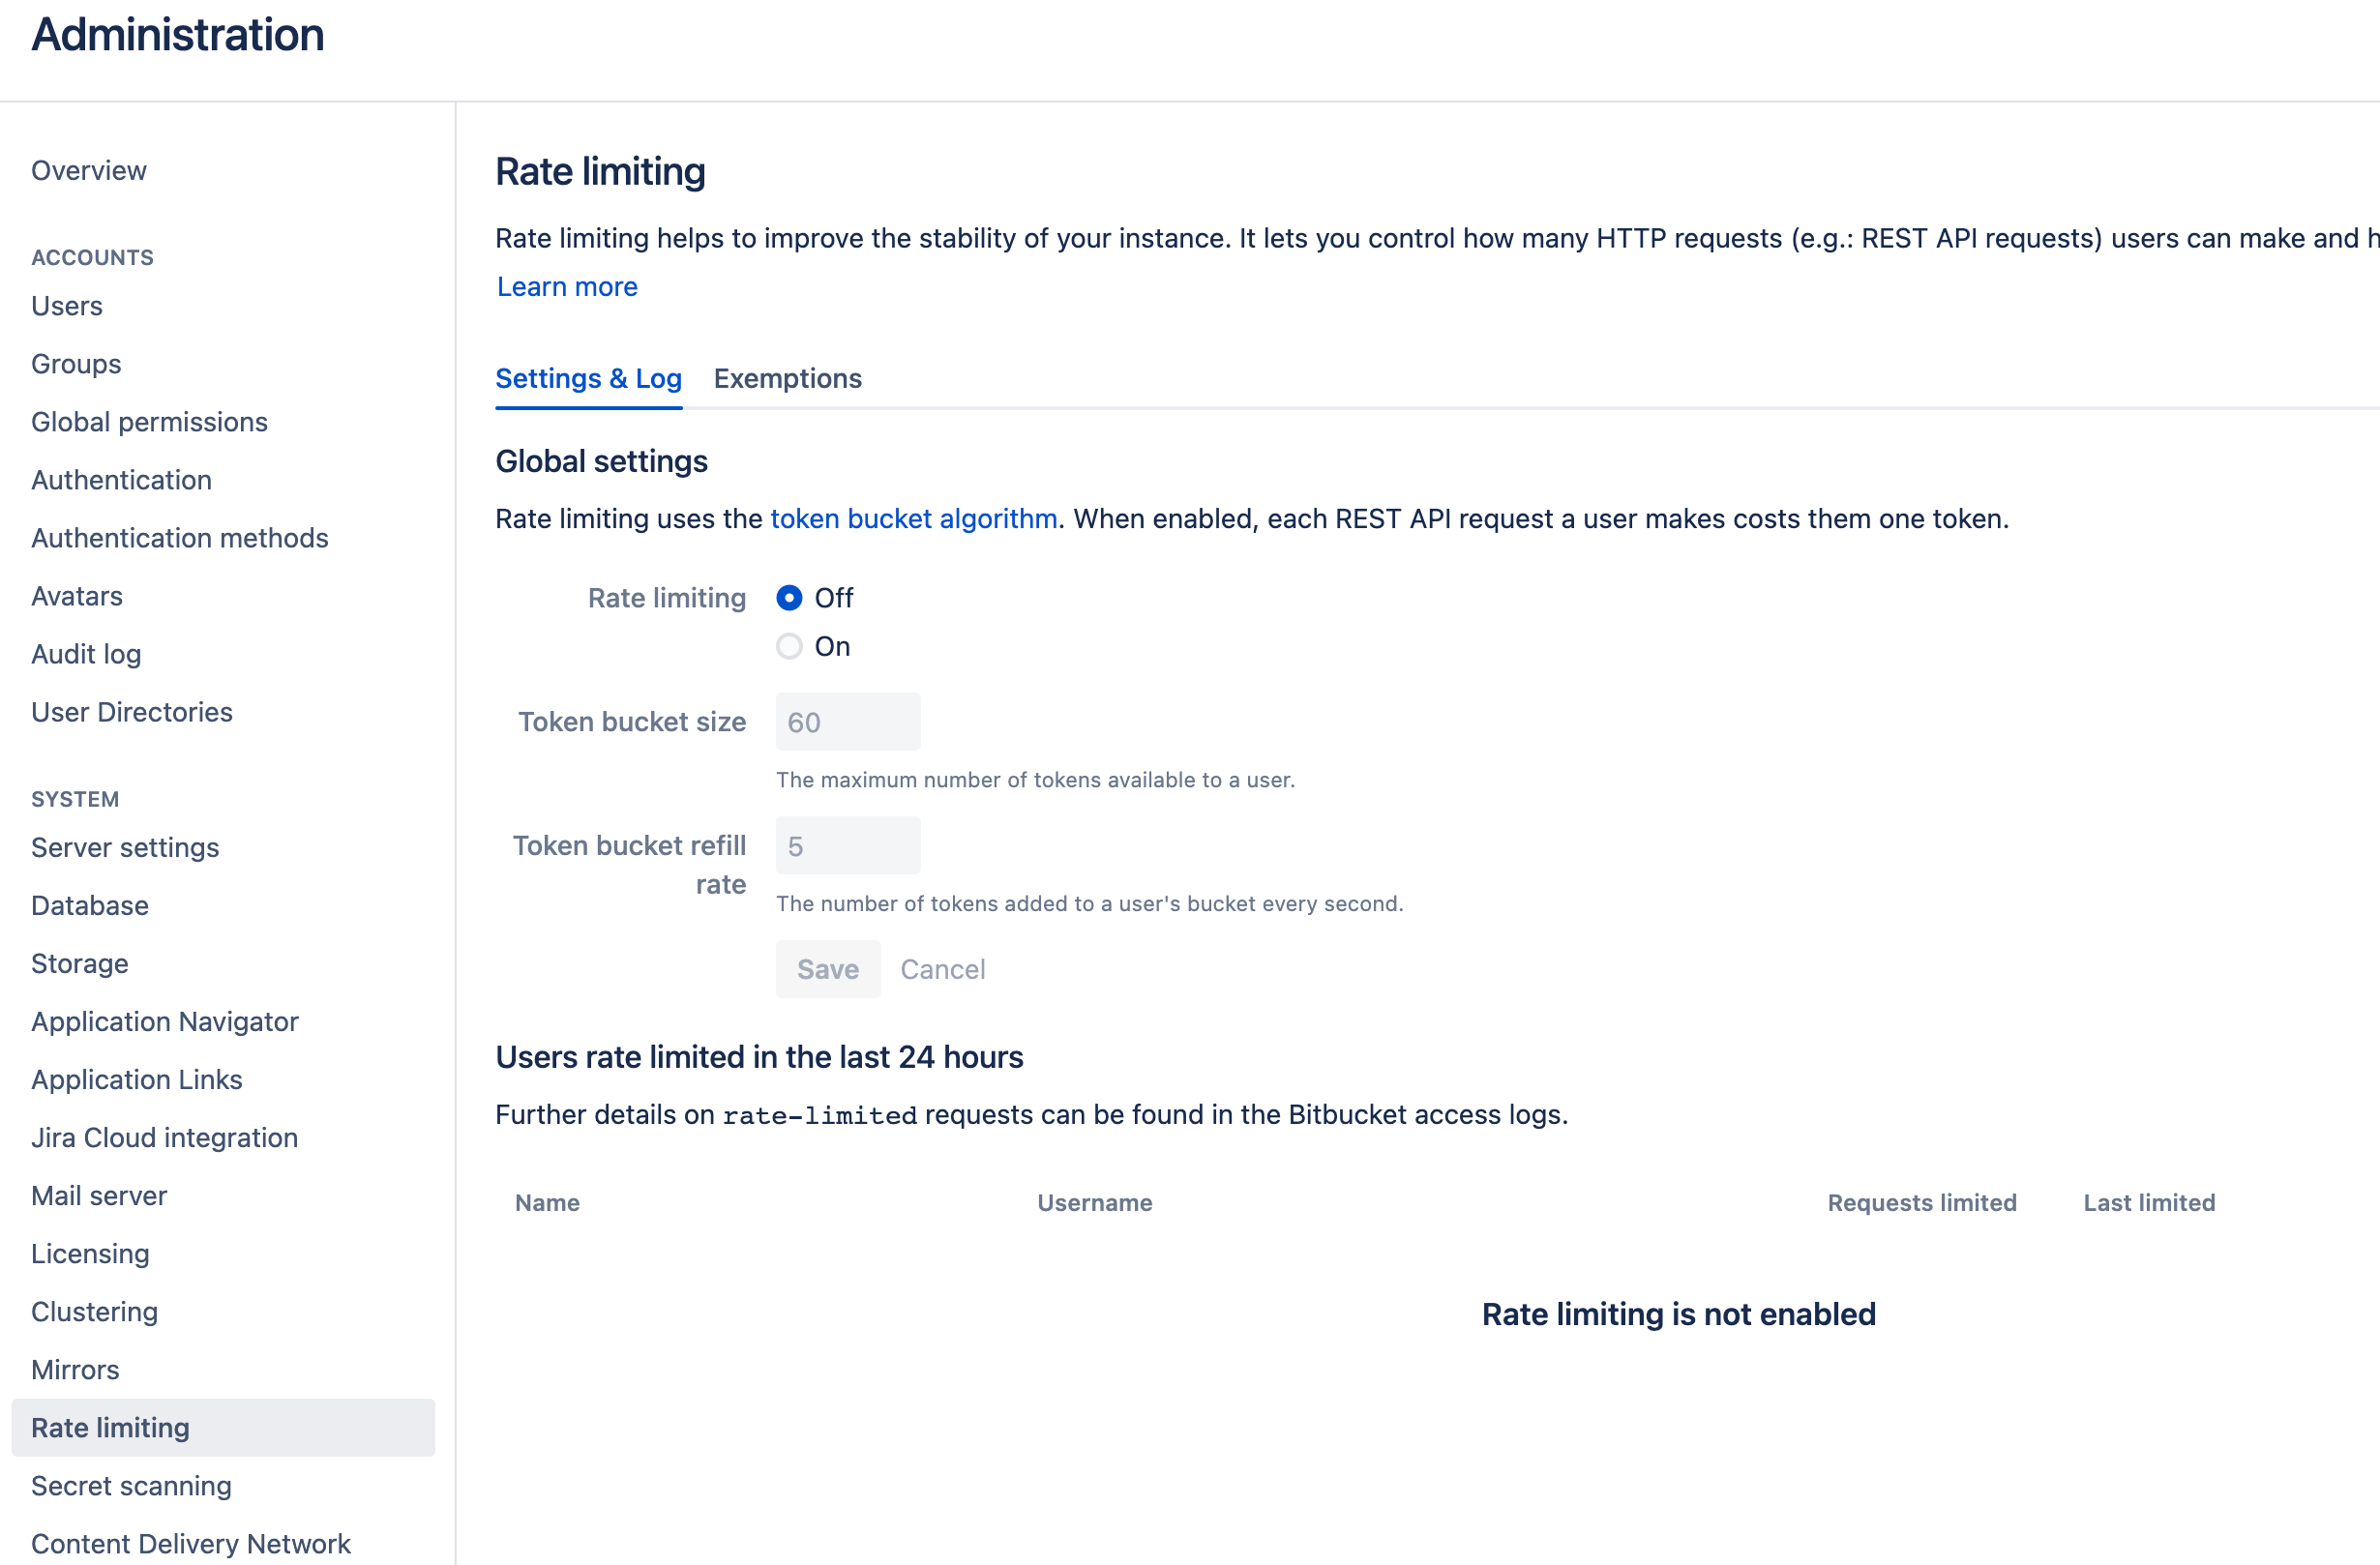
+Bitbucket admins could set up the rate limit in the Bitbucket instance
referring to [this
doc](https://confluence.atlassian.com/bitbucketserver/improving-instance-stability-with-rate-limiting-976171954.html).
<!--

-->
-### Test and Save Connection
+#### Test and Save Connection
Click `Test Connection`, if the connection is successful, click `Save
Connection` to add the connection.
-## Step 2 - Configure Blueprint
+### Step 1.2 - Add Data Scopes
+
+Choose the Bitbucket repositories you wish to collect either by finding them
in the miller column, or searching. You can only add public repositories
through the search box.

-### Repositories
+### Step 1.3 - Add Scope Config (Optional)
+#### Entities
+The entities of which domain you wish to collect: Usually, you don't have to
modify this part. However, if you don't want to collect certain Bitbucket
Server/Data Center entities, you can unselect some entities to accelerate the
collection speed.
+ - Source Code Management: Bitbucket repos, refs, commits, etc.
+ - Code Review: Bitbucket PRs, PR comments, etc.
+ - Cross Domain: Bitbucket users, etc.
+
+Please noted that compared to Bitbucket Cloud, Bitbucket Server/Data Center
DOES NOT collect issues or CI/CD data.
+
+#### Transformations
+The transformations on the Bitbucket Server data you are going to collect.
+ - The details of the transformations will be explained below.
+ - Without adding transformation rules, you can still view the 'Bitbucket'
dashboard. However, if you want to view more pre-built dashboards, finish the
transformations required.
+ - Each Bitbucket repo has at most ONE set of transformations.
+
+
+###### Code Review
+
+- Type: The `type` of pull requests will be parsed from PR labels by given
regular expression. For example:
+
+ - when your labels for PR types are like 'type/feature-development',
'type/bug-fixing' and 'type/docs', please input 'type/(.\*)$'
+ - when your labels for PR types are like 'feature-development', 'bug-fixing'
and 'docs', please input '(feature-development|bug-fixing|docs)$'
+
+- Component: The `component` of pull requests will be parsed from PR labels by
given regular expression.
+
+
+###### Additional Settings (Optional)
+
+- Tags Limit: DevLake compares the last N pairs of tags to get the "commit
diff', "issue diff" between tags. N defaults to 10.
+
+ - commit diff: new commits for a tag relative to the previous one
+ - issue diff: issues solved by the new commits for a tag relative to the
previous one
+
+- Tags Pattern: Only tags that meet the given Regular Expression will be
counted.
+
+- Tags Order: Only "reverse semver" order is supported for now.
+
+Please click `Save` to save the transformation rules for the repo. In the data
scope list, click `Next Step` to continue configuring.
+
+
+## Step 2 - Collect Data in a Project
+### Step 2.1 - Create a Project
+Collecting Bitbucket data requires creating a project first. You can visit the
Project page from the side menu and create a new project by following the
instructions on the user interface.
+
+
-Select the BitBucket repositories to collect.
+### Step 2.2 - Add a Bitbucket Server Connection
+You can add a previously configured Bitbucket Server connection to the project
and select the boards for which you wish to collect the data for.
+Please note: if you don't see the repositories you are looking for, please
check if you have added them to the connection first.
-### Data Entities
+
-Usually, you don't have to modify this part. However, if you don't want to
collect certain BitBucket entities, you can unselect some entities to
accelerate the collection speed.
+### Step 2.3 - Set the Sync Policy
+There are three settings for Sync Policy:
+- Data Time Range: You can select the time range of the data you wish to
collect. The default is set to the past six months.
+- Sync Frequency: You can choose how often you would like to sync your data in
this step by selecting a sync frequency option or enter a cron code to specify
your preferred schedule.
+- Skip Failed Tasks: sometime a few tasks may fail in a long pipeline; you can
choose to skip them to avoid spending more time in running the pipeline all
over again.
-- Source Code Management: BitBucket repos, commits, etc.
-- Code Review: BitBucket PRs, PR comments, etc.
+
-## Step 3 - Setting Sync Policy
+### Step 2.4 - Start Data Collection
+Click on "Collect Data" to start collecting data for the whole project. You
can check the status in the Status tab on the same page.
-You can choose how often you would like to sync your data in this step by
selecting a sync frequency option or entering a cron code to specify your
prefered schedule.
## Troubleshooting
-If you run into any problems, please check the
[Troubleshooting](/Troubleshooting/Configuration.md) or [create an
issue](https://github.com/apache/incubator-devlake/issues).
+If you run into any problems, please check the
[Troubleshooting](/Troubleshooting/Configuration.md) or [create an
issue](https://github.com/apache/incubator-devlake/issues).
\ No newline at end of file