This is an automated email from the ASF dual-hosted git repository.

chufenggao pushed a commit to branch dev
in repository https://gitbox.apache.org/repos/asf/dolphinscheduler.git
The following commit(s) were added to refs/heads/dev by this push:
new c1fd1cba1b [Document]: Add new quick start doc with more details and
gifs (#13607)
c1fd1cba1b is described below
commit c1fd1cba1ba64dc3b8165d171d60d1f1bb39319e
Author: Jay Chung <[email protected]>
AuthorDate: Tue Feb 28 11:20:28 2023 +0800
[Document]: Add new quick start doc with more details and gifs (#13607)
* doc: new quick start doc with more detail and gif
copy paste from
https://github.com/bitsondatadev/trino-getting-started/pull/22
and the chinese translate by Google Translate
---------
Co-authored-by: Eric Gao <[email protected]>
---
docs/docs/en/guide/start/quick-start.md | 115 +++++++++++++++------
docs/docs/zh/guide/start/quick-start.md | 90 ++++++++++------
.../new_ui/dev/quick-start/create-alarmGroup.png | Bin 104181 -> 0 bytes
.../dev/quick-start/create-alarmInstance.png | Bin 123293 -> 0 bytes
.../new_ui/dev/quick-start/create-environment.png | Bin 97865 -> 0 bytes
docs/img/new_ui/dev/quick-start/create-queue.png | Bin 83582 -> 0 bytes
docs/img/new_ui/dev/quick-start/create-tenant.png | Bin 140937 -> 0 bytes
docs/img/new_ui/dev/quick-start/create-token.png | Bin 104637 -> 0 bytes
docs/img/new_ui/dev/quick-start/create-user.png | Bin 141908 -> 0 bytes
.../new_ui/dev/quick-start/create-workerGroup.png | Bin 90985 -> 0 bytes
docs/img/new_ui/dev/quick-start/log.png | Bin 288672 -> 0 bytes
docs/img/new_ui/dev/quick-start/project.png | Bin 167352 -> 0 bytes
.../new_ui/dev/quick-start/workflow-definition.png | Bin 146786 -> 0 bytes
docs/img/start/assign-tenant.gif | Bin 0 -> 926279 bytes
docs/img/start/create-project.gif | Bin 0 -> 387049 bytes
docs/img/start/create-task.gif | Bin 0 -> 1047022 bytes
docs/img/start/create-tenant.gif | Bin 0 -> 488988 bytes
docs/img/start/create-workflow.gif | Bin 0 -> 562245 bytes
docs/img/start/login.gif | Bin 0 -> 447851 bytes
docs/img/start/run-workflow.gif | Bin 0 -> 1208346 bytes
docs/img/start/set-dep.gif | Bin 0 -> 1033019 bytes
docs/img/start/view-log.gif | Bin 0 -> 4051371 bytes
docs/img_utils.py | 6 +-
23 files changed, 151 insertions(+), 60 deletions(-)
diff --git a/docs/docs/en/guide/start/quick-start.md
b/docs/docs/en/guide/start/quick-start.md
index 0549f12152..cab085440f 100644
--- a/docs/docs/en/guide/start/quick-start.md
+++ b/docs/docs/en/guide/start/quick-start.md
@@ -1,61 +1,118 @@
# Quick Start
-This is a Quick Start guide to help you get a basic idea of working with
Apache DolphinScheduler. Once you've gone through the tutorial video, we
encourage you to find out more about Apache DolphinScheduler functions and
examples in .
+In this section, we will use DolphinScheduler to create and run a simple
workflow step by step. During this journey,
+you will learn the basic concepts of DolphinScheduler and know the most basic
configuration to run the workflow. We
+provide both video and text in this tutorial, you can choose the way you prefer
+
+## Video Tutorial
<figure class="video_container">
<iframe src="https://www.youtube.com/embed/nrF20hpCkug"; frameborder="0"
allowfullscreen="true"></iframe>
</figure>
-## Administrator User Login
+## Text Tutorial
+
+### Setup Dolphinscheduler
+
+You have to install and start dolphinscheduler first before go ahead. For
beginners, we recommend setting up
+DolphinScheduler with the official Docker image or with the standalone server.
+
+* [standalone
server](https://dolphinscheduler.apache.org/en-us/docs/3.1.3/guide/installation/standalone)
+*
[docker](https://dolphinscheduler.apache.org/en-us/docs/3.1.3/guide/start/docker)
+
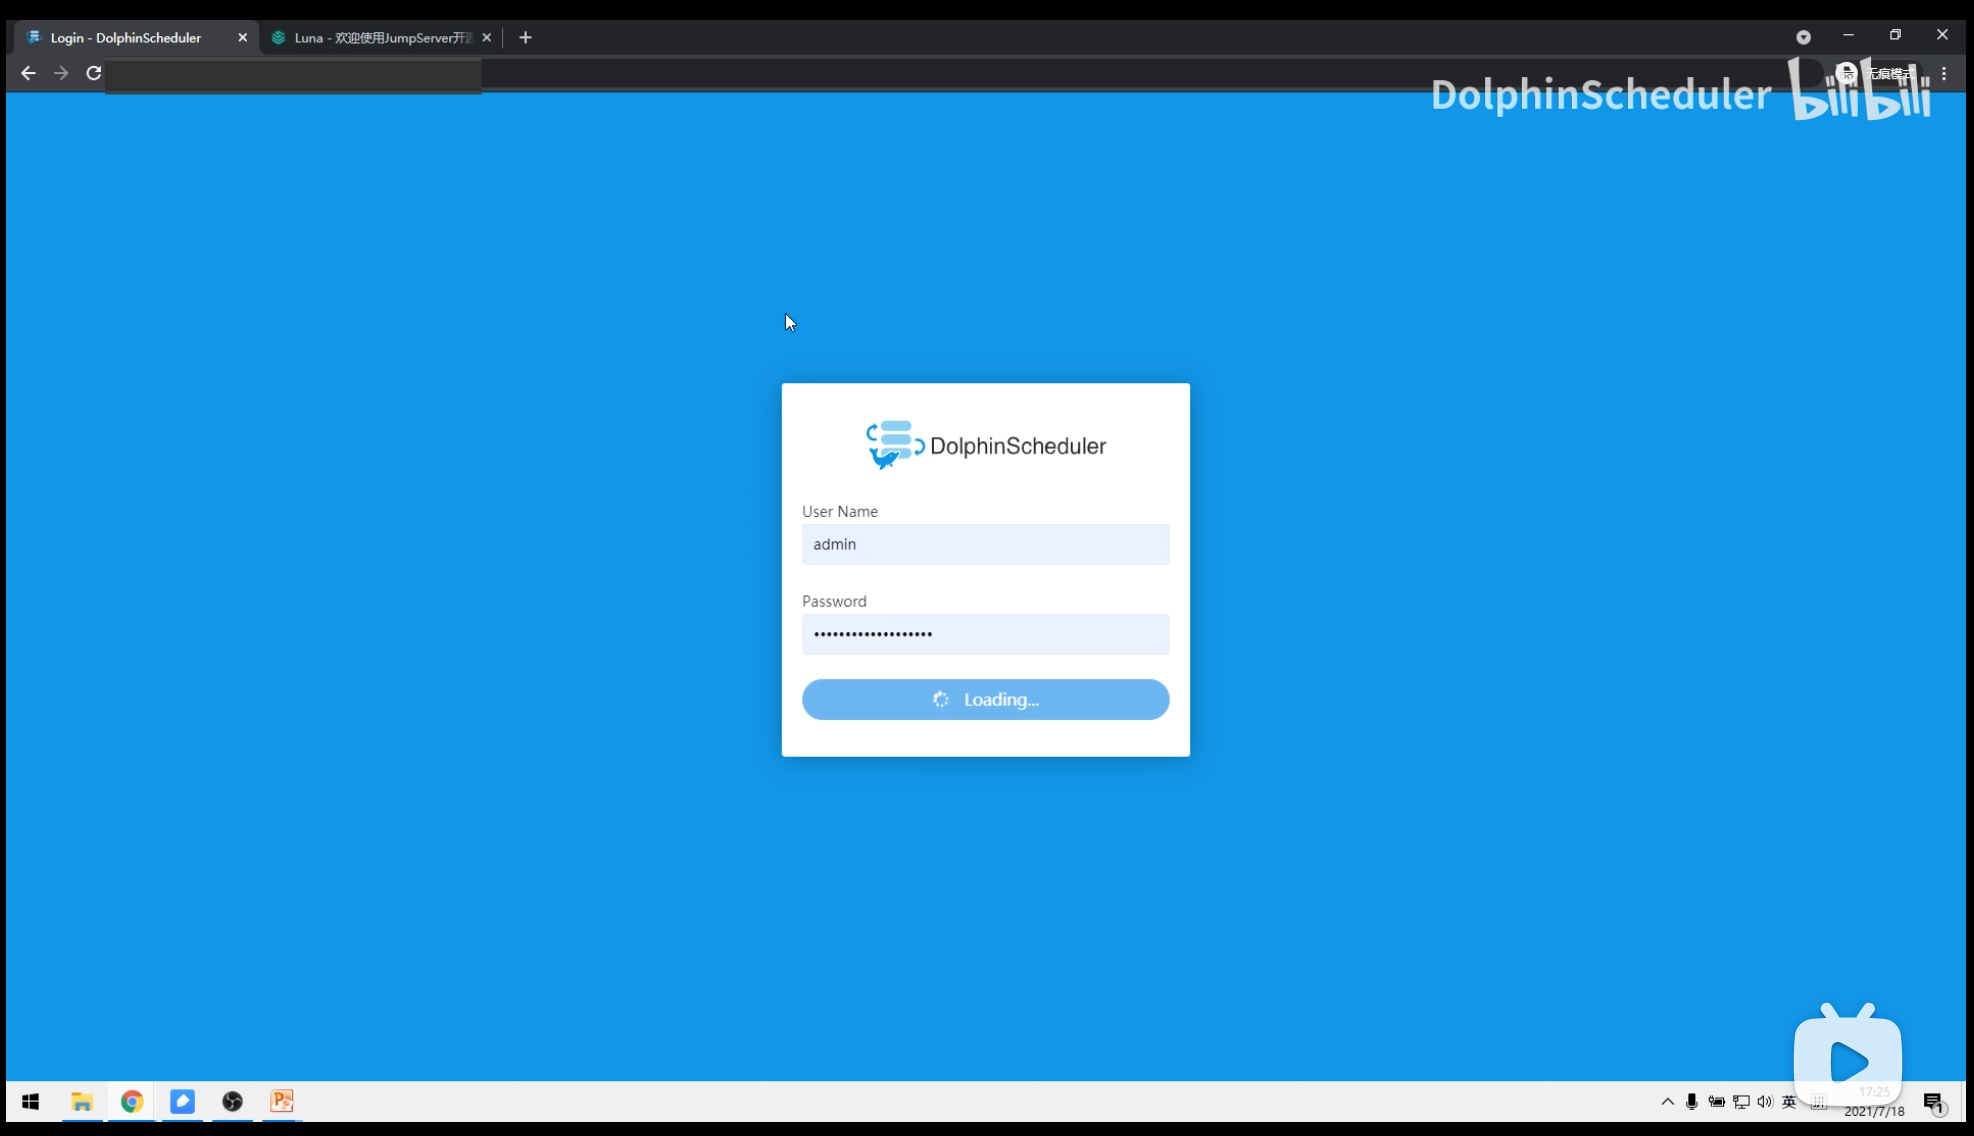
+### Build Your First Workflow
+
+You can log in DolphinScheduler through
http://localhost:12345/dolphinscheduler/ui and the default username/password
+is `admin/dolphinscheduler123`.
+
+
+
+#### Create Tenant
+
+Tenant is an important concept while using DolphinScheduler, so
+let's briefly introduce the concept of tenant first.
+
+DolphinScheduler maps the `admin` account you use to log into DolphinScheduler
to `user`.
+To better control system resources, DolphinScheduler introduces the concept of
+tenants, which are used to execute tasks.
+
+The brief is as follows:
+
+* User: login web UI, do all operations in the web UI, including workflow
management and tenant creation.
+* Tenant: the actual executor of the task, A Linux user for DolphinScheduler
worker.
+
+We can create a tenant in DolphinScheduler `Security -> Tenant Manage` page.
+
+
+
+#### Assign Tenant to User
-* Address: http://localhost:12345/dolphinscheduler
-* Username and password: admin/dolphinscheduler123
+As we have shown above in `Create Tenant` section, the`user` can not run tasks
until we assign it with a `tenant`.
-
+We can assign a tenant to a specific user in DolphinScheduler `Security ->
User Manage` page.
-## Create a queue
+
-
+After we create a tenant and assign it to a user, we can start creating a
+simple workflow in DolphinScheduler.
-## Create a tenant
+#### Create Project
-
+But in DolphinScheduler, all workflows must belong to a project, so we need
+to create a project first.
-## Create Ordinary Users
+We can create a project in DolphinScheduler `Project` page by clicking
+`Create Project` button.
-
+
-## Create an alarm instance
+#### Create Workflow
-
+Now we can create a workflow for the project `tutorial`. Click the project we
just created,
+go to `Workflow Definition` page, click `Create Workflow` button, and we will
redirect
+to the workflow detail page.
-## Create an alarm group
+
-
+#### Create Tasks
-## Create a worker group
+We can use the mouse to drag the task you want to create from the toolbar in
the workflow canvas.
+In this case, we create a `Shell` task. Entering the necessary information for
the task,
+we just fill the attribute `Node Name` with `Script` to the task for this
simple workflow.
+After that, we can click the `Save` button to save the task into the workflow.
We create another task
+using the same way.
-
+
-## Create environment
+#### Set Task Dependency
-
+So we have two different tasks with different names and commands to run in the
workflow. The
+only thing missing from the current workflow is task dependency. We can add
dependency using
+the mouse to drag the arrow from the upstream task to the downstream and then
release the mouse.
+And you can see the link with the arrow between the two tasks is created, from
the upstream
+task to the downstream one. Finally, we can click the `Save` button from the
top right corner
+to save the workflow, do not forget to enter the name of the workflow.
-## Create a token
+
-
+#### Run Workflow
-## Login with regular users
+After all done, we can run the workflow by clicking the `Online` and then the
`Run` button from
+the workflows list. If you want to see the workflow instance, just go to
`Workflow Instance`
+page, you can see the workflow instance is running and the status is
`Executing`.
-Click on the user name in the upper right corner to "exit" and re-use the
normal user login.
+
-* `Project Management -> Create Project -> Project Name`
+#### View Log
-
+If you want to view the task log, please click the workflow instance from the
workflow instance
+list, then find the task you want to view the log, right-click the mouse and
select `View Log`
+from the context dialog, and you can see the detailed log of the task.
-* `Click Workflow Definition -> Create Workflow Definition-> Online Workflow
Definition`
+You can see the task printing `Hello DolphinScheduler` and `Ending...` which
is the same as we
+defined when creating the tasks.
-
-* `Running Workflow Definition -> Click Workflow Instance -> Click Workflow
Instance Name -> Double-click Task Node -> View Task Execution Log`
+
-
+You just finished the first tutorial of DolphinScheduler, you can now run some
simple workflows
+in DolphinScheduler, congratulations!
diff --git a/docs/docs/zh/guide/start/quick-start.md
b/docs/docs/zh/guide/start/quick-start.md
index ae1dbcbb09..f4669ccbb9 100644
--- a/docs/docs/zh/guide/start/quick-start.md
+++ b/docs/docs/zh/guide/start/quick-start.md
@@ -1,58 +1,90 @@
# 快速上手
-* 喜欢看视频的伙伴可以参见手把手教你如何《快速上手 Apache DolphinScheduler 教程》
-
[](https://www.bilibili.com/video/BV1d64y1s7eZ)
+在本节中,我们将使用 DolphinScheduler 逐步创建和运行一个简单的工作流。 在这段旅程中,您将学习 DolphinScheduler
的基本概念,
+并了解运行工作流的最基本配置。 我们在本教程中提供了视频和文字两种方式,您可以选择您喜欢的方式
-* 管理员用户登录
+## 视频教程
- > 地址:http://localhost:12345/dolphinscheduler/ui
用户名/密码:admin/dolphinscheduler123
+[](https://www.bilibili.com/video/BV1d64y1s7eZ)
-
+## 图文教程
-* 创建队列
+### 设置 Dolphinscheduler
-
+在继续之前,您必须先安装并启动 dolphinscheduler。 对于初学者,我们建议设置 dolphionscheduler 与官方 Docker
image 或 standalone server。
-* 创建租户
+* [standalone
server](https://dolphinscheduler.apache.org/en-us/docs/3.1.3/guide/installation/standalone)
+*
[docker](https://dolphinscheduler.apache.org/en-us/docs/3.1.3/guide/start/docker)
-
+### 构建您的第一个工作流程
-* 创建普通用户
+您可以使用默认用户名/密码 http://localhost:12345/dolphinscheduler/ui 登录 dolphinscheduler
是“admin/dolphinscheduler123”。
-
+#### 创建租户
-* 创建告警组实例
+Tenant是使用DolphinScheduler时绕不开的一个概念,所以先简单介绍一下tenant的概念。
-
+登录 DolphinScheduler 名为 admin 的帐户在 dolphinscheduler 中称为 user。
为了更好的控制系统资源,DolphinScheduler引入了概念租户,用于执行任务。
-* 创建告警组
+简述如下:
-
+* 用户:登录web UI,在web UI中进行所有操作,包括工作流管理和租户创建。
+* Tenant:任务的实际执行者,A Linux user for DolphinScheduler worker。
-* 创建 Worker 分组
+我们可以在 DolphinScheduler `Security -> Tenant Manage` 页面创建租户。
-
+
-* 创建环境
-

+#### 将租户分配给用户
-* 创建 Token 令牌
+正如我们上面在创建租户中谈到的,用户只能运行任务除非用户被分配给租户。
-
+我们可以在 DolphinScheduler 的“安全 -> 用户管理”页面中将租户分配给特定用户。
-* 使用普通用户登录
+
-> 点击右上角用户名“退出”,重新使用普通用户登录。
+在我们创建一个租户并将其分配给一个用户之后,我们可以开始创建一个 DolphinScheduler 中的简单工作流程。
-* 项目管理->创建项目->点击项目名称
+#### 创建项目
-
+但是在 DolphinScheduler 中,所有的工作流都必须属于一个项目,所以我们需要首先创建一个项目。
-* 点击工作流定义->创建工作流定义->上线工作流定义
+我们可以通过单击在 DolphinScheduler `Project` 页面中创建一个项目 “创建项目” 按钮。
-
+
-* 运行工作流定义->点击工作流实例->点击工作流实例名称->双击任务节点->查看任务执行日志
+#### 创建工作流
-
+现在我们可以为项目“tutorial”创建一个工作流程。
点击我们刚刚创建的项目,转到“工作流定义”页面,单击“创建工作流”按钮,我们将重定向到工作流详细信息页面。
+
+
+#### 创建任务
+
+我们可以使用鼠标从工作流画布的工具栏中拖动要创建的任务。 在这种情况下,我们创建一个 `Shell` 任务。 输入任务的必要信息,对于这个简单的工作流程
+我们只需将属性“节点名称”填充为“脚本”即可。之后,我们可以单击“保存”按钮将任务保存到工作流中。 我们创建另一个任务使用相同的方式。
+
+
+
+#### 设置任务依赖
+
+因此,我们有两个具有不同名称和命令的不同任务在工作流中运行。 这当前工作流中唯一缺少的是任务依赖性。 我们可以使用添加依赖,鼠标将箭头从上游任务拖到下游
+然后松开鼠标。您可以看到从上游创建了两个任务之间带有箭头的链接任务交给下游一个。 最后,我们可以点击右上角的“保存”按钮保存工作流,不要忘记填写工作流名称。
+
+
+
+#### 运行工作流
+
+全部完成后,我们可以通过单击“在线”然后单击“运行”按钮来运行工作流工作流列表。 如果您想查看工作流实例,只需转到 “工作流实例”
页面,可以看到工作流实例正在运行,状态为`Executing`。
+
+
+
+#### 查看日志
+
+如需查看任务日志,请从工作流实例中点击工作流实例列表,然后找到要查看日志的任务,右击鼠标选择`View Log` 从上下文对话框中,您可以看到任务的详细日志。
+
+您可以在任务中打印 `Hello DolphinScheduler` 和 `Ending...` 这和我们一样定义 在创建任务中。
+
+
+
+你刚刚完成了 DolphinScheduler 的第一个教程,你现在可以运行一些简单的工作流在 DolphinScheduler 中,恭喜!
diff --git a/docs/img/new_ui/dev/quick-start/create-alarmGroup.png
b/docs/img/new_ui/dev/quick-start/create-alarmGroup.png
deleted file mode 100644
index 495ede846e..0000000000
Binary files a/docs/img/new_ui/dev/quick-start/create-alarmGroup.png and
/dev/null differ
diff --git a/docs/img/new_ui/dev/quick-start/create-alarmInstance.png
b/docs/img/new_ui/dev/quick-start/create-alarmInstance.png
deleted file mode 100644
index 9caabe5a94..0000000000
Binary files a/docs/img/new_ui/dev/quick-start/create-alarmInstance.png and
/dev/null differ
diff --git a/docs/img/new_ui/dev/quick-start/create-environment.png
b/docs/img/new_ui/dev/quick-start/create-environment.png
deleted file mode 100644
index f578084b5b..0000000000
Binary files a/docs/img/new_ui/dev/quick-start/create-environment.png and
/dev/null differ
diff --git a/docs/img/new_ui/dev/quick-start/create-queue.png
b/docs/img/new_ui/dev/quick-start/create-queue.png
deleted file mode 100644
index 8fbb5b238b..0000000000
Binary files a/docs/img/new_ui/dev/quick-start/create-queue.png and /dev/null
differ
diff --git a/docs/img/new_ui/dev/quick-start/create-tenant.png
b/docs/img/new_ui/dev/quick-start/create-tenant.png
deleted file mode 100644
index 18aadcae07..0000000000
Binary files a/docs/img/new_ui/dev/quick-start/create-tenant.png and /dev/null
differ
diff --git a/docs/img/new_ui/dev/quick-start/create-token.png
b/docs/img/new_ui/dev/quick-start/create-token.png
deleted file mode 100644
index 3c60587220..0000000000
Binary files a/docs/img/new_ui/dev/quick-start/create-token.png and /dev/null
differ
diff --git a/docs/img/new_ui/dev/quick-start/create-user.png
b/docs/img/new_ui/dev/quick-start/create-user.png
deleted file mode 100644
index c75e84acae..0000000000
Binary files a/docs/img/new_ui/dev/quick-start/create-user.png and /dev/null
differ
diff --git a/docs/img/new_ui/dev/quick-start/create-workerGroup.png
b/docs/img/new_ui/dev/quick-start/create-workerGroup.png
deleted file mode 100644
index 8b58f9d10e..0000000000
Binary files a/docs/img/new_ui/dev/quick-start/create-workerGroup.png and
/dev/null differ
diff --git a/docs/img/new_ui/dev/quick-start/log.png
b/docs/img/new_ui/dev/quick-start/log.png
deleted file mode 100644
index 02658ffaa5..0000000000
Binary files a/docs/img/new_ui/dev/quick-start/log.png and /dev/null differ
diff --git a/docs/img/new_ui/dev/quick-start/project.png
b/docs/img/new_ui/dev/quick-start/project.png
deleted file mode 100644
index 0d78fe0755..0000000000
Binary files a/docs/img/new_ui/dev/quick-start/project.png and /dev/null differ
diff --git a/docs/img/new_ui/dev/quick-start/workflow-definition.png
b/docs/img/new_ui/dev/quick-start/workflow-definition.png
deleted file mode 100644
index 6406aa4bf2..0000000000
Binary files a/docs/img/new_ui/dev/quick-start/workflow-definition.png and
/dev/null differ
diff --git a/docs/img/start/assign-tenant.gif b/docs/img/start/assign-tenant.gif
new file mode 100644
index 0000000000..ce0d30f4e5
Binary files /dev/null and b/docs/img/start/assign-tenant.gif differ
diff --git a/docs/img/start/create-project.gif
b/docs/img/start/create-project.gif
new file mode 100644
index 0000000000..e3e42bbf3e
Binary files /dev/null and b/docs/img/start/create-project.gif differ
diff --git a/docs/img/start/create-task.gif b/docs/img/start/create-task.gif
new file mode 100644
index 0000000000..fc3fac3238
Binary files /dev/null and b/docs/img/start/create-task.gif differ
diff --git a/docs/img/start/create-tenant.gif b/docs/img/start/create-tenant.gif
new file mode 100644
index 0000000000..1d3a4ed7f3
Binary files /dev/null and b/docs/img/start/create-tenant.gif differ
diff --git a/docs/img/start/create-workflow.gif
b/docs/img/start/create-workflow.gif
new file mode 100644
index 0000000000..697fca3939
Binary files /dev/null and b/docs/img/start/create-workflow.gif differ
diff --git a/docs/img/start/login.gif b/docs/img/start/login.gif
new file mode 100644
index 0000000000..7e58d89eb0
Binary files /dev/null and b/docs/img/start/login.gif differ
diff --git a/docs/img/start/run-workflow.gif b/docs/img/start/run-workflow.gif
new file mode 100644
index 0000000000..d9d405eb81
Binary files /dev/null and b/docs/img/start/run-workflow.gif differ
diff --git a/docs/img/start/set-dep.gif b/docs/img/start/set-dep.gif
new file mode 100644
index 0000000000..ce524f0a84
Binary files /dev/null and b/docs/img/start/set-dep.gif differ
diff --git a/docs/img/start/view-log.gif b/docs/img/start/view-log.gif
new file mode 100644
index 0000000000..d374b5ed20
Binary files /dev/null and b/docs/img/start/view-log.gif differ
diff --git a/docs/img_utils.py b/docs/img_utils.py
index 84c9ac80f9..89588855ef 100644
--- a/docs/img_utils.py
+++ b/docs/img_utils.py
@@ -112,8 +112,10 @@ def check() -> None:
img_docs, img_img = check_diff_img()
assert not img_docs and not img_img, (
f"Images assert failed: \n"
- f"* difference `docs` imgs to `img` is: {img_docs if img_docs else
'None'}\n"
- f"* difference `img` imgs to `docs` is: {img_img if img_img else
'None'}\n"
+ f"* Some images use in documents but do not exists in `img` directory,
please add them: "
+ f"{img_docs if img_docs else 'None'}\n"
+ f"* Some images not use in documents but exists in `img` directory,
please delete them: "
+ f"{img_img if img_img else 'None'}\n"
)