Hanks10100 closed pull request #300: [doc] add zh docs for weex-toolkit 2.x
URL: https://github.com/apache/incubator-weex-site/pull/300
This is a PR merged from a forked repository. As GitHub hides the original diff on merge, it is displayed below for the sake of provenance: As this is a foreign pull request (from a fork), the diff is supplied below (as it won't show otherwise due to GitHub magic): diff --git a/docs/guide/debug/integrate-devtool-to-android.md b/docs/guide/debug/integrate-devtool-to-android.md index a0bcda587..b2ab97f62 100644 --- a/docs/guide/debug/integrate-devtool-to-android.md +++ b/docs/guide/debug/integrate-devtool-to-android.md @@ -14,17 +14,13 @@ Weex devtools is a custom devtools for weex that implements Chrome Debugging Pro #### Version compatibility -| weex sdk | weex inspector | Debugger Server | -|----------|----------------|-----------------| -| 0.13+ | 0.12+ | 0.2.39+ | -| 0.8.0.1+ | 0.0.8.1+ | 0.2.39+ | -| 0.7.0+ | 0.0.7.13 | 0.2.38 | -| 0.6.0+ | 0.0.2.2 | - | -| 0.16.0+ | 0.12.1 | - | -| 0.17.0+ | 0.13.2 | - | -| 0.18.0+ | 0.13.4-multicontext | - | -| 0.19.0+ | 0.18.68 | - | -| 0.20.3.0-beta | 0.20.3.0-beta | - | +| weex sdk | weex inspector | +|----------|----------------| +| 0.16.0+ | 0.12.1 | +| 0.17.0+ | 0.13.2 | +| 0.18.0+ | 0.13.4-multicontext | +| 0.19.0+ | 0.18.68 | +| 0.20.3.0-beta | 0.20.3.0-beta | ## Integrate to Android diff --git a/docs/guide/debug/integrate-devtool-to-ios.md b/docs/guide/debug/integrate-devtool-to-ios.md index e69de29bb..a1db10b62 100644 --- a/docs/guide/debug/integrate-devtool-to-ios.md +++ b/docs/guide/debug/integrate-devtool-to-ios.md @@ -0,0 +1,177 @@ +# Integrate Devtool to iOS + +Weex devtools is a custom devtools for weex that implements Chrome Debugging Protocol inspired by Stetho, it is designed to help you quickly inspect your app and debug your JS bundle source in a Chrome web page. To make it work, at first you must integrate devtool to your App. This page will help you integrate devtool to your iOS App. + +- Integrate Devtool to iOS +- Integrate Devtool to iOS + + +#### Version compatibility + +| weex sdk | weex inspector | +|----------|----------------| +| 0.16.0+ | 0.15.3 | +| 0.17.0+ | 0.16.0 | +| 0.18.0+ | 0.16.3+ | +| 0.19.0+ | 0.17.2+ | +| 0.20.0+ | 0.20.0+ | + + +## Integrate to iOS + +### Installing Dependencies + +There are two choices to install dependencies: + +#### From cocoapods + +``` +source https://github.com/CocoaPods/Specs.git, +pod 'WXDevtool', '0.15.3', :configurations => ['Debug'], +``` + +I strongly recommend you use the latest version since both Weex SDK and devtools are developed iteratively and rapidly. + +#### From source code + +1. `git clone [email protected]:weexteam/weex-devtool-iOS.git` +2. Copy source folder to your project. + + 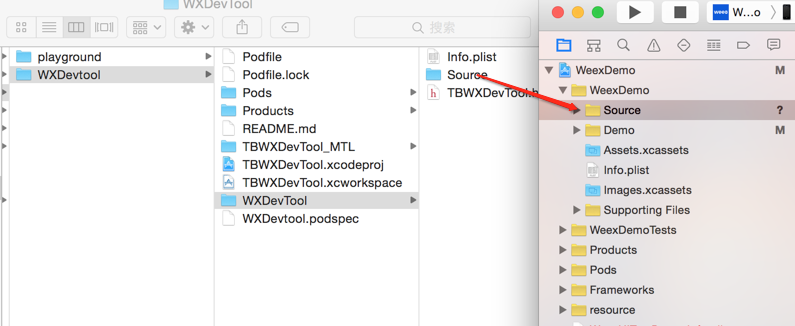 + +3. Choose options as the picture shows. + +  + +### Integrate + +You can see the demo here [Playground App](https://github.com/weexteam/weex-devtool-iOS/blob/master/playground/WeexDemo/WXDemoViewController.m). + +#### Step 1. Add header file in `AppDelegate.m` + +``` +//1. From cocoapods +#import <TBWXDevtool/WXDevtool.h> + +//2. From source code +#import "WXDevtool.h" +``` + +#### Step 2. Initialize inspector when the APP launched + +You can see the WXDevtool header file as follows: + +```object-c + ++ (void)setDebug:(BOOL)isDebug; + ++ (BOOL)isDebug; + ++ (void)launchDevToolDebugWithUrl:(NSString *)url; + +@end +``` + +**Note: The inspector API must be called before weex is initialized ** + +**if your application is a pure weex project, you need to ensure that the initial value of setDebug is `NO`, otherwise it may be white screen on the first page of the weex page** + +- `setDebug` + + `setDebug` is used to control the state of debug mode, when its value is `YES`, open the debug mode, otherwise closed. + +- `(void)launchDevToolDebugWithUrl:(NSString *)url;` + + +You can fix the link address by command `weex debug --port 8888 --channelid 1`, and connect debug server like below: + +eg: + +```object-c + +- (BOOL)application:(UIApplication *)application didFinishLaunchingWithOptions:(NSDictionary *)launchOptions { + + [WXDevTool setDebug:NO]; + [WXDevTool launchDevToolDebugWithUrl:@"ws://{ip}:{port}/debugProxy/native/{channelid}"]; + } +``` + +#### Step 3. Auto refresh + +Q: Why do we need auto refresh feature? + +A: As shown in future, when you click the debugger button, Javascript runtime environment will change from the phone (JavaScriptCore) to PC (Chrome V8), then Weex need to re-initialize the Weex environment, re-render the page. Page rendering is required for the developer to add on its own page. + +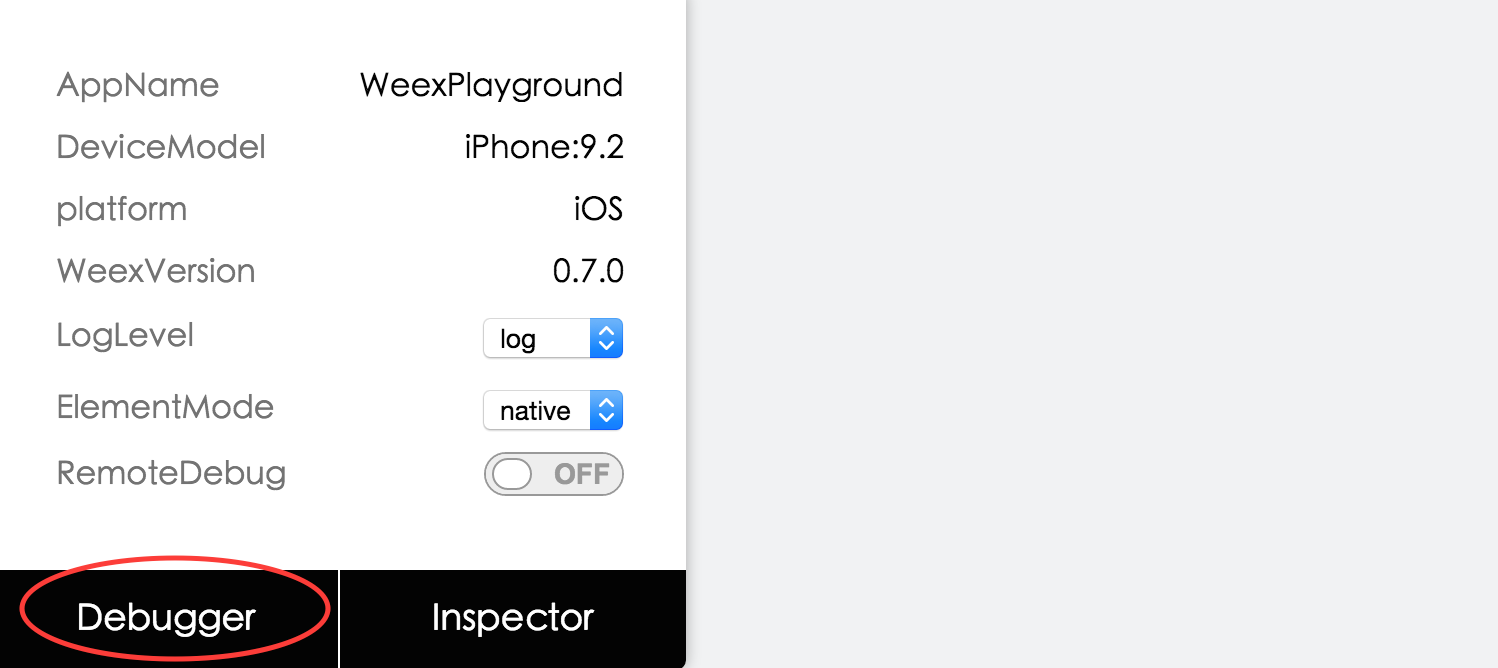 + +Q: What kind of scene need to add refresh feature? + +- Click debugger button +- Switch remoteDebug +- Refresh inspect page + +Q: How to add auto refresh feature? + +Register events when Weex initialization. + +```object-c +[[NSNotificationCenter defaultCenter] addObserver:self selector:notificationRefreshInstance: name:@"RefreshInstance" object:nil]; +``` + +**Notes: You must cancel this event in the `dealloc` method. For example:** + +``` +- (void)dealloc +{ + [[NSNotificationCenter defaultCenter] removeObserver:self]; +} +``` + +For example, First you can destroy the current instance, and then re-create instance: + + +``` +- (void)dealloc +{ + [[NSNotificationCenter defaultCenter] removeObserver:self]; +} +``` + +destroy instance,and reCreate new instance,example: + +``` + - (void)render + { + CGFloat width = self.view.frame.size.width; + [_instance destroyInstance]; + _instance = [[WXSDKInstance alloc] init]; + _instance.viewController = self; + _instance.frame = CGRectMake(self.view.frame.size.width-width, 0, width, _weexHeight); + + __weak typeof(self) weakSelf = self; + _instance.onCreate = ^(UIView *view) { + [weakSelf.weexView removeFromSuperview]; + weakSelf.weexView = view; + [weakSelf.view addSubview:weakSelf.weexView]; + UIAccessibilityPostNotification(UIAccessibilityScreenChangedNotification, weakSelf.weexView); + }; + _instance.onFailed = ^(NSError *error) { + + }; + + _instance.renderFinish = ^(UIView *view) { + [weakSelf updateInstanceState:WeexInstanceAppear]; + }; + + _instance.updateFinish = ^(UIView *view) { + }; + if (!self.url) { + return; + } + NSURL *URL = [self testURL: [self.url absoluteString]]; + NSString *randomURL = [NSString stringWithFormat:@"%@?random=%d",URL.absoluteString,arc4random()]; + [_instance renderWithURL:[NSURL URLWithString:randomURL] options:@{@"bundleUrl":URL.absoluteString} data:nil]; +} +``` + +You can see the details in this case [WXDemoViewController.m](https://github.com/weexteam/weex-devtool-iOS/blob/master/Devtools/playground/WeexDemo/WXDemoViewController.m) \ No newline at end of file diff --git a/docs/tools/toolkit.md b/docs/tools/toolkit.md index f522687ad..bcddde58b 100644 --- a/docs/tools/toolkit.md +++ b/docs/tools/toolkit.md @@ -1,195 +1,200 @@ -# Weex Toolkit +# Introduction -The [weex-toolkit](https://github.com/weexteam/weex-toolkit) is an official command line tool to help developers to create, debug and build their Weex project. +::: warning warning +This document is for the `weex-toolkit` **2.x** version. For the old version of the `weex-toolkit` documentation, please go to [here] (https://github.com/weexteam/weex-toolkit/blob/v1.0/README.md). +::: -## Install +[Weex Toolkit](https://github.com/weexteam/weex-toolkit) is dedicated to standardizing the tool base in the Weex ecosystem. It ensures that various build tools can be seamlessly connected based on smart default configuration, so you can focus on writing applications without having to spend days tangling configuration issues. -``` bash -$ npm install -g weex-toolkit -``` -You can use the `weex -v` command to confirm that the installation is successful. +## System Components +[Weex Toolkit](https://github.com/weexteam/weex-toolkit) split each function module into separate parts, if you see our [source code](https://github.com/weexteam/weex-toolkit/tree/master/packages/%40weex) , you will find that we manage multiple separate releases in the repository via [Lerna](https://lernajs.io/) Package, providing the following functional modules: -> If you have never installed node.js, you should go [node.js.org]( https://nodejs.org/en/) to download and install it. The node version needs to be upper 6.0. You can try [n](https://github.com/tj/n) to manage your node versions. +- The `@weex-cli/core`: + - upgradeable; + - Ability to customize through plugins and extensions; + - Provide globally configurable files; +- The `@weex-cli/generator` module can quickly init the official project. +- The `@weex-cli/compile` module can quickly configuration compile Weex file. +- The `@weex-cli/preview` module can quickly previews the Weex page. +- The `@weex-cli/debug` module compiles and debugs the Weex page. +- The `@weex-cli/doctor` module quickly checks the user's local development environment. +- The `@weex-cli/lint` module performs quality diagnostics on local `.vue` files. +- The `@weex-cli/preview` module quickly zero previews the Weex page. +- The `@weex-cli/device` module quickly manages user local devices. +- The `@weex-cli/run` module runs the `iOS/Android/Web` project quickly. -If you meet some errors when installing, please go [Issues](https://github.com/weexteam/weex-toolkit/issues) or [Faq](https://github.com/weexteam/weex-toolkit#faq) to find some solution or have a discuss with us. +# How to use +::: warning Warning +If you don't have node.js installed locally, you can go to [Nodejs official website](https://nodejs.org/en/) to download and install, and make sure your node version is `>=7.6.0`, you can use [n]( Https://github.com/tj/n) to perform version management of node. +::: -## Commands +## Installation -### create -```bash -# create a new project with an official template -$ weex create my-project +If you have problems during the installation process, you can do a question search and feedback at [here](https://github.com/weexteam/weex-toolkit/issues). -# create a new project straight from a github template -# see how to write a remote template https://www.npmjs.com/package/download-git-repo#repository -$ weex create username/repo my-project +``` bash +$ npm install weex-toolkit@alpha -g ``` -Create a new project with an official template or from other remote, also you can create your own weex template, more detail you can see [How-to-create-your-own-template](https://github.com/weex-templates/How-to-create-your-own-template). -### preview +## Commands -weex-toolkit supports previewing your Weex file(`.vue`) in a watch mode. You only need specify your file path. +### Create a project -``` bash -$ weex preview src/foo.vue +```bash +# Create a project from the official template +$ weex create my-project ``` -The browser automatically opens the preview page and you can see the layout and effects of your weex page. If you have a [Playground App](/tools/dotwe.html) in your mobile devices, you can scan the QR code at the opened page. - -Try the command below, you’ll preview the whole directory files. +The `@weex-cli/generator` module uses [`download-git-repo`](https://github.com/flipxfx/download-git-repo) to download the template file. The `download-git-repo` tool allows You specify a specific branch and remote repository address for project download, and the specified branch is separated by the (`#`) symbol. -``` bash -$ weex preview src --entry src/foo.vue +The template format under the download specific branch is as follows: +```bash +$ weex create '<template-name>#<branch-name>' <project-name> ``` -You need to specify the folder path to preview and the entry file (passed in via `--entry`). +E.g: -#### options +```bash +$ weex create weex-templates/webpack#v1.0 my-project +``` -| Option | Description | -| -------- | :----- | -|`-b,--base [path]` | set the base path of source| -|`-d,--devtool [devtool]` |set webpack devtool mode| -|`-c,--config [path]` | compile with specify webpack config file | -|`-m, --min`| set jsbundle uglify or not. [default `false`]| +This command will initialize the project via the `v1.0` branch of the [weex-templates/webpack] (https://github.com/weex-templates/webpack/tree/v1.0) project. +You can create project templates from official templates or remote sources, or you can create your own `weex` project templates. For more details you can see [How to create your own templates] (https://github.com/weex-templates /How-to-create-your-own-template). -### compile +### Compile page -Use `weex compile` o compile a single weex file or a weex file in an entire folder. +The `@weex-cli/compile` module provides the ability to compile `.vue` files in Weex projects. You can use them in official projects, or you can directly compile sandboxes with zero configuration for a single `.vue` file, use as follows: -``` bash -$ weex compile [source] [dist] [options] +```bash +$ weex compile [resource file] [product address] <options> ``` -#### options +E.g: -| Option | Description | -| -------- | :----- | -|`-w, --watch` | watch we file changes auto build them and refresh debugger page! [default `true`]| -|`-d,--devtool [devtool]` |set webpack devtool mode| -|`-e,--ext [ext]` | set enabled extname for compiler default is vue | -|`-m, --min`| set jsbundle uglify or not. [default `false`]| +```bash +$ weex compile src build +``` -You can use like this: +or -``` bash -$ weex compile src dest --devtool source-map -m +```bash +$ weex compile src/index.vue build ``` -### platform +#### Options -Use `weex platform [add|remove|update] [ios|android]` to add, remove or update your ios / android project templates. +| Options | Description | +| -------- | :----- | +|`-w, --watch` | Listen for file changes and compile in real time [Default: `true`]| +|`-d,--devtool [devtool]` |Set the devtool option for webpack compilation| +|`-e,--ext [ext]` | Set the default build file [Default: `.vue`] | +|`-m, --min`| Code obfuscation and compression of the product [Default: `false`]| +|`-c, --config`| Incoming webpack configuration file [Default: `false`]| +|`-b, --base`| Set the base path [Default: `process.cwd()`]| -``` bash -# add weex platform -$ weex platform add [ios|android] - -# remove weex platform -$ weex platform remove [ios|android] +### Preview page -# update weex platform -$ weex platform update [ios|android] +The `@weex-cli/preview` module provides the ability to compile and preview `.vue` files in Weex projects. You can use them in official projects, or you can directly perform a sandbox preview of zero configuration for a single `.vue` file, use as follows: -# list weex platform -$ weex platform list +``` bash +$ weex preview [file | folder] <options> ``` -Use `weex platform list` to show what platforms your application supported. -### run +The browser will automatically open the preview page and you can see the layout and effects of your weex page. If you have [Weex Playground App] (/tools/) installed on your device, you can also view the page by scanning the QR code on the page. -You can use `weex-toolkit` to run project on android/ios/web. +Using the command below, you will be able to preview the `.vue` file in the entire folder. ``` bash -# run weex Android project -$ weex run android +$ weex src --entry src/foo.vue +``` -# run weex iOS project -$ weex run ios +You need to specify the folder path to be previewed and the entry file (passed in `--entry`). -# run weex web -$ weex run web -``` +#### Options -### debug +| Options | Description | +| -------- | :----- | +|`-d,--devtool [devtool]` |Set the devtool option for webpack compilation| +|`-m, --min`| Code obfuscation and compression of the product [Default: `false`]| +|`-c, --config`| Incoming webpack configuration file [Default: `false`]| +|`-b, --base`| Set the base path [Default: `process.cwd()`]| -The [Weex Debugger](https://github.com/weexteam/weex-debugger) is a custom devtools for Weex that implements [Chrome Debugging Protocol](https://developer.chrome.com/devtools/docs/debugger-protocol), it is designed to help you quickly inspect your app and debug your JS bundle source in a Chrome web page, both android and iOS platform are supported. So you can use `weex-debugger` feature by weex-toolkit. +### Add iOS/Android project -#### usage +The `@weex-cli/generator` module provides the ability to add Weex official iOS/Android engineering features. + +Use the `weex platform [add|remove] [ios|android]` command to add or remove the `iOS/Android` project template. ``` bash -weex debug [we_file|bundles_dir] [options] +$ weex platform add ios +$ weex platform remove ios ``` -| Option | Description | -| -------- | :----- | -|`-V, --verbose` | display logs of debugger server| -|`-v, --version` | display version| -|`-p, --port [port]` | set debugger server port| -|`-e, --entry [entry]` | set the entry bundlejs path when you specific the bundle server root path| -|`-m, --mode [mode]` | set build mode [transformer or loader]| -|`-w, --watch` | watch we file changes auto build them and refresh debugger page [default `true`]| -|`--ip [ip]`|set the host ip of debugger server| -|`--loglevel [loglevel]`| set log level| -|`--min`| set jsbundle uglify or not. [default `false`]| -|`--remotedebugport [remotedebugport]`|set the remote debug port,default 9222| +This command is only valid in the official `weex` project. Please note the project structure. You can use `weex platform list` to view the supported platforms in your project. -#### Features +### Running iOS/Android Project -##### Connect devices +The `@weex-cli/run` module provides the ability to add and run Weex official iOS/Android project functions, which you can use with the following commands: +``` bash +# Run iOS Simulator Preview +$ weex run ios +# Run Android Simulator / Real Machine Preview +$ weex run android +# Run web preview +$ weex run web ``` -$ weex debug -``` - -This command will start debug server and launch a chrome opening `DeviceList` page. -this page will display a QR code, you can use [Playground](/tools/playground.html) scan it for starting debug or integrate [Weex devtools](#Integrate devtool) into your application. - +### Debugging page -##### Debug with `.vue` file +The `@weex-cli/debug` module provides debugging capabilities for Weex pages, which can be started with the following command: +``` bash +$ weex debug [we_file|bundles_dir] [options] ``` -$ weex debug your_weex.vue -``` -Click the button you can use your app or [weex playground app](/tools/playground.html) to preview your pages. -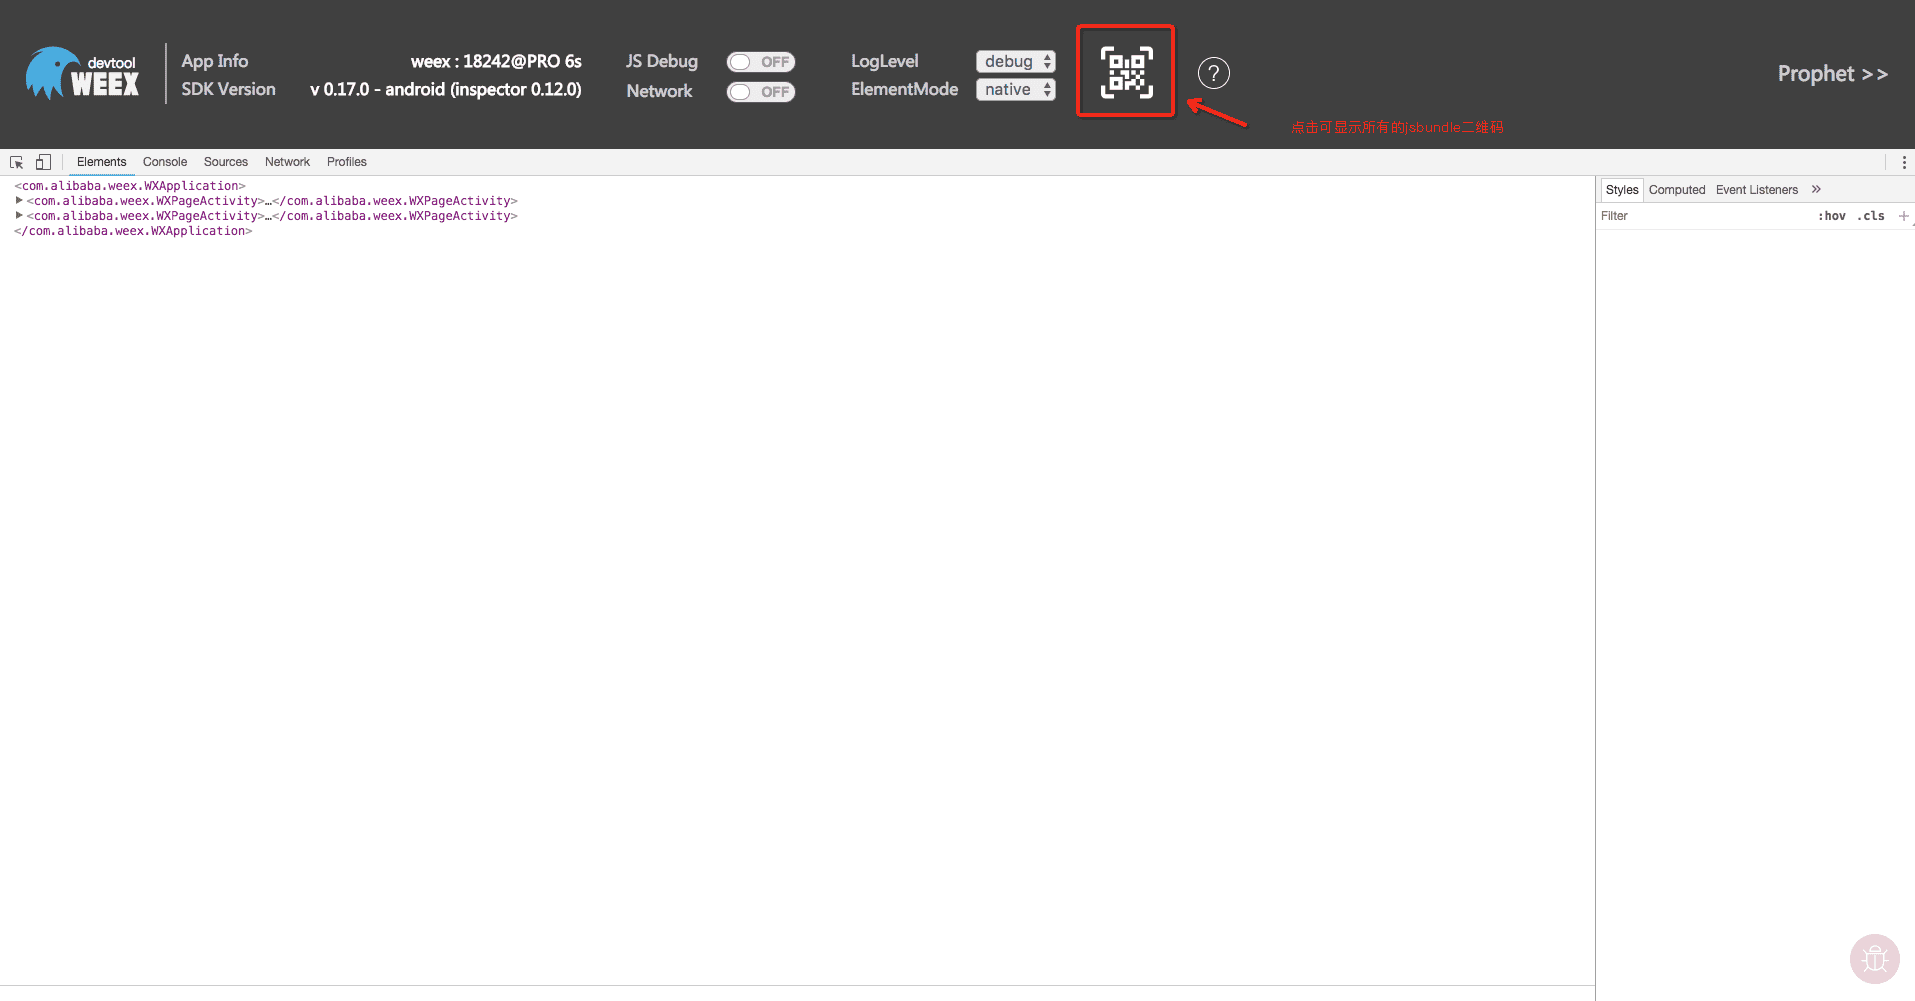 +#### Options +| Options | Description | +| -------- | :----- | +|`-p, --port [port]`| Set the port of the debug server, [default: `8088`]| +|`--manual`| When this option is enabled, the browser will not open automatically, [Default: `false`]| +|`--channelid`|Specify debug channel ID| +|`--remote-debug-port [port]`|Set the debug server port number, [default: `9222`]| -##### Inspector -> Inspector feature to view the page's VDOM / Native Tree structure -Note: If you do not need this feature as far as possible to maintain the closed state, open the browser Inspector interface will increase the page communication, more affect performance. +#### How to integrate debugging tools into your own app -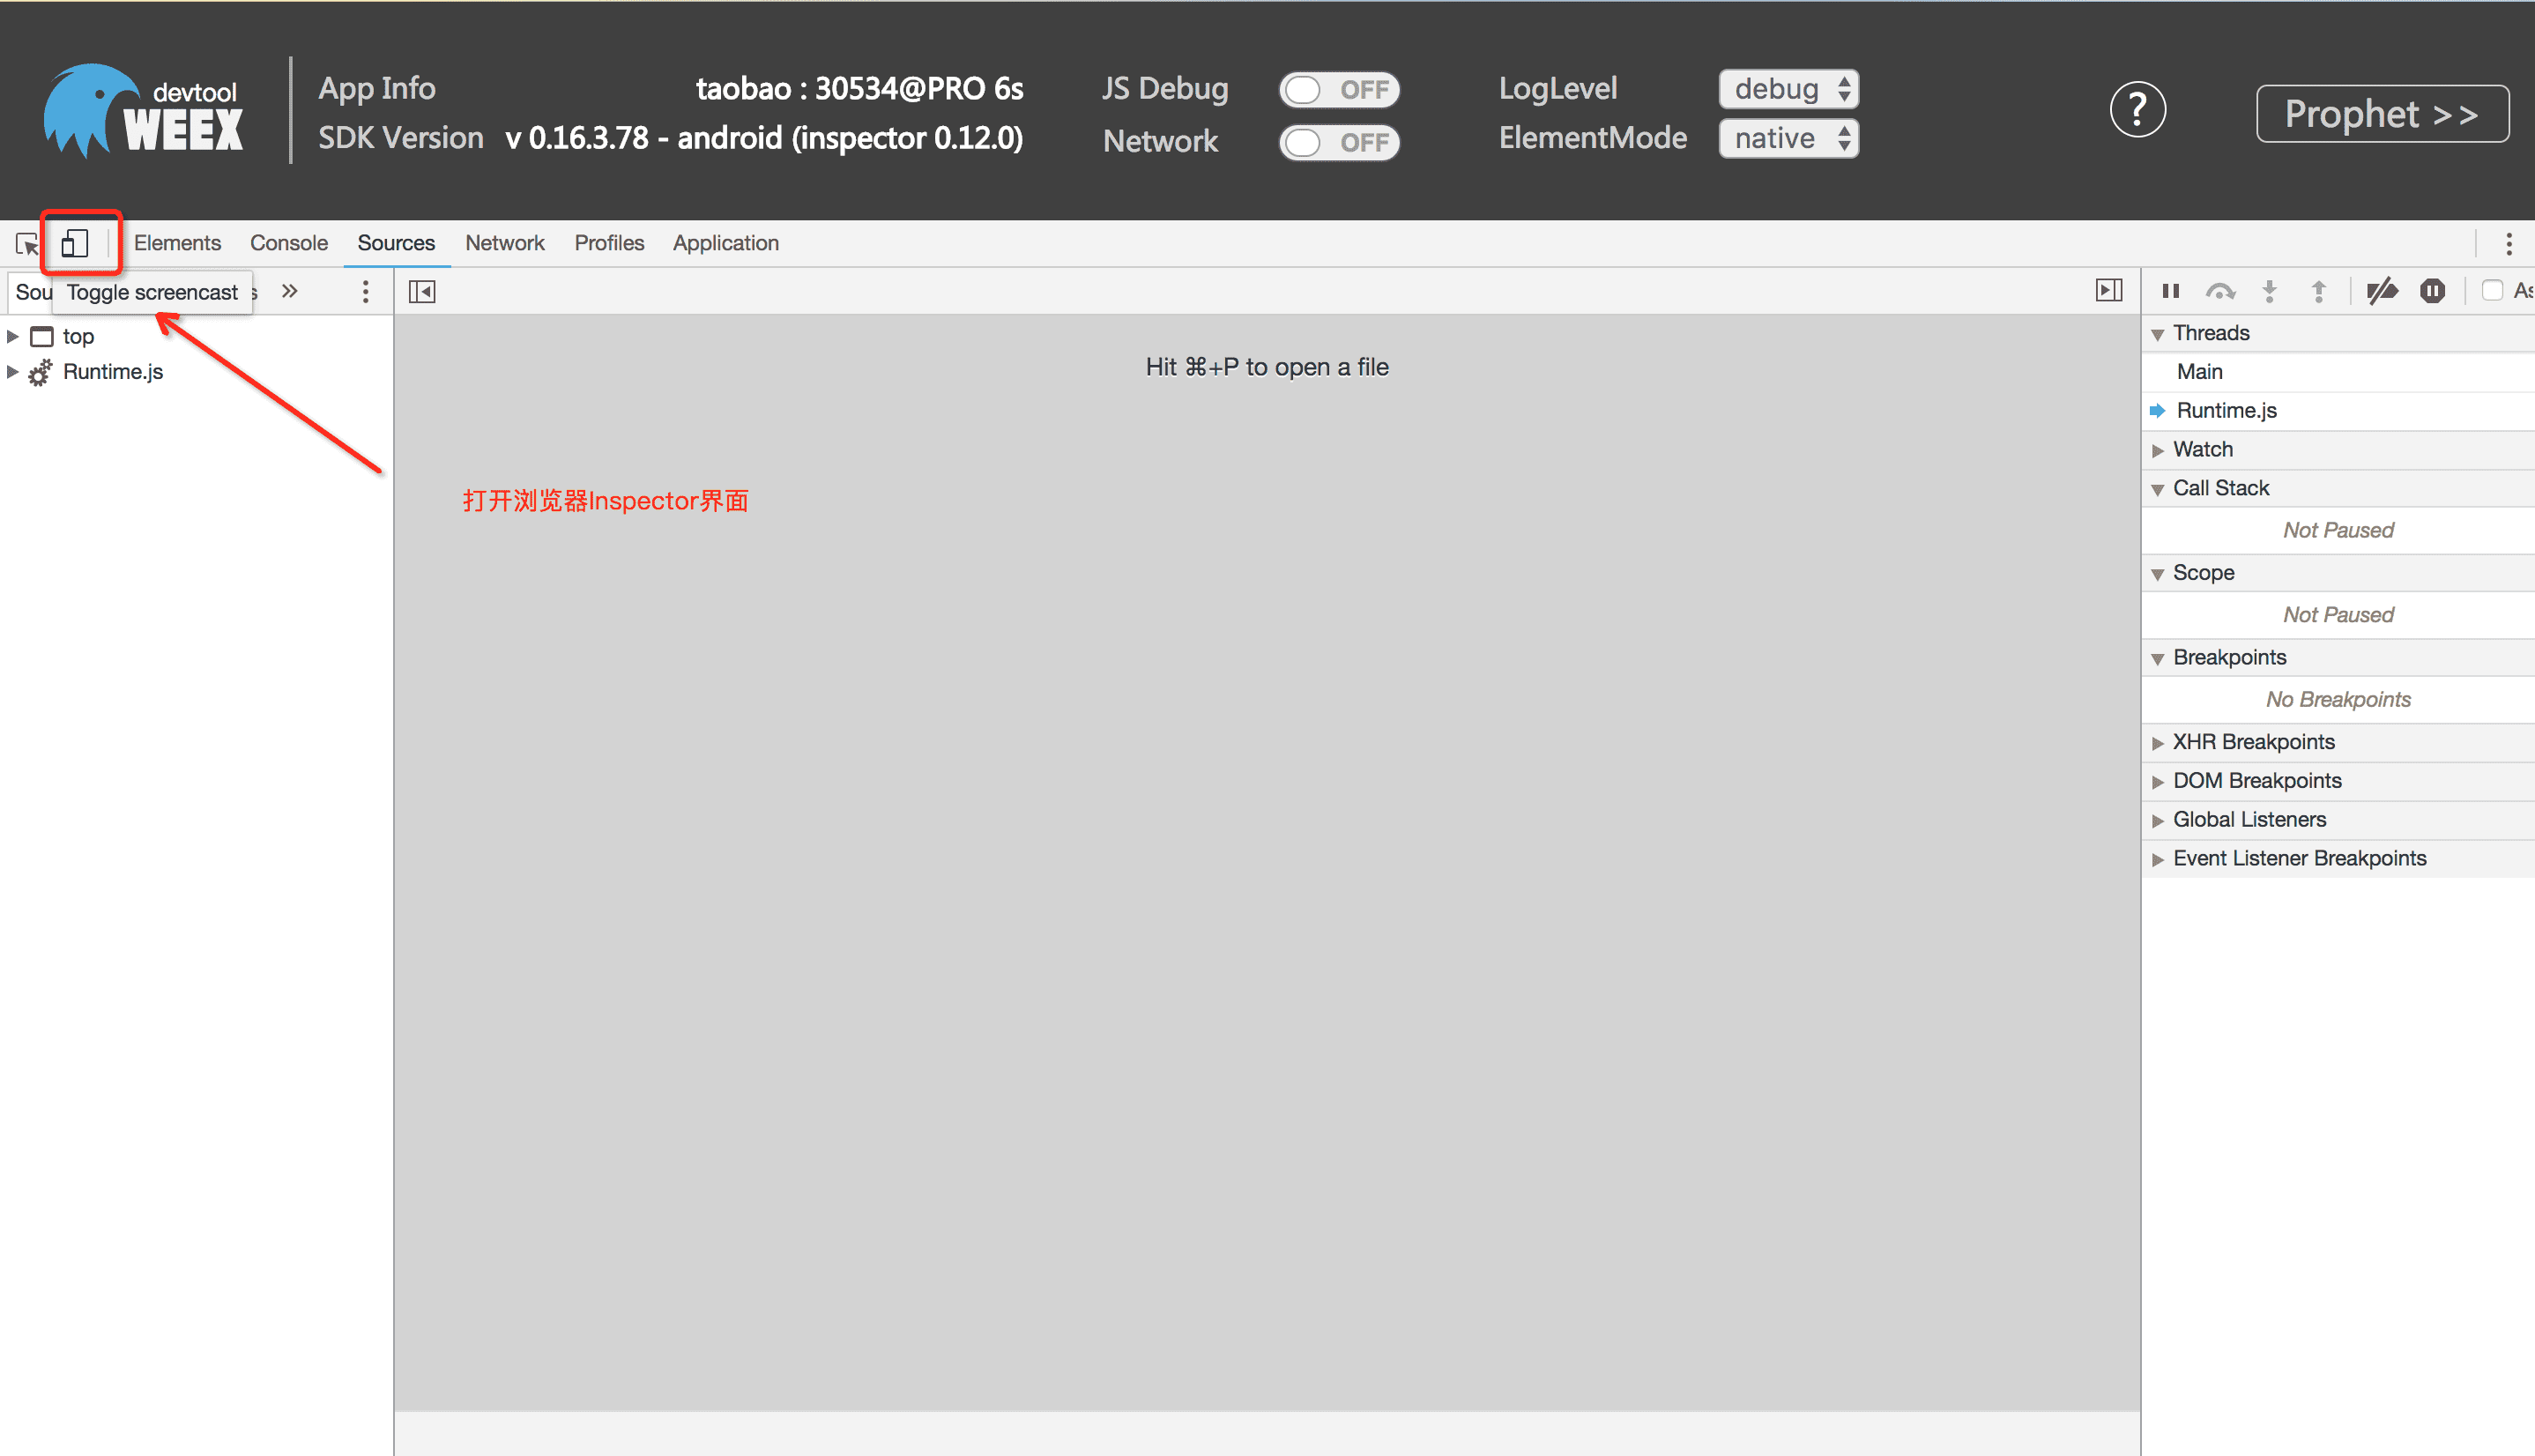 +Reference documentation: +- [1] [Integrated Weex Debugging Tool (Android)] (zh/guide/debug/integrate-devtool-to-android.html) +- [2] [Integrated Weex Debugging Tool (iOS)] (zh/guide/debug/integrate-devtool-to-ios.html) - -##### Breakpoint -> JS Debug feature support you to set breakpoint on your jsbundle and debugging with it. +### Code Quality Check -You can find your jsbundle in the `source` folder of the `Runtime.js` directory. If you do not see the `Runtime.js` directory, check if the weex-debugger tool is completely installed or try to restart the debug tool. +The `@weex-cli/lint` module provides a Weex code quality check function that can be started with the following command: - +```base +$ weex lint [file | folder] <options> +``` -##### NetWork +#### Options -> The Network feature collects network request information from weex applications. +`@weex-cli/lint` The built-in `eslint` module is used for code quality verification. For options, please refer to [ESLint CLI] (https://eslint.org/docs/user-guide/command-line-interface). -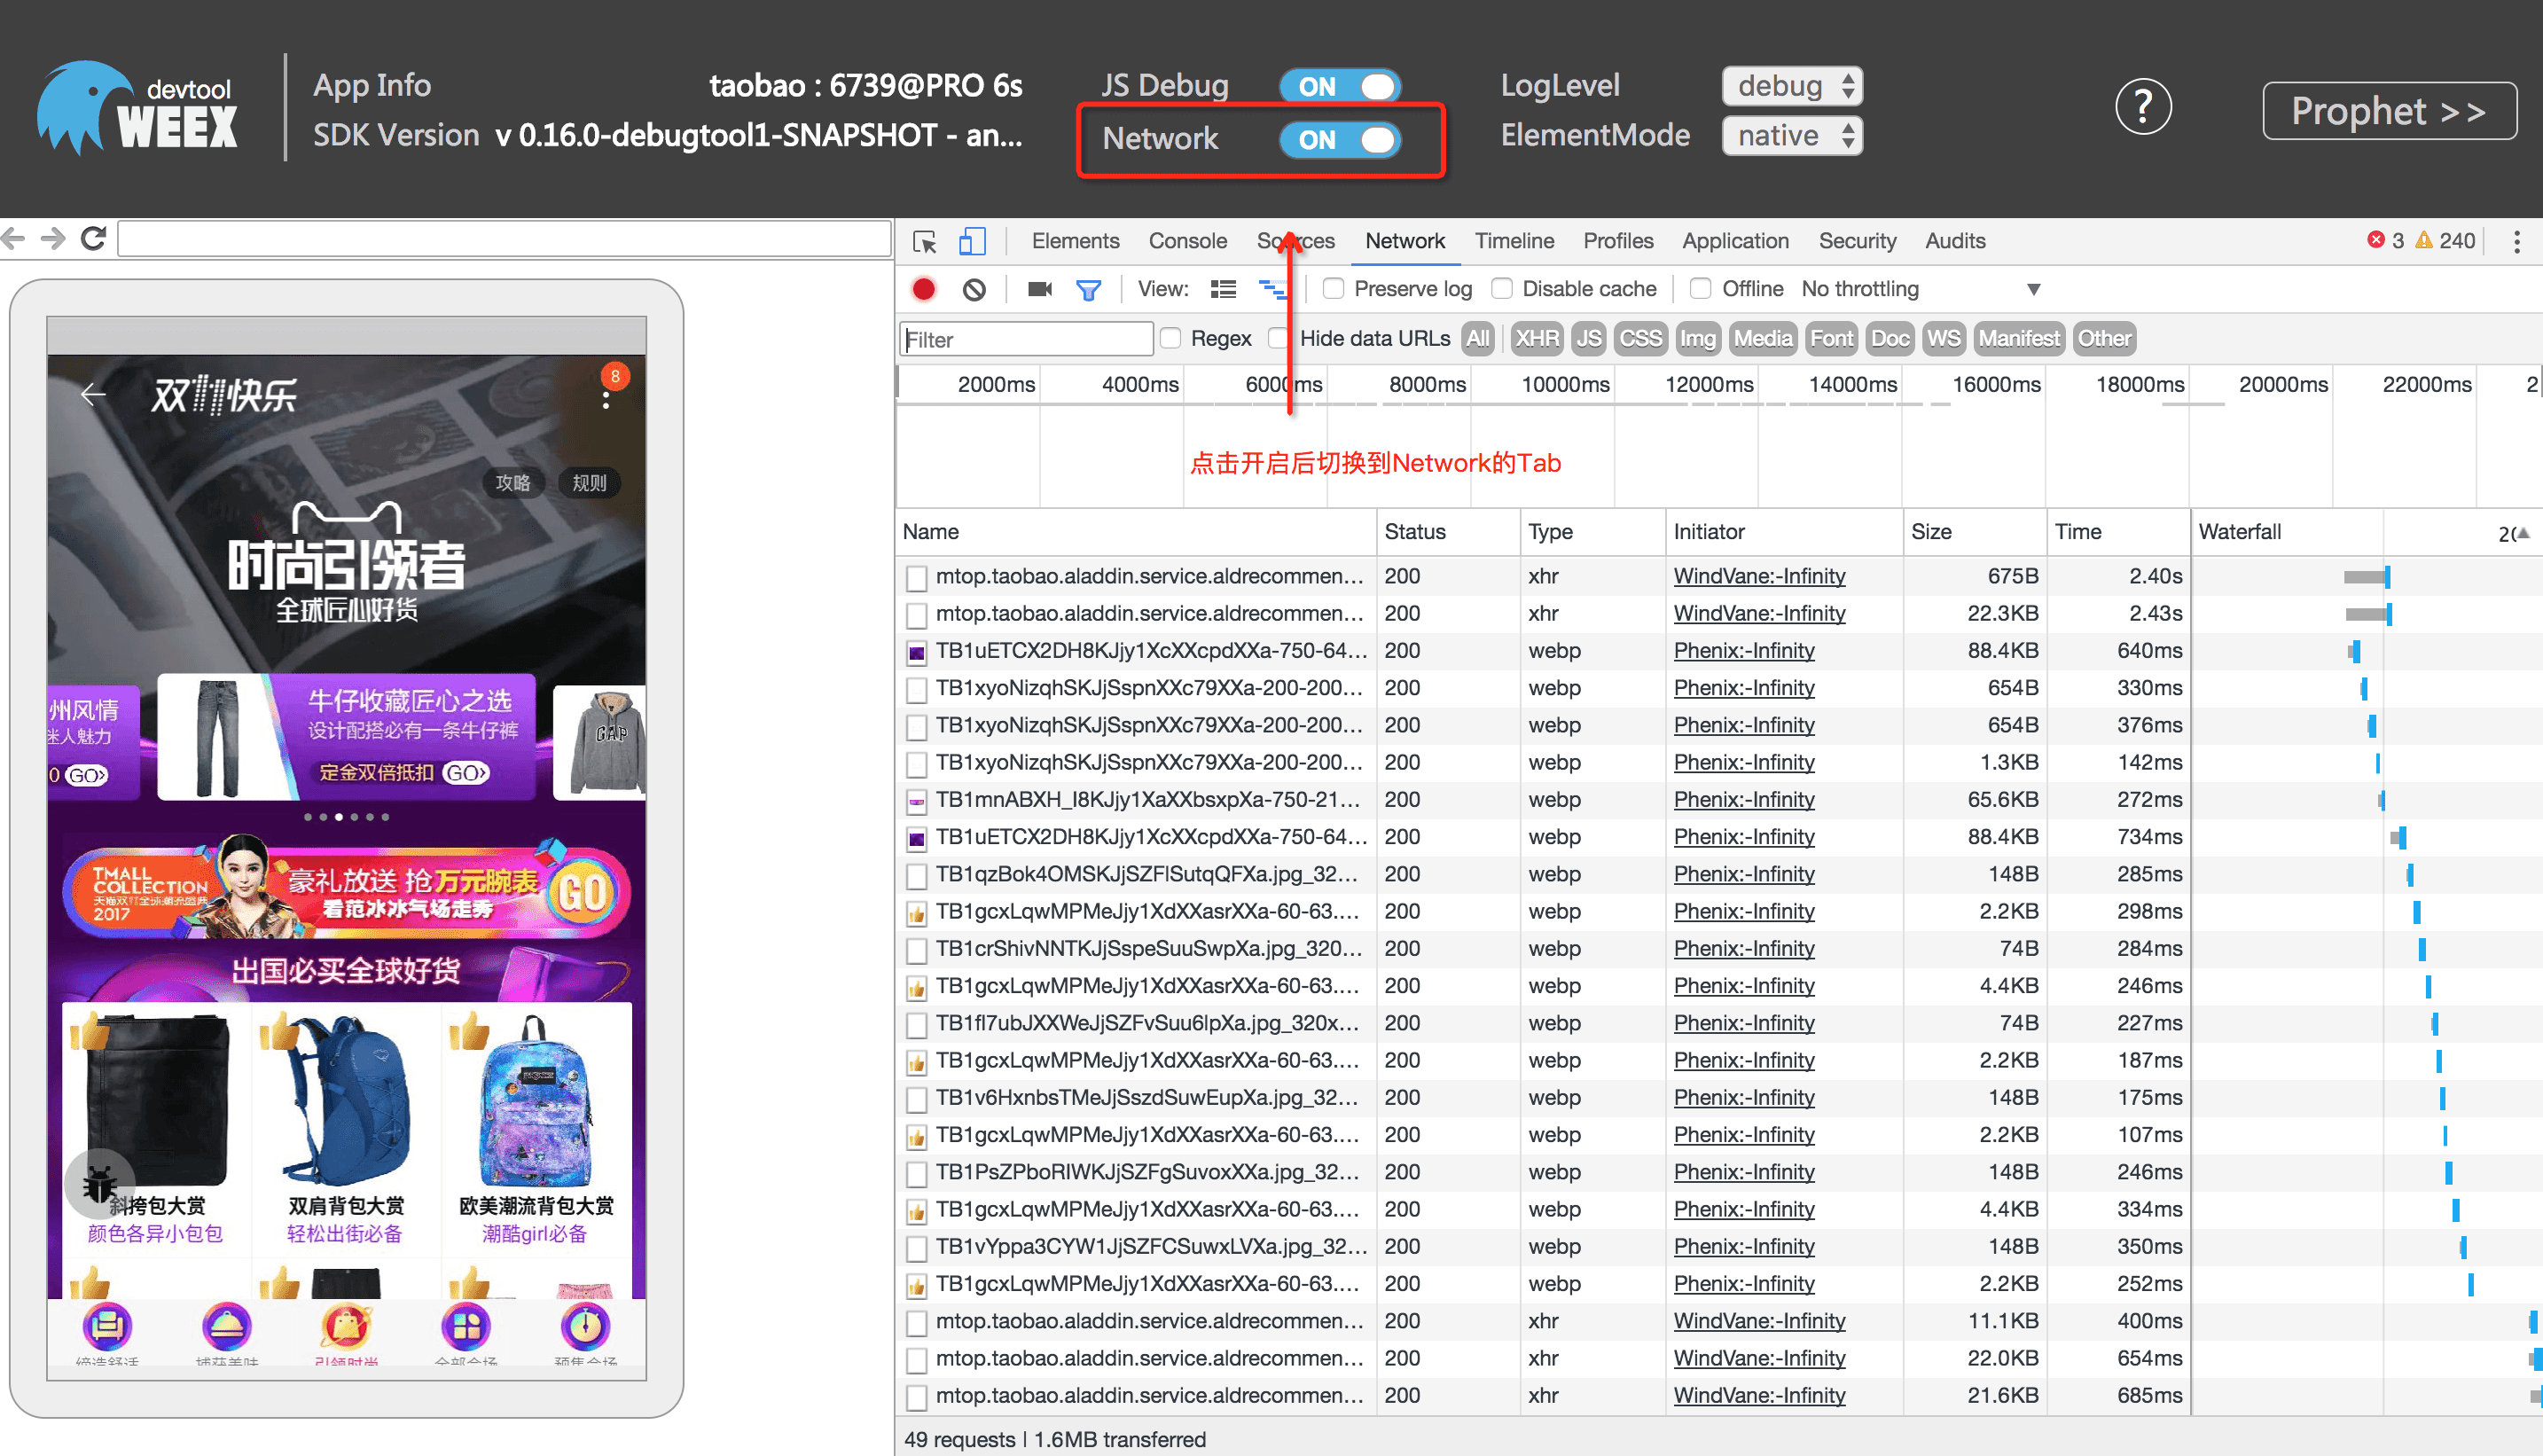 +If you want to add the `weex` code quality check to your project, you can also add the eslint plugin [eslint-plugin-weex] (https://www.npmjs.com/package/eslint-plugin-weex) Way to use. -##### Loglevel & ElementMode -> The LogLevel and ElementMode feature are used to adjust the output configuration of the debugger. +### Development Environment Check - +The `@weex-cli/doctor` module provides a check for the local development environment and can be started with the following command: + +```base +$ weex doctor +``` -#### Integrate devtool -* Android - * See the doc [How to integrate Weex Devtool (Android)](/guide/debug/integrate-devtool-to-android.html), it will lead you to config and use it step by step. -* iOS - * See the doc [How to integrate Weex Devtool (iOS)](/guide/debug/integrate-devtool-to-ios.html), it will lead you to config and use it step by step. +This command will check your local development environment, you can adjust your development environment according to the prompts, in order to develop the weex page. \ No newline at end of file diff --git a/docs/zh/guide/debug/integrate-devtool-to-android.md b/docs/zh/guide/debug/integrate-devtool-to-android.md index 75f20b667..1ee760f7e 100644 --- a/docs/zh/guide/debug/integrate-devtool-to-android.md +++ b/docs/zh/guide/debug/integrate-devtool-to-android.md @@ -1,28 +1,16 @@ ---- -title: 集成 Devtools 到 Android -type: guide -group: 调试 -order: 5.4 -version: 2.2 ---- - -<!-- toc --> +# 概要 Weex Devtools 能够方便调试 Weex 页面,但此功能离不开 Native 的支持。如何让你的 App 也集成 Devtools,在本章将会详细说明 Android 端如何接入 Weex Devtools。 #### 版本兼容 -| weex sdk | weex inspector | Debugger Server | -|----------|----------------|-----------------| -| 0.13+ | 0.12+ | 0.2.39+ | -| 0.8.0.1+ | 0.0.8.1+ | 0.2.39+ | -| 0.7.0+ | 0.0.7.13 | 0.2.38 | -| 0.6.0+ | 0.0.2.2 | - | -| 0.16.0+ | 0.12.1 | - | -| 0.17.0+ | 0.13.2 | - | -| 0.18.0+ | 0.13.4-multicontext | - | -| 0.19.0+ | 0.18.68 | - | -| 0.20.3.0-beta | 0.20.3.0-beta | - | +| weex sdk | weex inspector | +|----------|----------------| +| 0.16.0+ | 0.12.1 | +| 0.17.0+ | 0.13.2 | +| 0.18.0+ | 0.13.4-multicontext | +| 0.19.0+ | 0.18.68 | +| 0.20.3.0-beta | 0.20.3.0-beta | ## Android接入指南 diff --git a/docs/zh/guide/debug/integrate-devtool-to-ios.md b/docs/zh/guide/debug/integrate-devtool-to-ios.md index e69de29bb..435474461 100644 --- a/docs/zh/guide/debug/integrate-devtool-to-ios.md +++ b/docs/zh/guide/debug/integrate-devtool-to-ios.md @@ -0,0 +1,179 @@ +# 概要 + +Weex Devtools 能够方便调试 Weex 页面,但此功能离不开 Native 的支持。如何让你的 App 也集成 Devtools,在本章将会详细说明 iOS 端如何接入 Weex Devtools。 + +- iOS 应用接入DevTool +- 和Debug Server 配合使用 + + +#### 版本兼容 + +| weex sdk | weex inspector | +|----------|----------------| +| 0.16.0+ | 0.15.3 | +| 0.17.0+ | 0.16.0 | +| 0.18.0+ | 0.16.3+ | +| 0.19.0+ | 0.17.2+ | +| 0.20.0+ | 0.20.0+ | + + +## iOS接入指南 + +### 添加依赖 + +建议在DEBUG模式下依赖 + + +#### 方法1: cocoapods 依赖 + +在工程目录的 podfile 添加如下代码 + +``` +source https://github.com/CocoaPods/Specs.git, +pod 'WXDevtool', '0.20.0', :configurations => ['Debug'], +``` + + +可以通过更新本地 podspec repo,pod search 来查询最新版本,在 podfile 文件添加依赖。 + + + +#### 方法二:github 源码依赖 + + +1. `git clone [email protected]:weexteam/weex-devtool-iOS.git` + +2. 如下图示:拖动source目录源文件到目标工程中 + +  + +3. 按照红框中配置勾选 + +  + + + 在相对较大的互联网 App 研发中, framework 静态库被广泛应用,所以推荐使用方法一接入。 + +### 集成功能 + +参考`PlayGround`中的实现 + + +``` +//方法1 pod依赖方式 +#import <TBWXDevtool/WXDevtool.h> + +//方法2 源码依赖方式 +#import "WXDevtool.h" + +``` + +查看 WXDevtool 头文件如下: + +```object-c +@interface WXDevTool : NSObject + ++ (void)setDebug:(BOOL)isDebug; + ++ (BOOL)isDebug; + ++ (void)launchDevToolDebugWithUrl:(NSString *)url; + +@end +``` + +`setDebug`:参数为 `YES` 时,直接开启调试模式,反之关闭,使用场景如下所述 + +#### 扫码调试 + +如果你的应用中存在扫码功能或即将集成扫码功能,推荐使用该方式进行集成,Demo 地址见: [Playground App](https://github.com/weexteam/weex-devtool-iOS/blob/master/playground/WeexDemo/Scanner/WXScannerVC.m) + +核心代码为获取扫码链接中的`_wx_devtool`参数,并将调试工具与调试服务器链接: + +```object-c +[WXDevTool launchDevToolDebugWithUrl:@"ws://{ip}:{port}/debugProxy/native/{channelid}"]; +``` + +#### 直接链接 + +如果你需要直接让你的应用链接上Weex调试工具,你需要通过如下方式进行集成: + +1. 命令行运行`weex debug --port 8888 --channelid 1` 去指定端口号及调试进程ID. +2. 添加如下代码到你的应用中,注意替换对应的`{ip}`,`{port}`,`{channelid}`为你本地的值。 + +```object-c +[WXDevTool setDebug:NO]; +[WXDevTool launchDevToolDebugWithUrl:@"ws://{ip}:{port}/debugProxy/native/{channelid}"]; +``` +如果程序一启动就开启 Weex 调试,**需要在 WeexSDK 引擎初始化之前**添加代码,同时需要将Debug开关设置为`NO`,进入调试界面后再打开`JS Debug`开关(服务链接时对于纯weex项目会丢失首屏Weex页面的消息导致白屏)。 + +### 附加页面刷新功能 + +- 为什么需要页面刷新功能? + + 如下图所示,当点击 debugger 按钮时,js 的运行环境会从手机端(JavaScriptCore)切换到 Chrome(V8),这时需要重新初始化 Weex 环境,重新渲染页面。页面渲染是需要接入方在自己的页面添加。 + +  + +- 什么场景下需要添加页面刷新功能? + + - 切换 JSDebug 开关时刷新页面 + - 刷新 Chrome 页面(command+R) + +- 如何添加刷新 + - 具体实现可参考 [Playground App](https://github.com/weexteam/weex-devtool-iOS/blob/master/playground/WeexDemo/WXDemoViewController.m) `WXDemoViewController.m` 例子 + + 在 Weex 页面初始化或 `viewDidLoad` 方法时添加注册通知,举例如下: + + ```object-c + [[NSNotificationCenter defaultCenter] addObserver:self selector:notificationRefreshInstance: name:@"RefreshInstance" object:nil]; + ``` + + 最后**千万记得**在 `dealloc` 方法中取消通知,如下所示 + + ``` + - (void)dealloc + { + [[NSNotificationCenter defaultCenter] removeObserver:self]; + } + ``` + + 页面刷新实现,先销毁当前 instance,然后重新创建 instance,举例如下: + + ``` + - (void)render + { + CGFloat width = self.view.frame.size.width; + [_instance destroyInstance]; + _instance = [[WXSDKInstance alloc] init]; + _instance.viewController = self; + _instance.frame = CGRectMake(self.view.frame.size.width-width, 0, width, _weexHeight); + + __weak typeof(self) weakSelf = self; + _instance.onCreate = ^(UIView *view) { + [weakSelf.weexView removeFromSuperview]; + weakSelf.weexView = view; + [weakSelf.view addSubview:weakSelf.weexView]; + UIAccessibilityPostNotification(UIAccessibilityScreenChangedNotification, weakSelf.weexView); + }; + _instance.onFailed = ^(NSError *error) { + + }; + _instance.renderFinish = ^(UIView *view) { + [weakSelf updateInstanceState:WeexInstanceAppear]; + }; + + _instance.updateFinish = ^(UIView *view) { + }; + if (!self.url) { + return; + } + NSURL *URL = [self testURL: [self.url absoluteString]]; + NSString *randomURL = [NSString stringWithFormat:@"%@?random=%d",URL.absoluteString,arc4random()]; + [_instance renderWithURL:[NSURL URLWithString:randomURL] options:@{@"bundleUrl":URL.absoluteString} data:nil]; + } + ``` + + + +*说明:目前版本需要注册的通知名称为固定的 “RefreshInstance”,下个版本会添加用户自定义 name 。* diff --git a/docs/zh/tools/toolkit.md b/docs/zh/tools/toolkit.md index e414e3d51..af187b5a0 100644 --- a/docs/zh/tools/toolkit.md +++ b/docs/zh/tools/toolkit.md @@ -1,105 +1,145 @@ -# Weex Toolkit +# 介绍 -[Weex Toolkit](https://github.com/weexteam/weex-toolkit) 是官方提供的一个脚手架命令行工具,你可以使用它进行 Weex 项目的创建,调试以及打包等功能。 +::: warning 警告 +这份文档是对应 `weex-toolkit` **2.x** 版本的。老版本的 `weex-toolkit` 文档请移步[这里](https://github.com/weexteam/weex-toolkit/blob/v1.0/README.md)。 +::: -## 安装 +[Weex Toolkit](https://github.com/weexteam/weex-toolkit) 致力于将 Weex 生态中的工具基础标准化。它确保了各种构建工具能够基于智能的默认配置即可平稳衔接,这样你可以专注在撰写应用上,而不必花好几天去纠结配置的问题。 -``` bash -$ npm install -g weex-toolkit -``` +## 系统组件 -> 如果你本地没有安装 node.js 你可以前往[Nodejs 官网](https://nodejs.org/en/)下载安装, 并确保你的 node 版本是>=6,你可以使用 [n](https://github.com/tj/n) 来进行 node 的版本管理。 +[Weex Toolkit](https://github.com/weexteam/weex-toolkit) 在新版本中将各个功能模块拆分成了独立的几个部分,如果你看到我们的[源代码](https://github.com/weexteam/weex-toolkit/tree/master/packages/%40weex),你会发现我们在仓库中通过[Lerna](https://lernajs.io/)管理了多个单独发布的包,提供如下功能模块: -中国用户如果npm遭遇网络问题,可以使用淘宝的 [npm镜像](https://npm.taobao.org/)或通过[nrm](https://www.npmjs.com/package/nrm)工具切换你的npm镜像: +- `@weex-cli/core` 内核模块用于模块调用及升级管理,该内核: + - 可升级; + - 可以通过插件及扩展进行能力定制; + - 提供全局可配置的文件; +- `@weex-cli/generator` 模块快速搭建交互式的项目脚手架。 +- `@weex-cli/compile` 模块快速零配置编译工程文件。 +- `@weex-cli/preview` 模块快速零预览Weex页面。 +- `@weex-cli/debug` 模块对Weex页面进行编译调试。 +- `@weex-cli/doctor` 模块快速检查用户本地开发环境。 +- `@weex-cli/lint` 模块对本地`.vue`文件进行质量诊断。 +- `@weex-cli/preview` 模块快速零预览Weex页面。 +- `@weex-cli/device` 模块快速管理用户本地设备。 +- `@weex-cli/run` 模块快速运行`iOS/Android/Web`工程。 -``` bash -$ npm install weex-toolkit -g --registry=https://registry.npm.taobao.org -// 或者 -$ npm use taobao -$ npm install weex-toolkit -g -``` +# 如何使用 + +::: warning 警告 +如果你本地没有安装 node.js 你可以前往[Nodejs 官网](https://nodejs.org/en/)下载安装, 并确保你的 node 版本是>=7.6.0,你可以使用 [n](https://github.com/tj/n) 来进行 node 的版本管理。 +::: + +## 安装 -如果你安装的过程中遇到了问题,你可以在[weex-toolkit常见问题](https://github.com/weexteam/weex-toolkit/blob/master/README-zh.md#%E5%B8%B8%E8%A7%81%E9%97%AE%E9%A2%98)中找到解决方法或者在[weex-toolkit issues](https://github.com/weexteam/weex-toolkit/issues)中进行反馈。 +如果你安装的过程中遇到了问题,你可以在[这里](https://github.com/weexteam/weex-toolkit/issues)进行问题搜索及反馈。 +``` bash +$ npm install weex-toolkit@alpha -g +``` ## 命令 -### create +### 创建工程 + ```bash # 从官方模板中创建项目 $ weex create my-project - -# 从github上下载模板到本地 -$ weex create username/repo my-project ``` -从官方模板或者远程源创建项目模板,你也可以创建你自己的`weex`项目模板,更多细节你可以查看[如何创建你自己的模板](https://github.com/weex-templates/How-to-create-your-own-template). +`@weex-cli/generator` 模块使用 [`download-git-repo`](https://github.com/flipxfx/download-git-repo) 去下载模板文件. `download-git-repo` 工具允许你指定特定的分支及远程仓库地址进行项目下载,指定分支通过 (`#`) 符号进行分隔. -### preview +下载特定分支下的模板格式如下: +```bash +$ weex create '<template-name>#<branch-name>' <project-name> +``` -weex-toolkit工具支持对你的Weex文件(`.we`或`.vue`)在监听模式下进行预览,你只需要指定一下你的项目路径。 +例如: -自`weex-toolkit v1.1.0+`版本后修改 -``` bash -$ weex preview src/foo.vue +```bash +$ weex create weex-templates/webpack#v1.0 my-project ``` -浏览器会自动得打开预览页面并且你可以看到你的weex页面的布局和效果。如果你在你的设备上安装了[Playground](/zh/tools/dotwe.html),你还可以通过扫描页面上的二维码来查看页面。 +该命令将会通过[weex-templates/webpack](https://github.com/weex-templates/webpack/tree/v1.0)项目的`v1.0`分支进行项目初始化。 -使用下面的命令,你将可以预览整个文件夹中的`.vue`文件 +你可以从官方模板或者远程源创建项目模板,也可以创建你自己的`weex`项目模板,更多细节你可以查看[如何创建你自己的模板](https://github.com/weex-templates/How-to-create-your-own-template). -``` bash -$ weex src --entry src/foo.vue +### 编译页面 + +`@weex-cli/compile` 模块提供对 Weex 项目中 `.vue` 文件的编译能力,你可以在官方项目中使用,也可以直接对单个`.vue`文件进行零配置的沙箱编译,使用方法如下: + +```bash +$ weex compile [资源文件] [产物地址] <options> ``` -你需要指定要预览的文件夹路径以及入口文件(通过`--entry`传入)。 +例如: + +```bash +$ weex compile src build +``` + +或 + +```bash +$ weex compile src/index.vue build +``` #### 选项 -| Option | Description | +| 选项 | 描述 | | -------- | :----- | -|`-b,--base [path]` | set the base path of source| -|`-d,--devtool [devtool]` |set webpack devtool mode| -|`-c,--config [path]` | compile with specify webpack config file | -|`-m, --min`| set jsbundle uglify or not. [default `false`]| +|`-w, --watch` | 监听文件改动并实时编译 [默认: `true`]| +|`-d,--devtool [devtool]` |设置webpack编译的devtool选项| +|`-e,--ext [ext]` | 设置默认编译文件 [默认: `.vue`] | +|`-m, --min`| 对产物进行代码混淆及压缩 [默认: `false`]| +|`-c, --config`| 传入webpack配置文件 [默认: `false`]| +|`-b, --base`| 设置基础路径 [默认: `process.cwd()`]| + +### 预览页面 + +`@weex-cli/preview` 模块提供对 Weex 项目中 `.vue` 文件的编译及预览能力,你可以在官方项目中使用,也可以直接对单个`.vue`文件进行零配置的沙箱预览,使用方法如下: + +``` bash +$ weex preview [file | folder] <options> +``` -### compile +浏览器会自动得打开预览页面并且你可以看到你的weex页面的布局和效果。如果你在你的设备上安装了[Weex Playground App](/tools/),你还可以通过扫描页面上的二维码来查看页面。 -使用 `weex compile` 命令可以编译单个weex文件或者整个文件夹中的weex文件。 +使用下面的命令,你将可以预览整个文件夹中的`.vue`文件 ``` bash -$ weex compile [source] [dist] [options] +$ weex src --entry src/foo.vue ``` +你需要指定要预览的文件夹路径以及入口文件(通过`--entry`传入)。 + #### 选项 -| Option | Description | +| 选项 | 描述 | | -------- | :----- | -|`-w, --watch` | 开启watch模式,同步文件改动并进行编译| -|`-d,--devtool [devtool]`|设置devtool选项| -|`-e,--ext [ext]`| 设置文件拓展名,默认为vue| -|`-m, --min`| 压缩jsbundle选项| +|`-d,--devtool [devtool]` |设置webpack编译的devtool选项| +|`-m, --min`| 对产物进行代码混淆及压缩 [默认: `false`]| +|`-c, --config`| 传入webpack配置文件 [默认: `false`]| +|`-b, --base`| 设置基础路径 [默认: `process.cwd()`]| -你可以这样子使用: +### 添加iOS/Android工程 -``` bash -$ weex compile src dest --devtool source-map -m -``` +`@weex-cli/generator` 模块提供添加添加Weex官方iOS/Android工程功能。 -### platform +使用`weex platform [add|remove] [ios|android]`命令可以添加或移除`iOS/Android`项目模板。 -使用`weex platform [add|remove] [ios|android]`命令可以添加或移除ios/android项目模板。 +例子: ``` bash $ weex platform add ios $ weex platform remove ios ``` -使用 `weex platform list`来查看你的项目中支持的平台。 +该命令仅在 `weex` 官方项目中有效,请注意项目结构,可以使用 `weex platform list`来查看你的项目中支持的平台。 -### run +### 运行iOS/Android工程 -你可以使用`weex-toolkit`来运行android/ios/web项目. +`@weex-cli/run` 模块提供添加运行Weex官方iOS/Android工程功能,你可以通过如下命令使用: ``` bash # 运行 iOS 模拟器预览 @@ -110,93 +150,53 @@ $ weex run android $ weex run web ``` -### debug - -[Weex Debugger](https://github.com/weexteam/weex-debugger) 是实现[Chrome调试协议](https://developer.chrome.com/devtools/docs/debugger-protocol)的Weex自定义开发工具, -主要用于帮助你快速检查您的应用程序,并在Chrome网页中调试您的JS bundle源代码,支持Android和iOS平台。所以你可以通过`weex-toolkit`使用的`weex-devtool`功能。 +### 调试页面 -#### 用法 +`@weex-cli/debug` 模块提供对Weex页面的调试能力,可使用如下命令启动: ``` bash -weex debug [we_file|bundles_dir] [options] +$ weex debug [we_file|bundles_dir] [options] ``` #### 选项 -| Option | Description | +| 选项 | 描述 | | -------- | :----- | -|`-v, --version`| 显示weex-debugger版本信息| -|`-h, --help`| 展示帮助信息 | -|` -H --host [host]`| 设置浏览器打开的host地址(适用于代理环境下,如docker环境等)| -|`-p, --port [port]`| 设置调试服务器的端口,默认值 8088| -|`-m, --manual`|开启该选项后将不会自动打开浏览器| -|`-e,--ext [ext]`|设置文件拓展名用于编译器编译,默认值为`vue`| -|`--min`|开启该选项后将会压缩jsbunlde| -|`--telemetry`|上传用户数据帮助提升weex-toolkit体验| -|`--verbose`|显示详细的日志数据| -|`--loglevel [loglevel]`|设置日志等级,可选silent/error/warn/info/log/debug,默认值为error| -|`--remotedebugport [remotedebugport]`|设置调试服务器端口号,默认值为9222| - -#### 功能介绍 - -##### 连接设备 -使用以下命令打开调试页面,使用测试包扫码,进入你需要调试的weex页面 -``` -$ weex debug -``` -自`weex-toolkit v1.1.0+`版本起默认的debug工具已从[weex-devtool](https://github.com/weexteam/weex-devtool)切换至[weex-debugger](https://github.com/weexteam/weex-debugger),如想使用旧版本devtool,可通过以下命令使用: - -``` -$ weex xbind debugx weex-devtool -$ weex debugx -``` - -##### 链接设备 - -请使用[weex playground app](/tools/playground.html)扫码或使用集成了weex-devtool的app进行扫码,集成方法见[集成devtool工具](#集成devtool工具)。有ios模拟器环境的用户也可以通过点击二维码的方式进行模拟器调试(仅限mac用户使用)。 +|`-p, --port [port]`| 设置调试服务器的端口,[默认:`8088`]| +|`--manual`|开启该选项后将不会自动打开浏览器,[默认:`false`]| +|`--channelid`|指定调试通道ID| +|`--remote-debug-port [port]`|设置调试服务器端口号,[默认:`9222`]| - -##### 编译 `.vue` 文件 -``` -$ weex debug your_weex.vue -``` -点击可扫码的二维码按钮即可打开编译后得到的产物二维码,可直接通过weex playground app 进行扫码预览。 - - - -##### Inspector功能 -> Inspector功能可查看页面的VDOM/Native Tree结构 +#### 如何集成调试工具到自己的APP -注:如不需要此功能尽量保持关闭状态,开启浏览器Inspector界面会增加大量页面通讯,较为影响性能。 +参考文档: +- [1] [集成Weex调试工具(Android)](zh/guide/debug/integrate-devtool-to-android.html) +- [2] [集成Weex调试工具 (iOS)](zh/guide/debug/integrate-devtool-to-ios.html) - - +### 代码质量检查 -##### JS Debug功能 -> JS Debug功能可对weex页面中的Jsbundle进行调试。 +`@weex-cli/lint` 模块提供对Weex代码质量校验功能,可使用如下命令启动: - +```base +$ weex lint [file | folder] <options> +``` +#### 选项 -##### Network功能 -> Network功能可以收集weex应用中的网络请求信息。 +`@weex-cli/lint` 内置 `eslint` 模块用于进行代码质量校验,选项可参考 [ESLint CLI](https://eslint.org/docs/user-guide/command-line-interface)。 - +如果想在你的工程内加入 `weex` 代码质量校验,你也可通过添加eslint插件[eslint-plugin-weex](https://www.npmjs.com/package/eslint-plugin-weex)的方式使用。 -##### LogLevel和ElementMode功能 -> LogLevel和ElementMode功能用于调整调试工具的输出配置。 +### 开发环境检查 -LogLevel分别有 debug/info/warn/log/error五个log等级,切换可输出不同等级的log信息 -ElementMode可以切换Element标签中Domtree显示模式,下图为vdom显示界面,可从标签中看到详细的数据结构: - +`@weex-cli/doctor` 模块提供对本地开发环境的检查,可使用如下命令启动: +```base +$ weex doctor +``` -#### 集成devtool工具 -* Android - * 查看文档 [如何集成Weex调试工具(Android)](/zh/guide/debug/integrate-devtool-to-android.html), 它会引导你一步一步配置和使用它。 -* iOS - * 查看文档 [如何集成Weex调试工具 (iOS)](/zh/guide/debug/integrate-devtool-to-ios.html), 它会引导你一步一步配置和使用它。 +该命令会检查你的本地开发环境,你可根据提示对你的开发环境进行调整,以便进行weex页面的开发工作。 ---------------------------------------------------------------- This is an automated message from the Apache Git Service. To respond to the message, please log on GitHub and use the URL above to go to the specific comment. For queries about this service, please contact Infrastructure at: [email protected] With regards, Apache Git Services