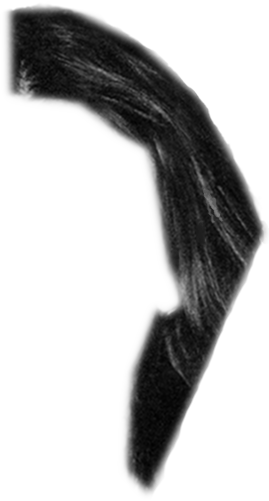
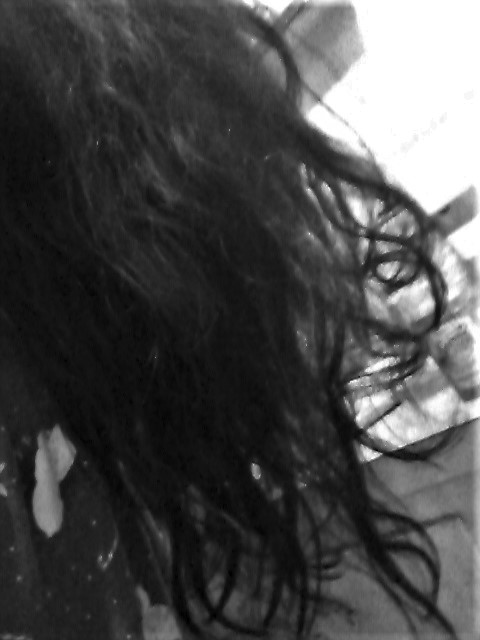
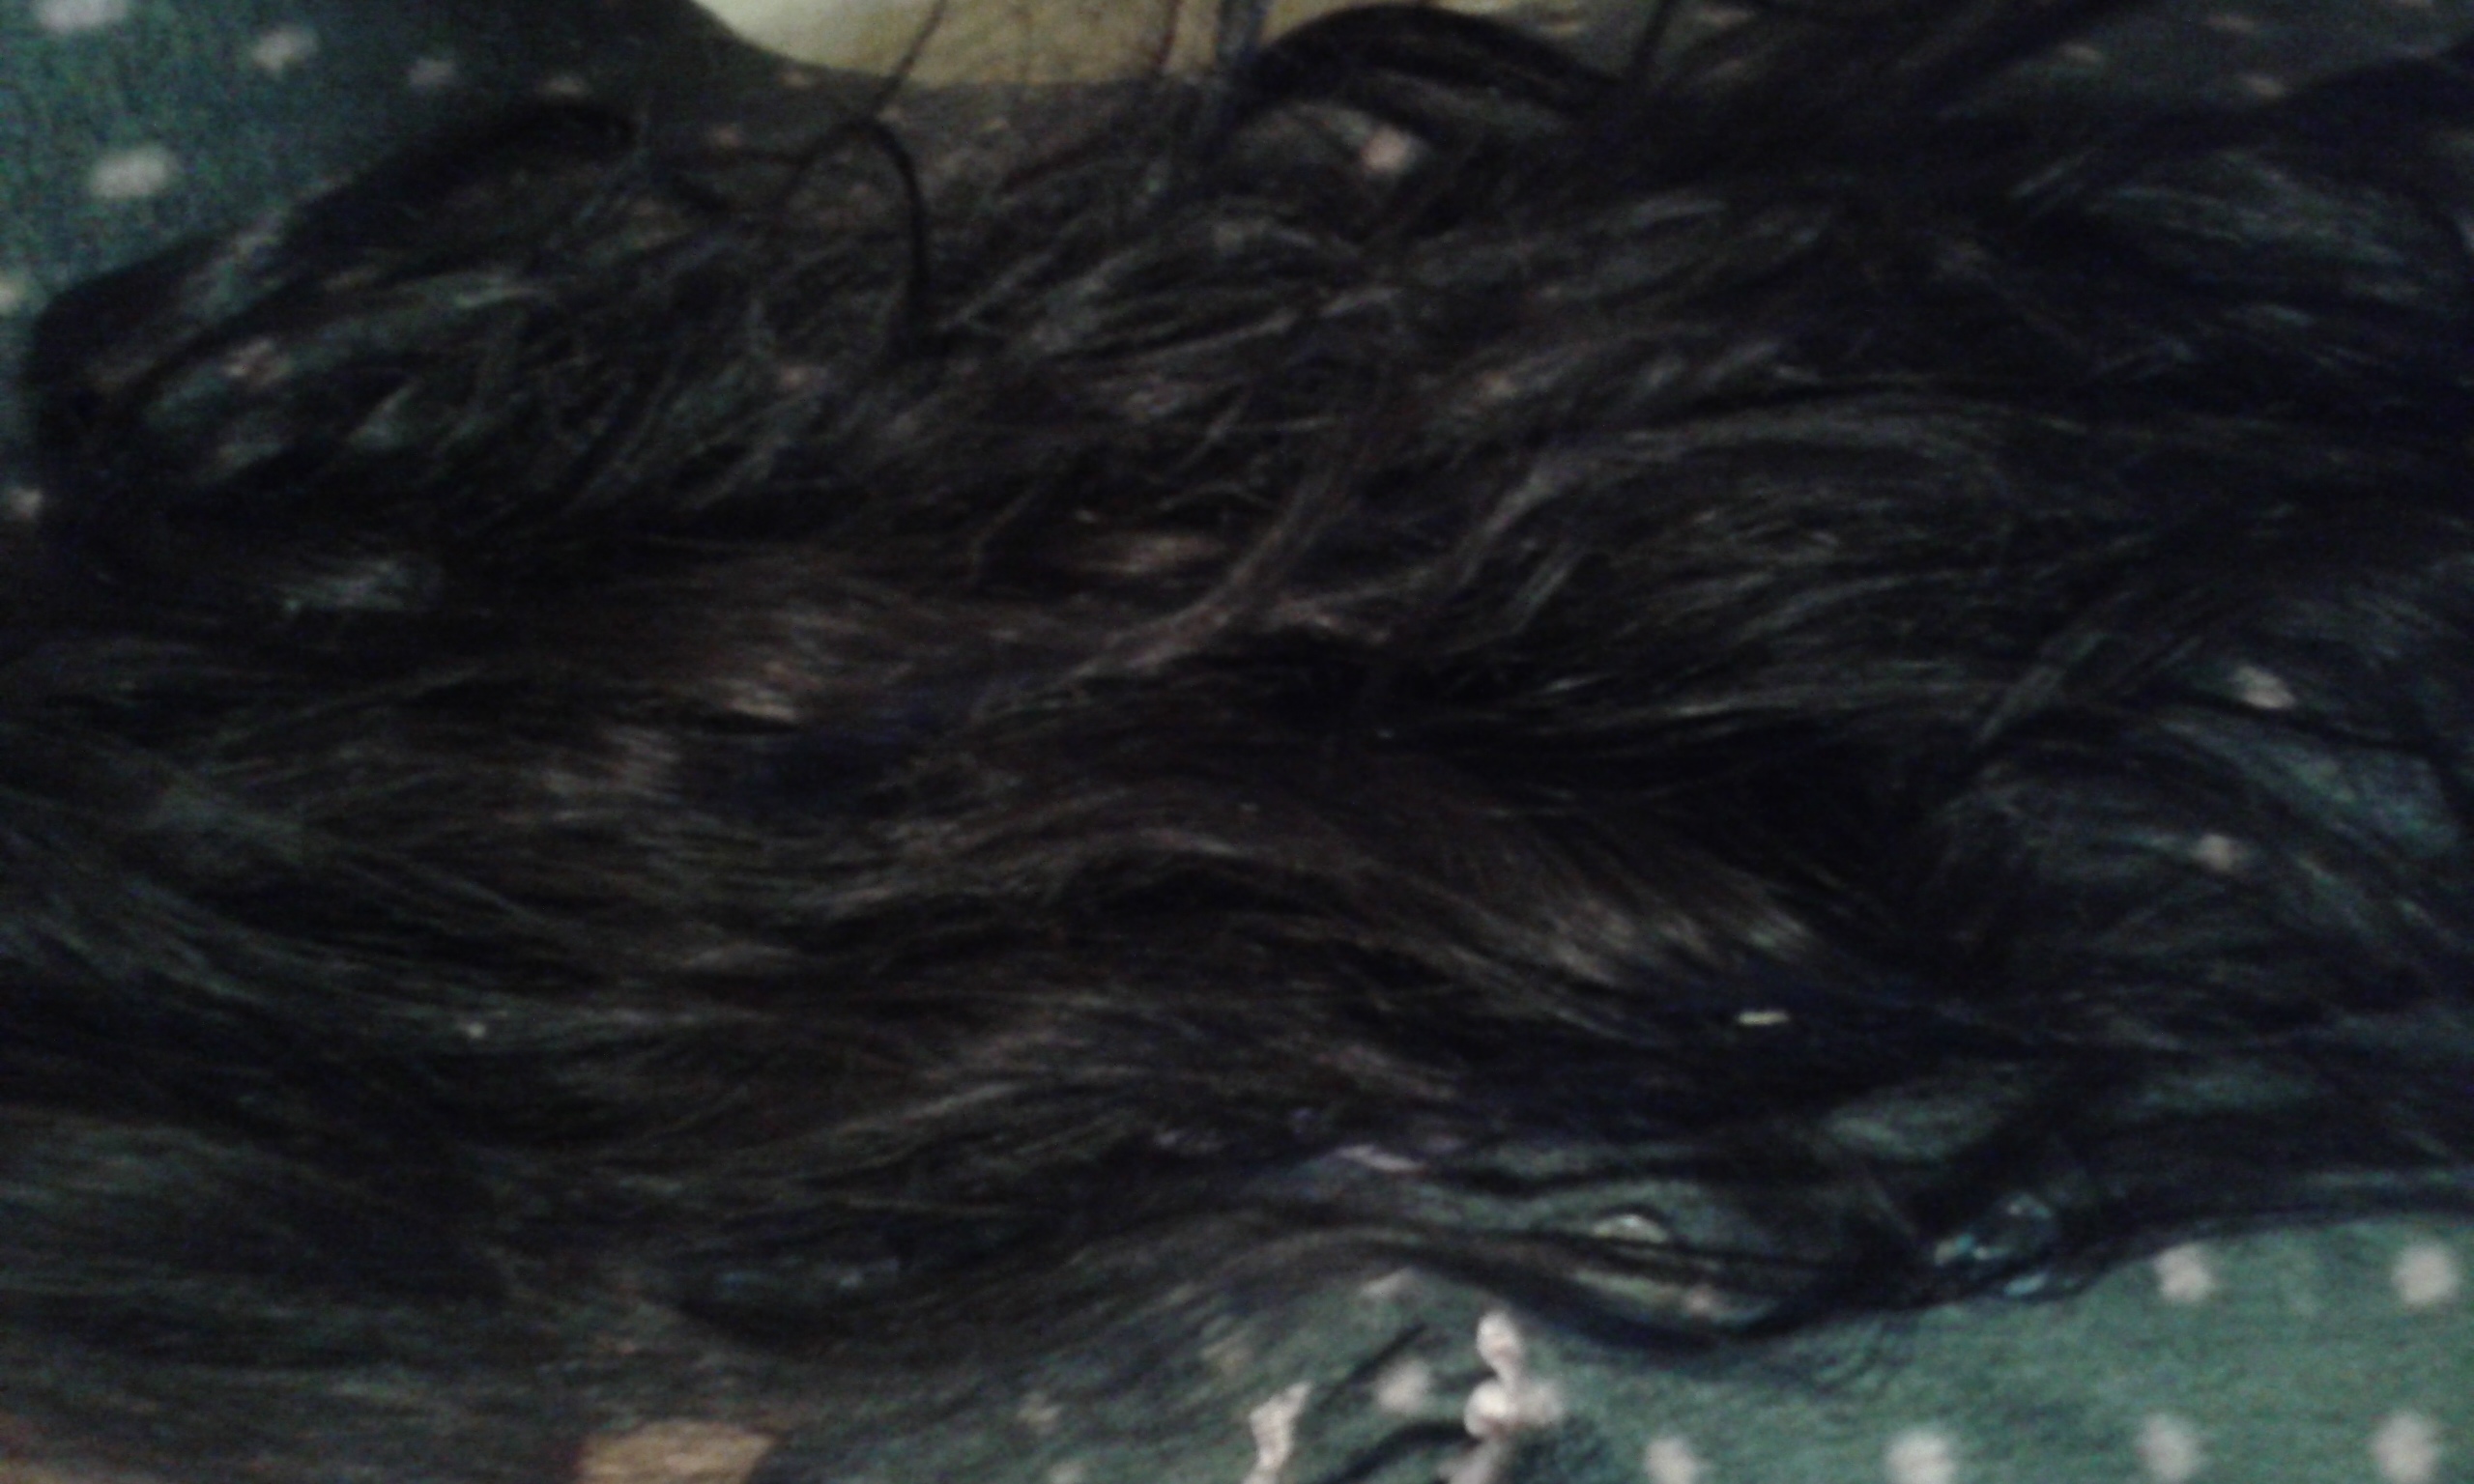
On 10/28/2017 09:41 AM, SpiritWhispers wrote:
> HI. I don't know much about photo editing so here's my question. How can I get
> these three images of hair to match? I need the second and third to match the
> first so I can add and extend the hair length. The hair in the first image was
> cut off by the picture-taker, so I need to add some hair to it. Please help.
> Thanks so much!!!
>
> Attachments:
> * http://www.gimpusers.com/system/attachments/726/original/FirstHairImage.png
> * http://www.gimpusers.com/system/attachments/727/original/20171028_002613.jpg
> * http://www.gimpusers.com/system/attachments/728/original/20171027_114122.jpg
Hair is a canonical "hard problem" in digital graphics, but fortunately
that does not seem to apply in the case at hand:  The big problems arise
when hair is thinly scattered over Background A and you need it to be on
Background B which is very different in color, light, etc. from the
natural Backgound A.  Lucky break, the hair in the images above does not
seem to present that problem.

Fist thing I would do is open the image with the "cut" hair in the GIMP,
drag and drop to open the replacement/extension hair on a new layer
above that one, and dial the new layer's opacity back to about 50%.
Then I would drag and rotate the "new" hair layer as required to align
it with the "cut" hair image, and scale it to match.  When a close
enough match accomplished, save the work in progress as an XCF file and
move on to stage two.

Make the new hair layer fully opaque (i.e. visible), add a layer mask
(see Layers dialog dock) and fill the new mask with gray, about midway
between black and white.  This will make the top layer about 50%
transparent, but with a big difference:  Paining with white while the
mask is selected will make the new layer fully visible just where you
want it to be, painting with black will "erase" the new layer from the
image without actually deleting the pixels in question.  The beauty
part:  You can "bring back" bits of the layer made invisible by adding
black to the mask, by adding white to the same part of the mask.

When something close to an acceptable blending of the new hair into the
cut hair is done, save your work again and move on to stage three.

In the layers dialog, left-click on your top layer and select "New from
visible."  Make sure the new layer is selected, then switch on the
Smudge tool, get an appropriate brush, and start smearing and blending
where new hair joins cut hair.  With any luck, acceptable results should
only take a few minutes.

If you were working with higher resolution color images, this could be a
very difficult and time consuming task.  But the sample images provided
suggest that combining them as required should not present any big
obstacles.  If you're new to this, finding the tools mentioned above and
learning how they work should not be hard, search on this page as
necessary:  https://docs.gimp.org/2.8/en/

When you get this job done, you will be well on your way to knowing much
more about photo editing, in the sense of being able to do things that
amaze the general public - because they don't know how easy those things
are.

:o)


_______________________________________________
gimp-user-list mailing list
List address:    [email protected]
List membership: https://mail.gnome.org/mailman/listinfo/gimp-user-list
List archives:   https://mail.gnome.org/archives/gimp-user-list