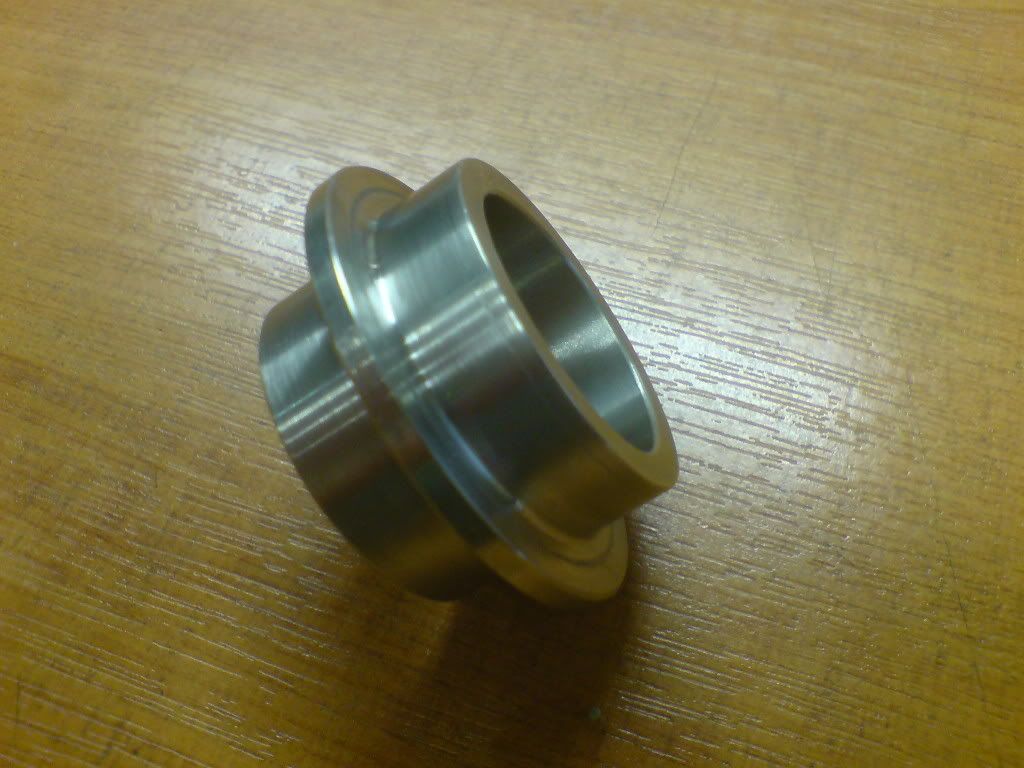
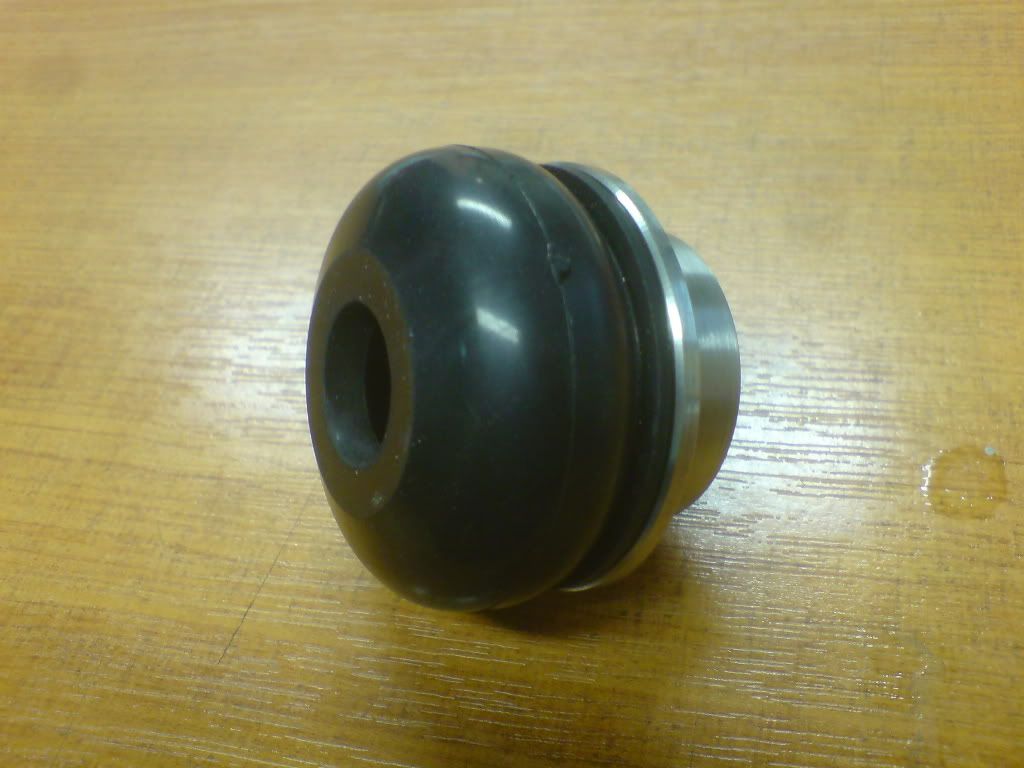
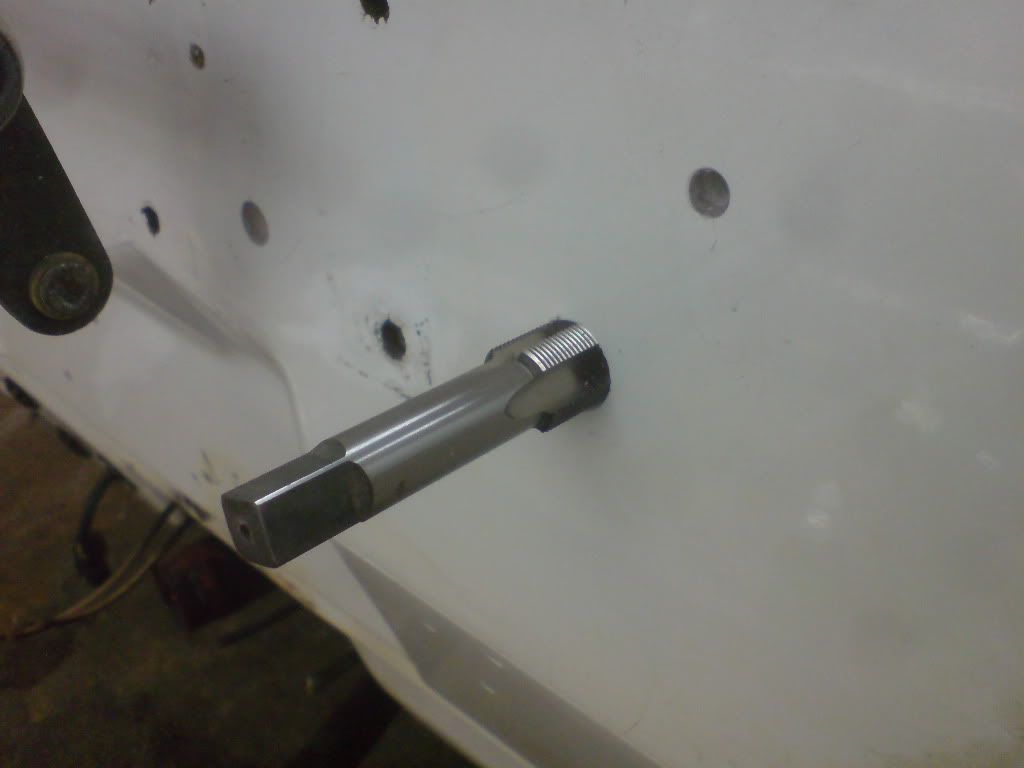
Latest progress

Since the steering column to bulkhead seal is no longer available from
ford I had to come up with a solution since mine was shot and I don’t
like not being able to obtain spares, I found these on ebay and they
seem readily available elsewhere too
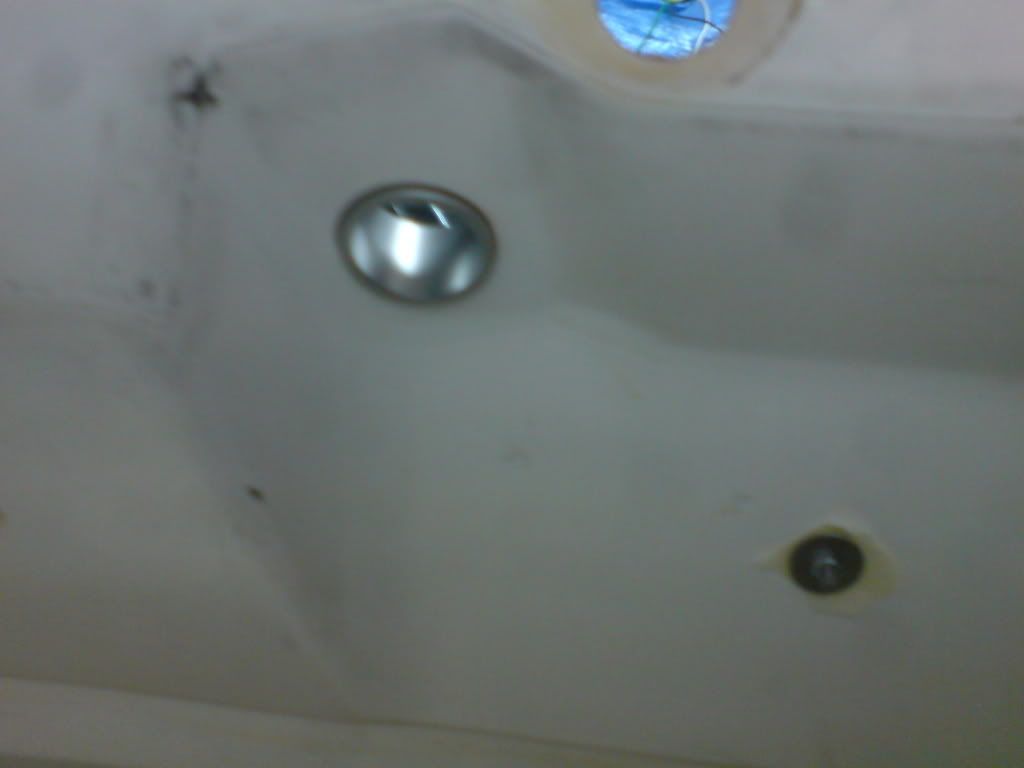
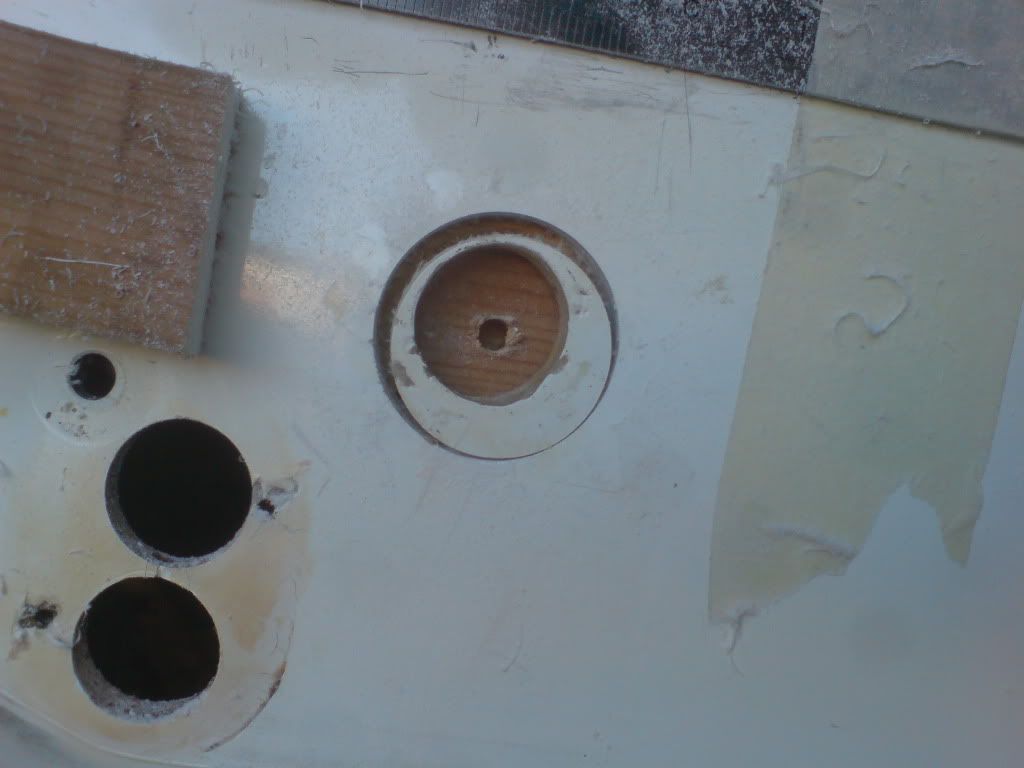
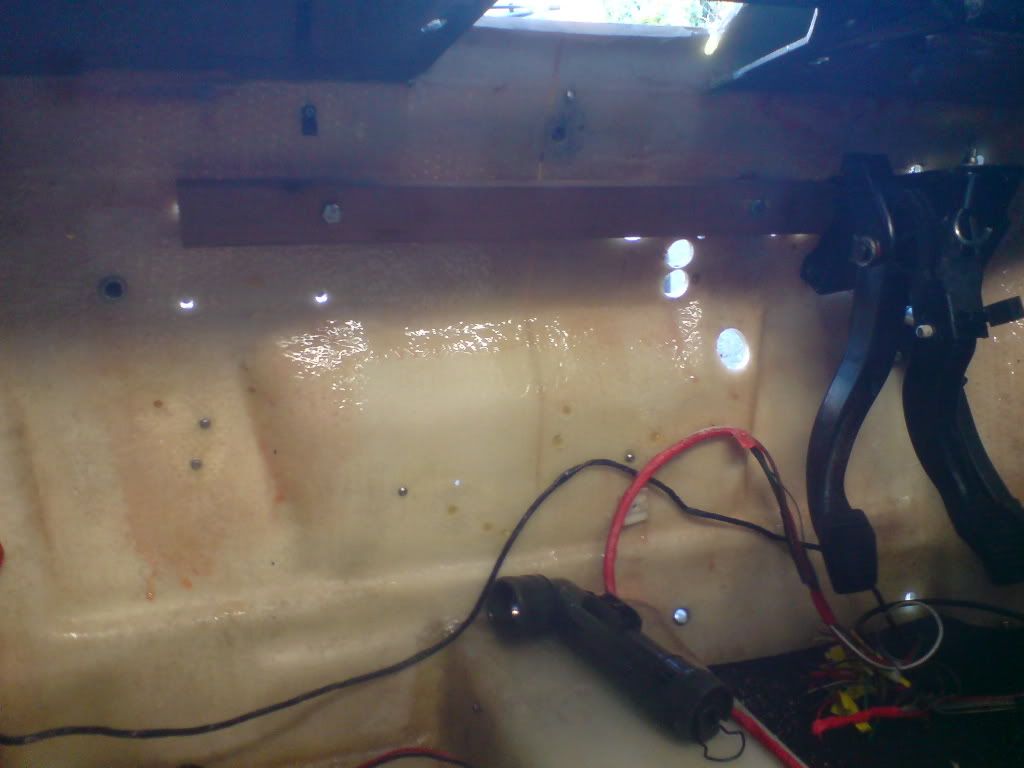
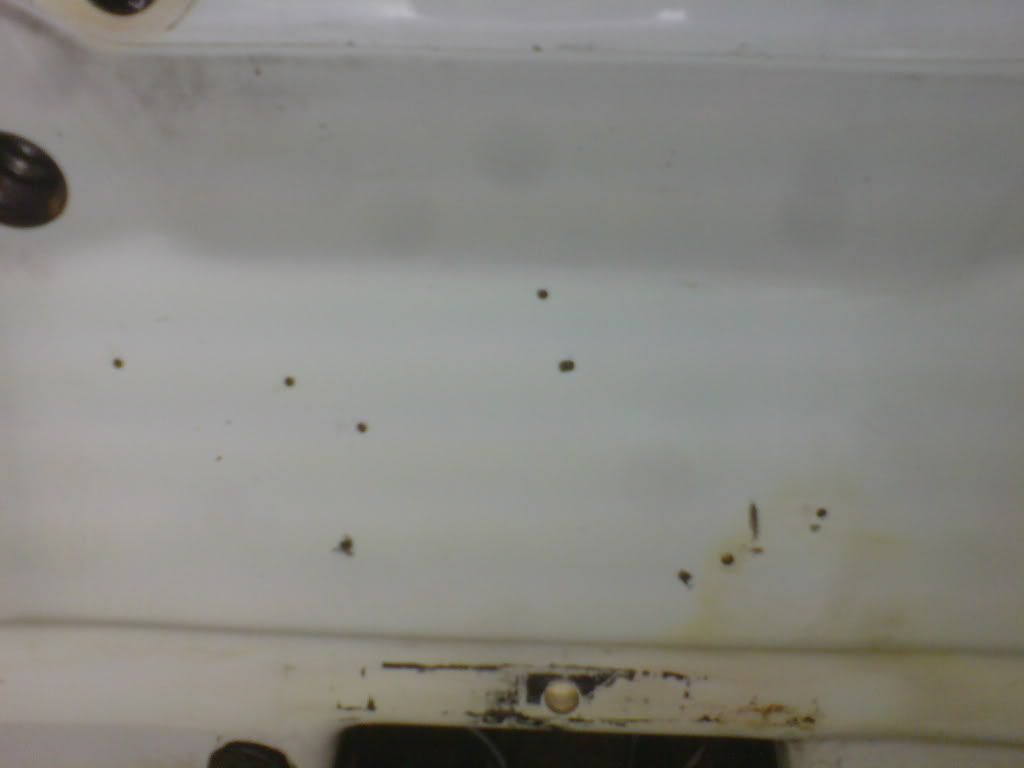
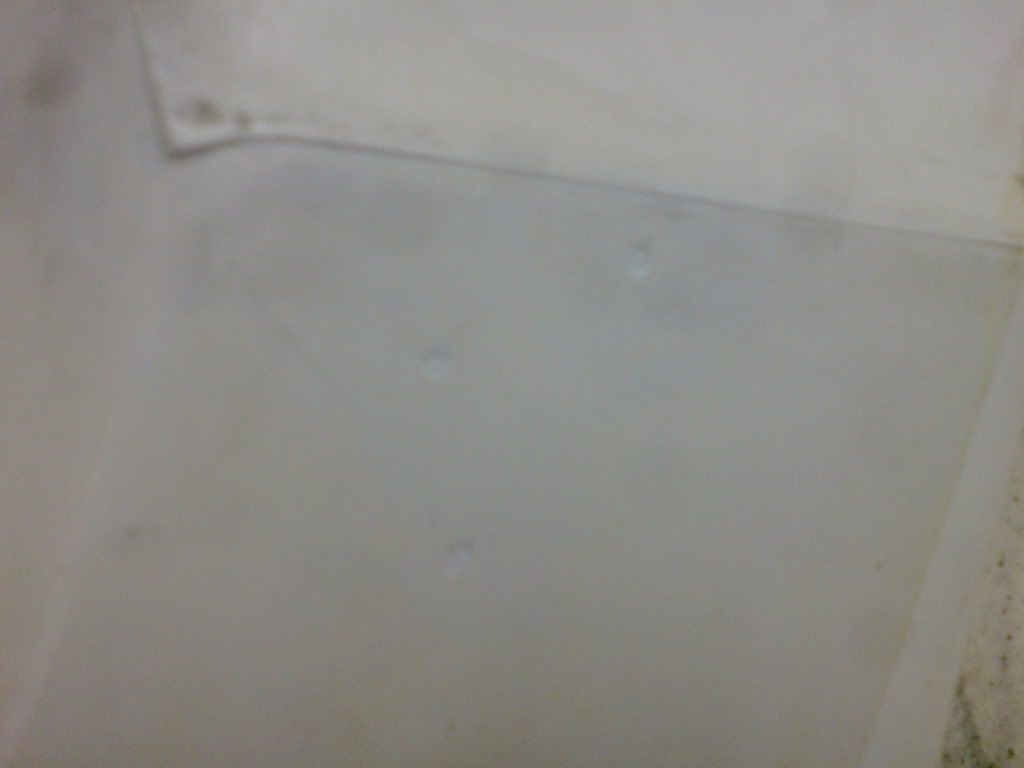
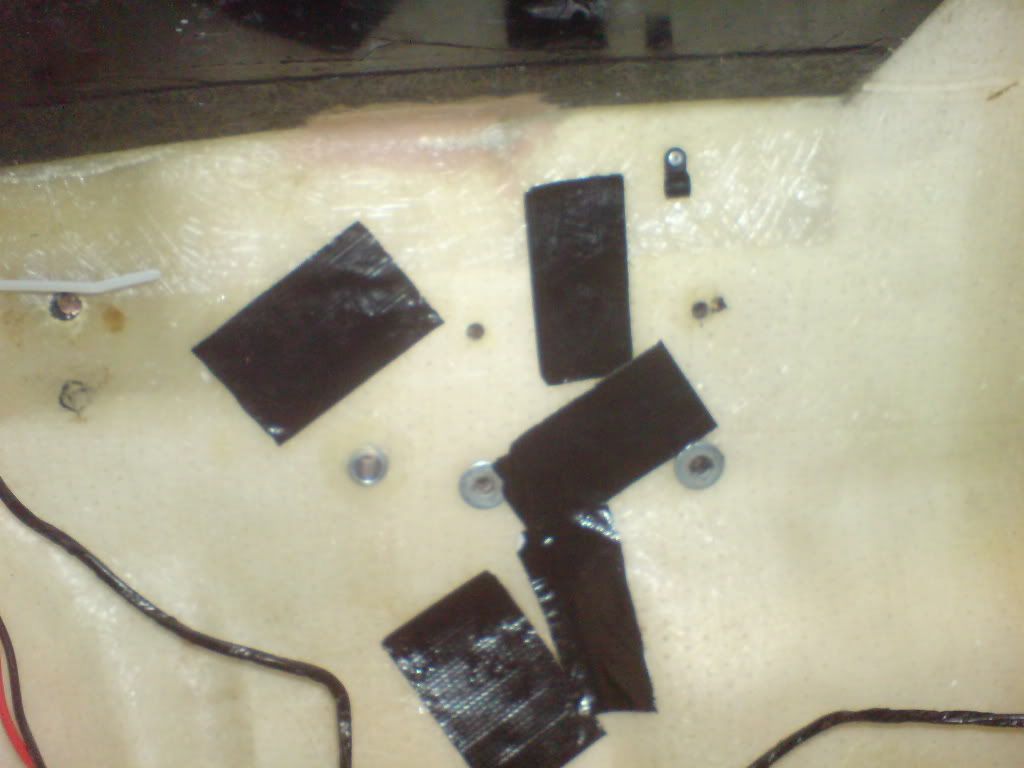
http://www.ebay.co.uk/itm/2-X-SLIDE-A-BOOT-EXTRA-LARGE-BALL-JOINT-TRACK-ROD-END-RUBBER-GREASE-DUST-COVERS-/170761619355?_trksid=p4340.m503&_trkparms=algo%3DRIC.CFNP%26its%3DI%26itu%3DUA%26otn%3D10%26pmod%3D180773395500%26ps%3D63%26clkid%3D5667536230476916310


the thinking being they are meant for a shaft turning within them and
a spot of grease will keep them lubed, they are polyurethane too so
should last better.
I made a stainless boss 38mm O.D. one end and 35mm O.D the other (the
exact size of the hole in the bulkhead

http://i120.photobucket.com/albums/o192/jindal/DSC02407.jpg

http://i120.photobucket.com/albums/o192/jindal/DSC02408.jpg

then bonded it into the bulkhead

http://i120.photobucket.com/albums/o192/jindal/DSC02410.jpg

[IMG]http://i120.photobucket.com/albums/o192/jindal/DSC02412.jpg[/IMG]

Ill fit the boot tonight once the adhesive has set
Other progress, since all my grommets went crumbly, im changing them
all to much more readily available land rover grommets, the one for
the speedo cable needed enlarging since I need clearance behind as the
grommet will hold into the stainless plate, since the centreline of
the hole was too close to the brake transfer bar this gave me the
chance to correct it with a holsaw using a block of wood to drill into
to hold it steady

http://i120.photobucket.com/albums/o192/jindal/DSC02403.jpg

http://i120.photobucket.com/albums/o192/jindal/DSC02404.jpg

progress is slow but steady


On Jan 7, 2:18 pm, jin <[email protected]> wrote:
> Ill look at those links, cheers
>
> Most recent progress has been .......
>
> Covering some areas in the bulkhead with fibreglass resin, because
> some parts looked liked the glass strands had become exposed, either
> my over enthusiastic scrubbing or just one of those things? Mind you
> ive seen it elsewhere where I have not been scrubbing
>
> [IMG]http://i120.photobucket.com/albums/o192/jindal/DSC02357.jpg[/IMG]
>
> [IMG]http://i120.photobucket.com/albums/o192/jindal/DSC02358.jpg[/IMG]
>
> All coated and wetted out
>
> [IMG]http://i120.photobucket.com/albums/o192/jindal/DSC02362.jpg[/IMG]
>
> There were a few voids in the laminate too, not from damage but from
> the moulding process, I drilled a hole through the top layer then
> filled within with resin
>
> [IMG]http://i120.photobucket.com/albums/o192/jindal/DSC02360.jpg[/IMG]
>
> Painted resin around each cut-out
>
> [IMG]http://i120.photobucket.com/albums/o192/jindal/DSC02366.jpg[/IMG]
>
> And filled the old holes for the choke cable and some random wires
>
> [IMG]http://i120.photobucket.com/albums/o192/jindal/DSC02365.jpg[/IMG]
>
> Inserted the brass inserts (naturally) into the bulkhead coated in
> araldite 2011 (no that’s the make, not last years batch)
>
> [IMG]http://i120.photobucket.com/albums/o192/jindal/DSC02374.jpg[/IMG]
>
> The outside of the holes are still a mess but ill gel coat around them
> later
>
> [IMG]http://i120.photobucket.com/albums/o192/jindal/DSC02375.jpg[/IMG]
>
> All look proper now though, I fancy making a new slam panel in
> polished stainless if I get chance too
>
> Drilled and tapped 5x M4 holes for stainless M4 bolts, each one dipped
> in araldite and wound in from behind
>
> [IMG]http://i120.photobucket.com/albums/o192/jindal/DSC02373.jpg[/IMG]
> [IMG]http://i120.photobucket.com/albums/o192/jindal/DSC02377.jpg[/IMG]
>
> the nuts and washers are there to pull them in firm and force any
> excess araldite into the threads and stop it running out (this stuff
> takes hours to go off), the masking tape to ensure I can get them off
> afterwards
>
> [IMG]http://i120.photobucket.com/albums/o192/jindal/DSC02377.jpg[/IMG]
>
> And tapped and bonded in the cable gland for the lambda sensor too
>
> [IMG]http://i120.photobucket.com/albums/o192/jindal/DSC02376.jpg[/IMG]
>
> Not bad since im still dying of man flu and coughing up stuff that
> looks like it should come from a human body.....
>
> More soon
>
> See ya folks
>
> On Jan 6, 8:19 pm, "hansdefauwes" <[email protected]> wrote:
>
>
>
> > take a look athttp://www.memfast.co.uk/
> > all kind of rivnuts  - i use them
>
> > ----- Original Message -----
> > From: "AJ" <[email protected]>
> > To: "Quantum Owners Group" <[email protected]>
> > Sent: Friday, January 06, 2012 9:02 PM
> > Subject: [Quantum Owners] Re: bulkhead refurb update
>
> > here is one.....
>
> >http://fjr1300.info/howto/rivnut-tool.html
>
> > On Jan 6, 7:18 pm, jin <[email protected]> wrote:
> > > oooh, if anyons got that link id love to see it
>
> > > On Jan 6, 5:04 pm, "Susan and Martin Scott"
>
> > > <[email protected]> wrote:
> > > > If you get Complete Kit Car, there was a link in there a couple of
> > > > months
> > > > ago to a webpage with instructions for making a simple tool for fitting
> > > > Rivnuts - It was very close to an ad for a tool for the same job....
> > > > probably didn't go down too well with the advertiser! Anyway, it's a
> > > > simple
> > > > mandrel using a length of steel with suitable hole, and a nut and screw.
> > > > I
> > > > made one up, and it easily worked (on GRP as well)
> > > > Martin
>
> > > > ----- Original Message -----
> > > > From: "jin" <[email protected]>
> > > > To: "Quantum Owners Group" <[email protected]>
> > > > Sent: Friday, January 06, 2012 9:05 AM
> > > > Subject: [Quantum Owners] Re: bulkhead refurb update
>
> > > > cheers for the reply jim, i hope that my fastidiousness can only be a
> > > > good thing LOL
>
> > > > i did look at rivnuts but decided against them mainly due to the cost
> > > > of the tooling (although some folk i work with can set them using a
> > > > nut and bolt, i tried several times and failed) and as i wanted rust
> > > > resistant inserts, hopfully the brass will be ok but ill see.
>
> > > > around the matrix holes the fiberglass is stained orangy brown and
> > > > looks a bit ropey, i dont want contamination in there so ill just trim
> > > > a few mm off round each hole once ive made the stainless plate which i
> > > > should get started next week fingers crossed
>
> > > > bye for now
>
> > > > On Jan 6, 8:44 am, Jim Hearne <[email protected]> wrote:
> > > > > Hi Jin,
> > > > > I beginning to think you are even fussier than me !
> > > > > Have a look at rivet nuts (Rivnuts and various other spellings) for
> > > > > putting threads into the fibreglass as well.
> > > > > Even though you won't be able to expand them fully in the thick
> > > > > fibreglass you can expand them a little and bond them in in a similar
> > > > > way to your brass inserts.
> > > > > A countersink on the gelcoat side with let the normal top hat version
> > > > > sit flush, though you can get countersunk rivnuts they are less
> > > > > common.
>
> > > > > Whats the problem with the heater holes, they look ok in the pictures.
>
> > > > > Jim
>
> > > > > On 05/01/2012 22:37, jin wrote:
>
> > > > > > well despite suffering from a severe case of man flu ive done a fair
> > > > > > bit today, actually it made me feel slightly better
>
> > > > > > started with cleaning out all the bulkhead holes with various stiff
> > > > > > bottle brushes mounted in the drill and lots of loctite solvent
> > > > > > cleaner
>
> > > > > > [IMG]http://i120.photobucket.com/albums/o192/jindal/DSC02346.jpg[/IMG]
>
> > > > > > this literally took hours to shift all the c++p out the holes like
> > > > > > old
> > > > > > sealant and general ingrained grime, but the finished results are
> > > > > > worth it
>
> > > > > > [IMG]http://i120.photobucket.com/albums/o192/jindal/DSC02351.jpg[/IMG]
>
> > > > > > [IMG]http://i120.photobucket.com/albums/o192/jindal/DSC02352.jpg[/IMG]
>
> > > > > > the only holes beyond salvage are the 2heater matrix holes, i assume
> > > > > > at some point they leaked and the hot water / antifreeze has stained
> > > > > > and contaminated the bulkhead fibers, I've left them as they are at
> > > > > > the mo as a reference for the stainless plate, but once I've cut
> > > > > > corresponding holes in that ill chop out the damaged fiberglass
>
> > > > > > [IMG]http://i120.photobucket.com/albums/o192/jindal/DSC02353.jpg[/IMG]
>
> > > > > > also pulled out the steering column bush as it was very sloppy but
> > > > > > no
> > > > > > longer available from ford but i have a cunning plan.....
>
> > > > > > got some nice brass thread inserts to use instead of the self
> > > > > > tappers
> > > > > > in the bulkhead like on the catch panel / wiper motor, i just don't
> > > > > > like the thought of self tappers munching up the fiberglass which
> > > > > > has
> > > > > > already happened in places
>
> > > > > > [IMG]http://i120.photobucket.com/albums/o192/jindal/DSC02348.jpg[/IMG]
>
> > > > > > these are brass M6, the holes need enlarging to about 8.7mm and i
> > > > > > found tapered reamers do a great job without ripping the gel coat
> > > > > > off
>
> > > > > > [IMG]http://i120.photobucket.com/albums/o192/jindal/DSC02349.jpg[/IMG]
>
> > > > > > ill araldite the inserts in place to give a permanent and sealed
> > > > > > thread
>
> > > > > > inside i spent ages scrubbing away at the inner bulkhead ready to
> > > > > > seal
> > > > > > up all the cut holes
>
> > > > > > [IMG]http://i120.photobucket.com/albums/o192/jindal/DSC02350.jpg[/IMG]
>
> > > > > > and now its looking to too far off
>
> > > > > > [IMG]http://i120.photobucket.com/albums/o192/jindal/DSC02355.jpg[/IMG]
>
> > > > > > more to come soon.....
>
> > > > > > On Jan 1, 12:05 pm, jin<[email protected]> wrote:
> > > > > >> thanks for all the tips and encouragement guys, it helps allot
>
> > > > > >> ill keep you posted on progress
>
> > > > > >> On Dec 31 2011, 8:05 pm, Ian Harrison<[email protected]>
> > > > > >> wrote:
>
> > > > > >>> Looking god Jin, keep the updates coming!
> > > > > >>> I really need to spend more time in the garage...
> > > > > >>> Ian
> > > > > >>> On 30 Dec 2011, at 14:40, jin<[email protected]> wrote:
> > > > > >>>> update
> > > > > >>>> ive removed the pop rivets and P clips that held the brake pipes
> > > > > >>>> on,
> > > > > >>>>http://i120.photobucket.com/albums/o192/jindal/DSC02331.jpg
> > > > > >>>> they didn't fit too well and the pop rivets didn't go through the
> > > > > >>>> bulkhead so only served to swell out the fiberglass and let water
> > > > > >>>> and
> > > > > >>>> dirt in, evidenced by the dirt that had crept within the hole
> > > > > >>>> around
> > > > > >>>> the rivet, i chamferd the holes to remove the contaminated
> > > > > >>>> fiberglass
> > > > > >>>> and gelcoted from the outside with a thin layer
> > > > > >>>>http://i120.photobucket.com/albums/o192/jindal/DSC02333.jpg
> > > > > >>>> then filled the rear with slow set araldite to seal the join and
> > > > > >>>> hopefully put a bit more strength back in
> > > > > >>>>http://i120.photobucket.com/albums/o192/jindal/DSC02336.jpg
> > > > > >>>> the tape is just to stop it running out and keep it smooth
> > > > > >>>> cut out the first hole for my cable glands, i found a cone step
> > > > > >>>> drill
> > > > > >>>> very handy for enlarging holes (I'm using one of my extra? servo
> > > > > >>>> mount
> > > > > >>>> holes that were drilled but unused?) since they locate and don't
> > > > > >>>> wander about ripping the gel coat like normal twist drills, only
> > > > > >>>> thing
> > > > > >>>> to do is drill both sides sins the steps are shallow,
> > > > > >>>>http://i120.photobucket.com/albums/o192/jindal/DSC02332.jpg
> > > > > >>>> tapped it out to the right size
> > > > > >>>> and sealed the fiberglass with araldite resin and wound the
>
> ...
>
> read more »- Hide quoted text -
>
> - Show quoted text -

--
You received this message because you are subscribed to the Google Groups
"Quantum Owners Group" group.
To post to this group, send email to [email protected]
To unsubscribe from this group, send email to
[email protected]
For more options, visit this group at
http://groups.google.com/group/quantumowners?hl=en

IMPORTANT NOTE: All information presented herewith is provided on an "As Is"
basis, without warranty or the implication thereof. Neither the Quantum Owners
Club nor the individuals associated with the Quantum Owners Club or in the
preparation of the above information shall have any liability to any person or
entity with respect to liability, loss, or damage caused or alleged to be
caused directly or indirectly by the instructions contained within this or
related message(s).