leandron commented on a change in pull request #7640:
URL: https://github.com/apache/tvm/pull/7640#discussion_r595362741
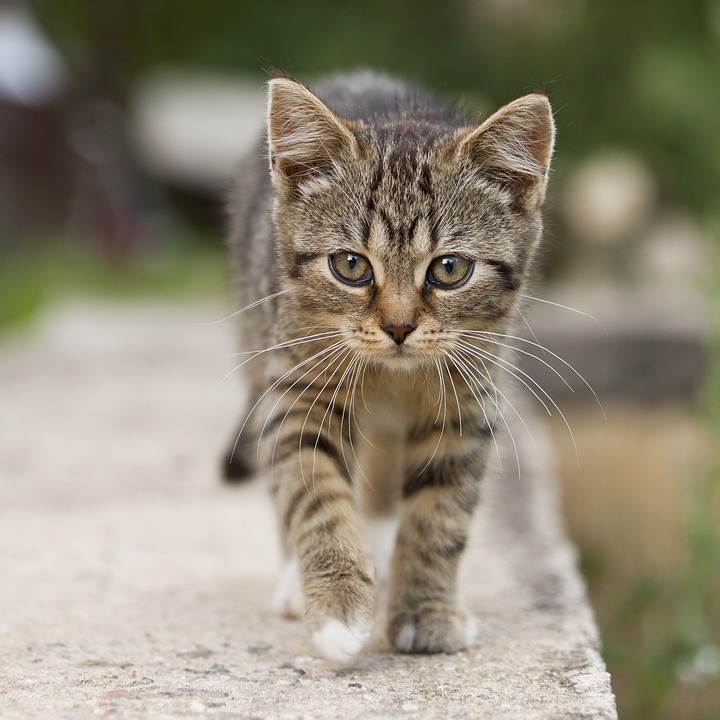
##########
File path: tutorials/get_started/tvmc_command_line_driver.py
##########
@@ -97,114 +97,134 @@


 ######################################################################
-# Compiling the model
-# -------------------
+# Compiling an ONNX Model to the TVM Runtime
+# ------------------------------------------
 #
-# The next step once we've downloaded ResNet-50, is to compile it,
-# To accomplish that, we are going to use ``tvmc compile``. The
-# output we get from the compilation process is a TAR package,
-# that can be used to run our model on the target device.
+# Once we've downloaded the ResNet-50 model, the next step is to compile it.
To accomplish that, we are
+# going to use ``tvmc compile``. The output we get from the compilation
process is a TAR package of the model
+# compiled to a dynamic library for our target platform. We can run that model
on our target device using the
+#  TVM runtime.
 #
 # .. code-block:: bash
 #
 #   tvmc compile \
-#     --target "llvm" \
-#     --output compiled_module.tar \
-#     resnet50-v2-7.onnx
+#   --target "llvm" \
+#   --output resnet50-v2-7-tvm.tar \
+#   resnet50-v2-7.onnx
+#
+# Let's take a look at the files that ``tvmc compile`` creates:
+#
+# .. code-block:: bash
 #
-# Once compilation finishes, the output ``compiled_module.tar`` will be
created. This
-# can be directly loaded by your application and run via the TVM runtime APIs.
+#      mkdir model
+#      tar -xvf resnet50-v2-7-tvm.tar -C model
+#      ls model
+#
+# You will see three files listed.
+#
+# * ``mod.so`` is the model, represented as a C++ library, that can be loaded
by the TVM runtime.
+# * ``mod.json`` is a text representation of the TVM Relay computation graph.
+# * ``mod.params`` is a file containing the parameters for the pre-trained
model.
+#
+# This model can be directly loaded by your application and run via the TVM
runtime APIs.
 #


 ######################################################################
-# .. note:: Defining the correct target
+# .. note:: Defining the Correct Target
 #
 #   Specifying the correct target (option ``--target``) can have a huge
 #   impact on the performance of the compiled module, as it can take
 #   advantage of hardware features available on the target. For more
 #   information, please refer to `Auto-tuning a convolutional network
 #   for x86 CPU
<https://tvm.apache.org/docs/tutorials/autotvm/tune_relay_x86.html#define-network>`_.
+#   We recommend identifying which CPU you are running, along with optional
features,
+#   and set the target appropriately.
 #

-
 ######################################################################
+# Running the TVM IR Model with TVMC
+# ----------------------------------
+#
+# Now that we've compiled the model, we can use the TVM runtime to make
predictions with it.
+# TVMC has the TVM runtime built in to it, allowing you to run compiled TVM
models. To use TVMC to run the
+# model and make predictions, we need two things:
+#
+# - The compiled model, which we just produced.
+# - Valid input to the model to make predictions on.
 #
-# In the next step, we are going to use the compiled module, providing it
-# with some inputs, to generate some predictions.
+# Each model is particular when it comes to expected tensor shapes, formats
and data types. For this reason,
+# most models require some pre and post-processing, to ensure the input is
valid and to interpret the output.
+# TVMC has adopted NumPy's ``.npz`` format for both input and output data.
This is a well-supported NumPy
+# format to serialize multiple arrays into a file
 #
+# As input for this tutorial, we will use the image of a cat, but you can feel
free to substitute image for
+# any of your choosing.
+#
+# .. image:: https://s3.amazonaws.com/model-server/inputs/kitten.jpg
+#    :height: 224px
+#    :width: 224px
+#    :align: center


 ######################################################################
 # Input pre-processing
-# --------------------
+# ~~~~~~~~~~~~~~~~~~~~
 #
-# In order to generate predictions, we will need two things:
+# For our ResNet 50 V2 model, the input is expected to be in ImageNet format.
+# Here is an example of a script to pre-process an image for ResNet 50 V2.
 #
-# - the compiled module, which we just produced;
-# - a valid input to the model
+# .. code-block:: python
+#    :caption: preprocess.py
+#    :name: preprocess.py
 #
-# Each model is particular when it comes to expected tensor shapes, formats
and data
-# types. For this reason, most models require some pre and
-# post processing, to ensure the input(s) is valid and to interpret the
output(s).
+#     #!python ./preprocess.py
+#     from tvm.contrib.download import download_testdata
+#     from PIL import Image
+#     import numpy as np
 #
-# In TVMC, we adopted NumPy's ``.npz`` format for both input and output data.
-# This is a well-supported NumPy format to serialize multiple arrays into a
file.
+#     img_url = "https://s3.amazonaws.com/model-server/inputs/kitten.jpg";
+#     img_path = download_testdata(img_url, "imagenet_cat.png", module="data")
 #
-# We will use the usual cat image, similar to other TVM tutorials:
+#     # Resize it to 224x224
+#     resized_image = Image.open(img_path).resize((224, 224))
+#     img_data = np.asarray(resized_image).astype("float32")
 #
-# .. image:: https://s3.amazonaws.com/model-server/inputs/kitten.jpg
-#    :height: 224px
-#    :width: 224px
-#    :align: center
+#     # ONNX expects NCHW input, so convert the array
+#     img_data = np.transpose(img_data, (2, 0, 1))
 #
-# For our ResNet 50 V2 model, the input is expected to be in ImageNet format.
-# Here is an example of a script to pre-process an image for ResNet 50 V2.
+#     # Normalize according to ImageNet
+#     imagenet_mean = np.array([0.485, 0.456, 0.406])
+#     imagenet_stddev = np.array([0.229, 0.224, 0.225])
+#     norm_img_data = np.zeros(img_data.shape).astype("float32")
+#     for i in range(img_data.shape[0]):
+#          norm_img_data[i, :, :] = (img_data[i, :, :] / 255 -
imagenet_mean[i]) / imagenet_stddev[i]
+#
+#     # Add batch dimension
+#     img_data = np.expand_dims(norm_img_data, axis=0)
+#
+#     # Save to .npz (outputs imagenet_cat.npz)
+#     np.savez("imagenet_cat", data=img_data)
 #
-from tvm.contrib.download import download_testdata
-from PIL import Image
-import numpy as np
-
-img_url = "https://s3.amazonaws.com/model-server/inputs/kitten.jpg";
-img_path = download_testdata(img_url, "imagenet_cat.png", module="data")
-
-# Resize it to 224x224
-resized_image = Image.open(img_path).resize((224, 224))
-img_data = np.asarray(resized_image).astype("float32")
-
-# ONNX expects NCHW input, so convert the array
-img_data = np.transpose(img_data, (2, 0, 1))
-
-# Normalize according to ImageNet
-imagenet_mean = np.array([0.485, 0.456, 0.406])
-imagenet_stddev = np.array([0.229, 0.224, 0.225])
-norm_img_data = np.zeros(img_data.shape).astype("float32")
-for i in range(img_data.shape[0]):
-    norm_img_data[i, :, :] = (img_data[i, :, :] / 255 - imagenet_mean[i]) /
imagenet_stddev[i]
-
-# Add batch dimension
-img_data = np.expand_dims(norm_img_data, axis=0)
-
-# Save to .npz (outputs imagenet_cat.npz)
-np.savez("imagenet_cat", data=img_data)


 ######################################################################
-# Running the compiled module
-# ---------------------------
+# Running the Compiled Module

Review comment:
       I think this way it fine now.


----------------------------------------------------------------
This is an automated message from the Apache Git Service.
To respond to the message, please log on to GitHub and use the
URL above to go to the specific comment.

For queries about this service, please contact Infrastructure at:
[email protected]