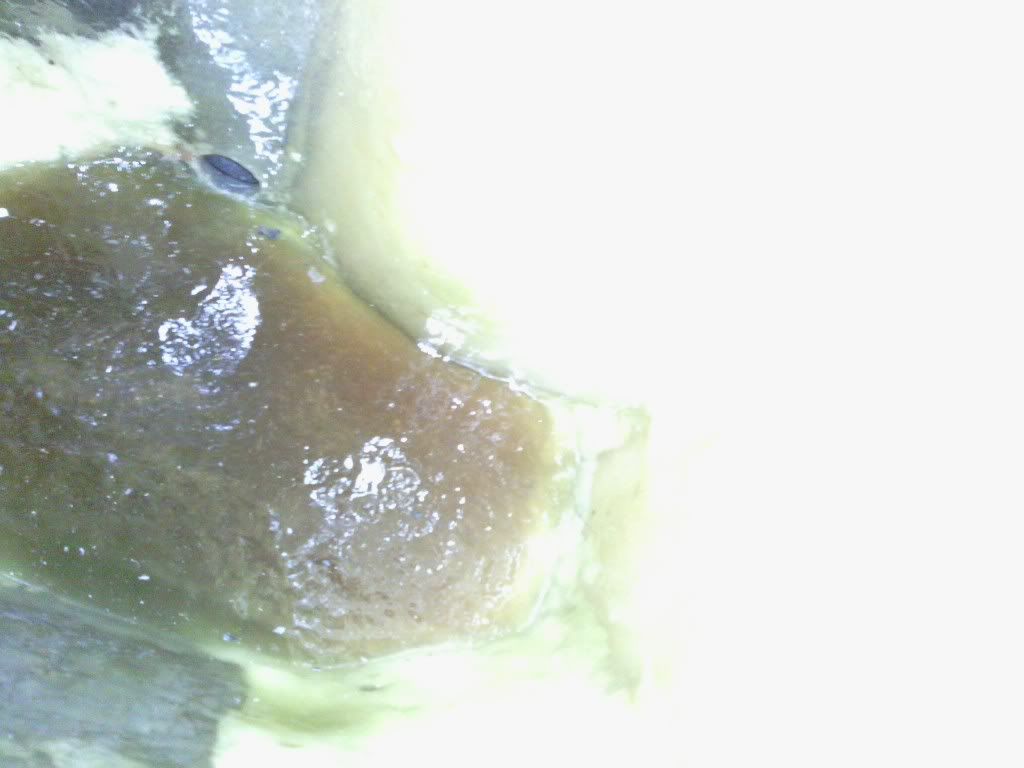
So I’ve done a bit more recently and pretty much finished
Firstly I’ve filled the base of my new rear side pocket with a mix of
chopped fibres and resin,
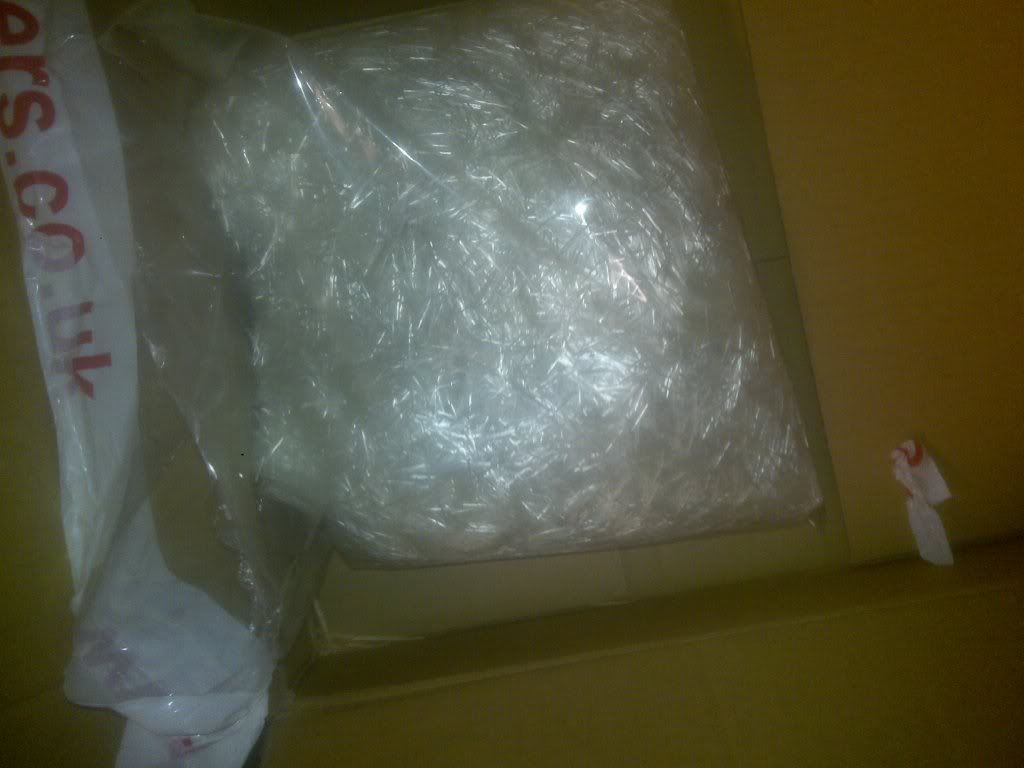
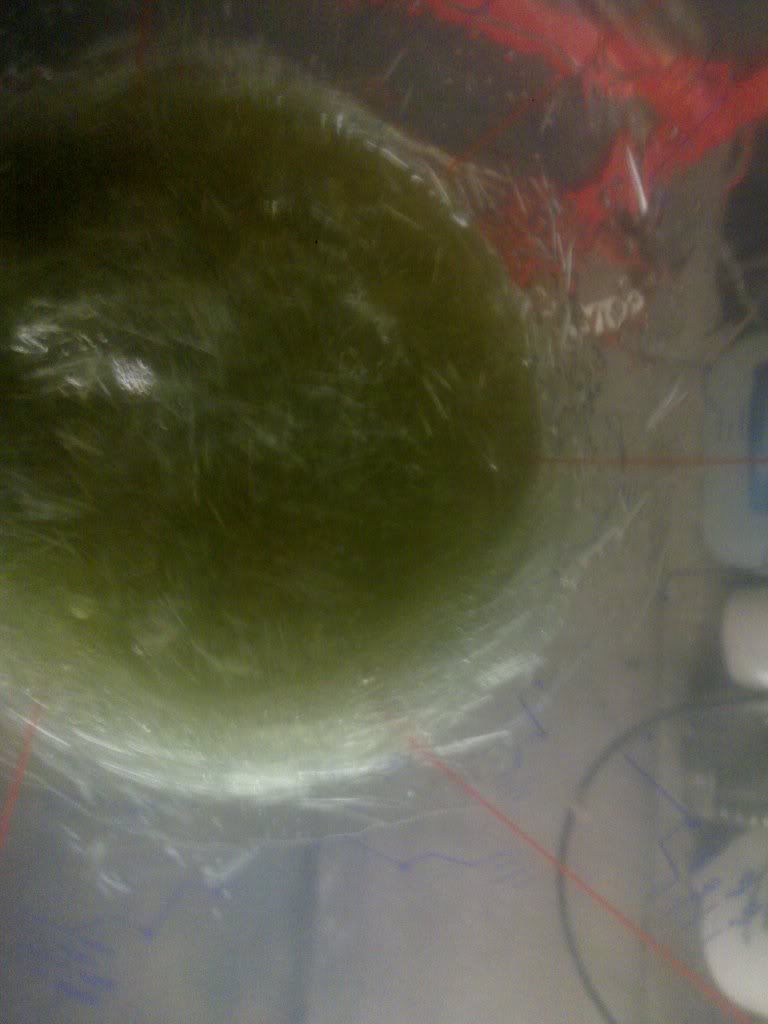
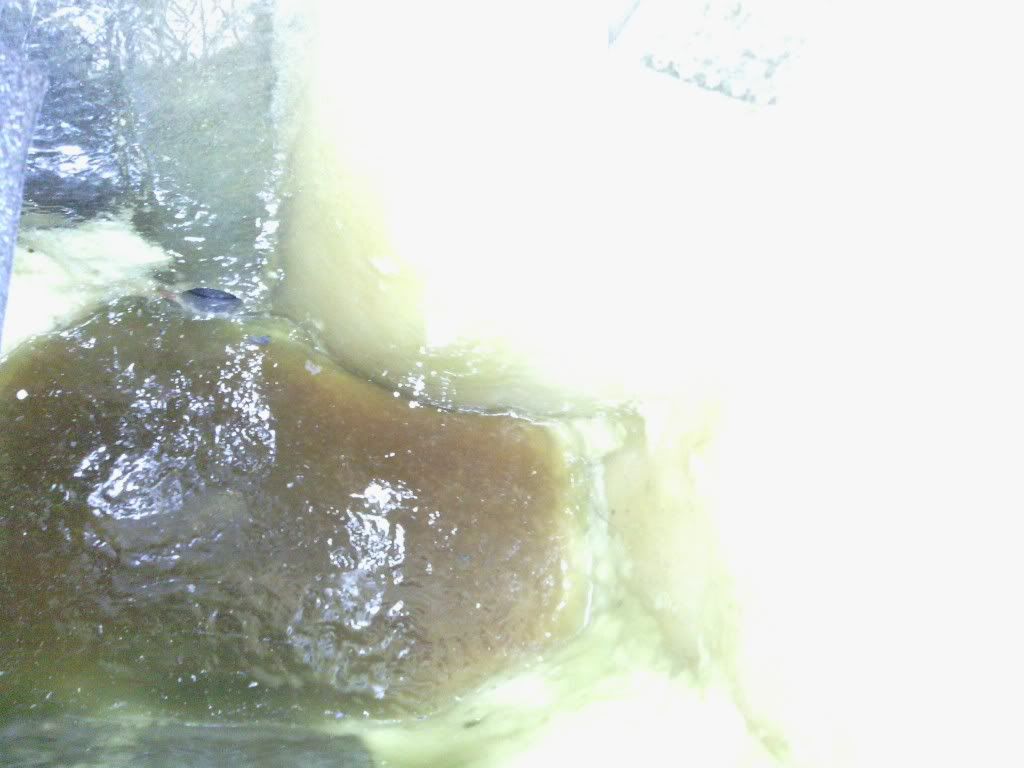
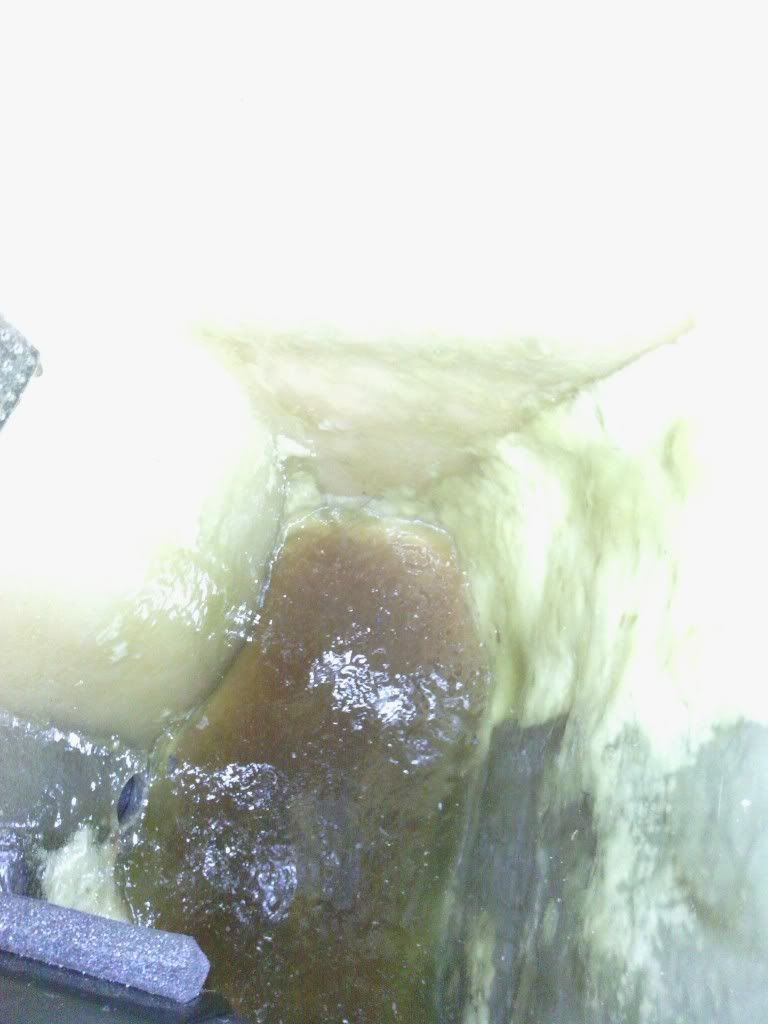
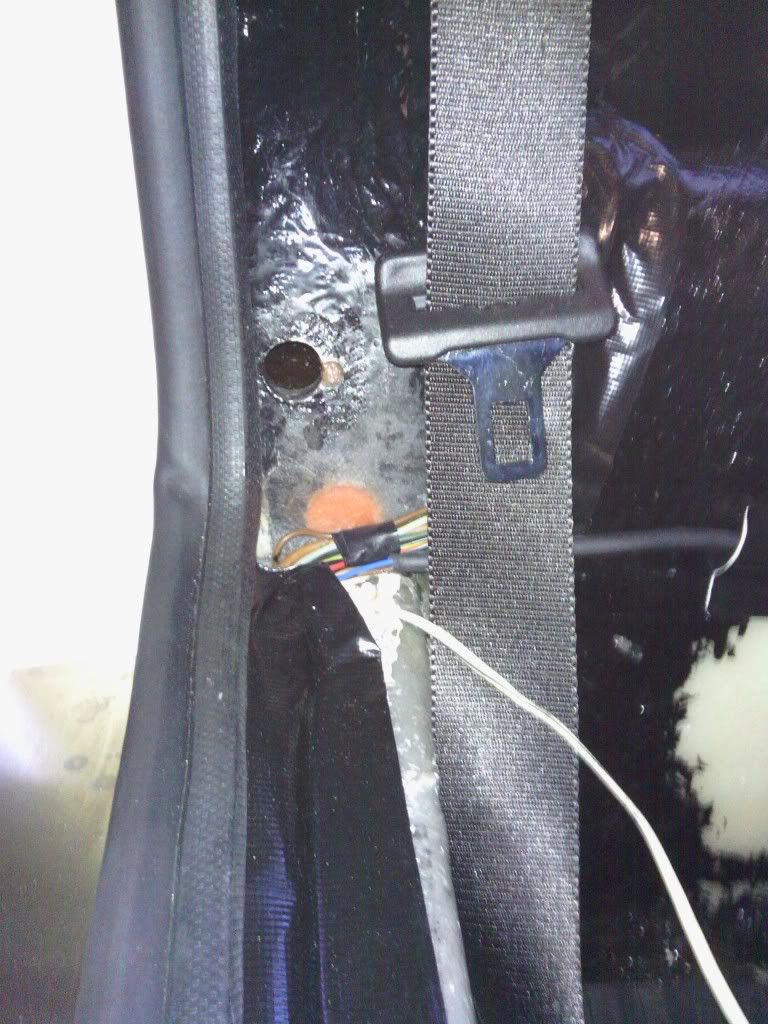
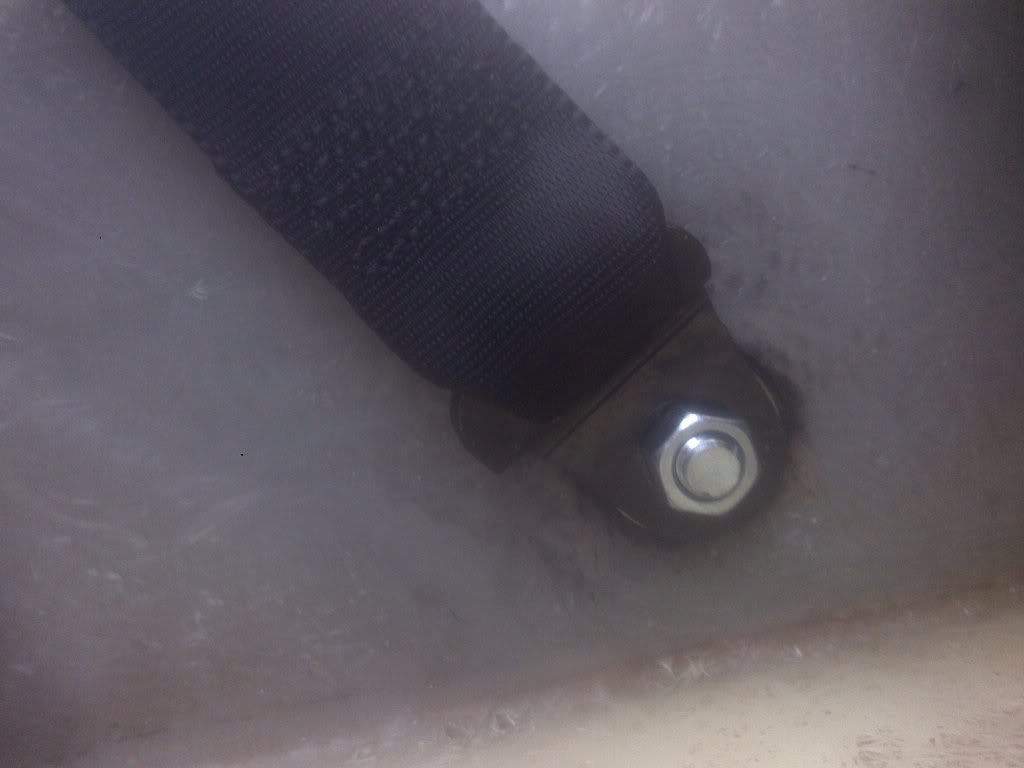
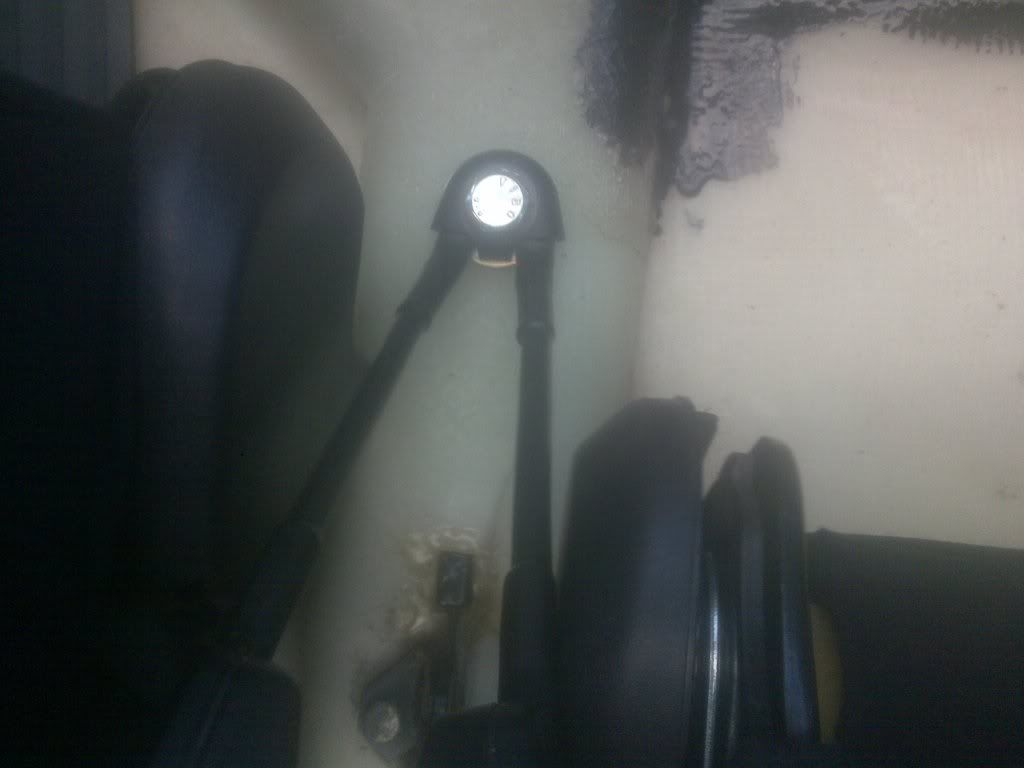
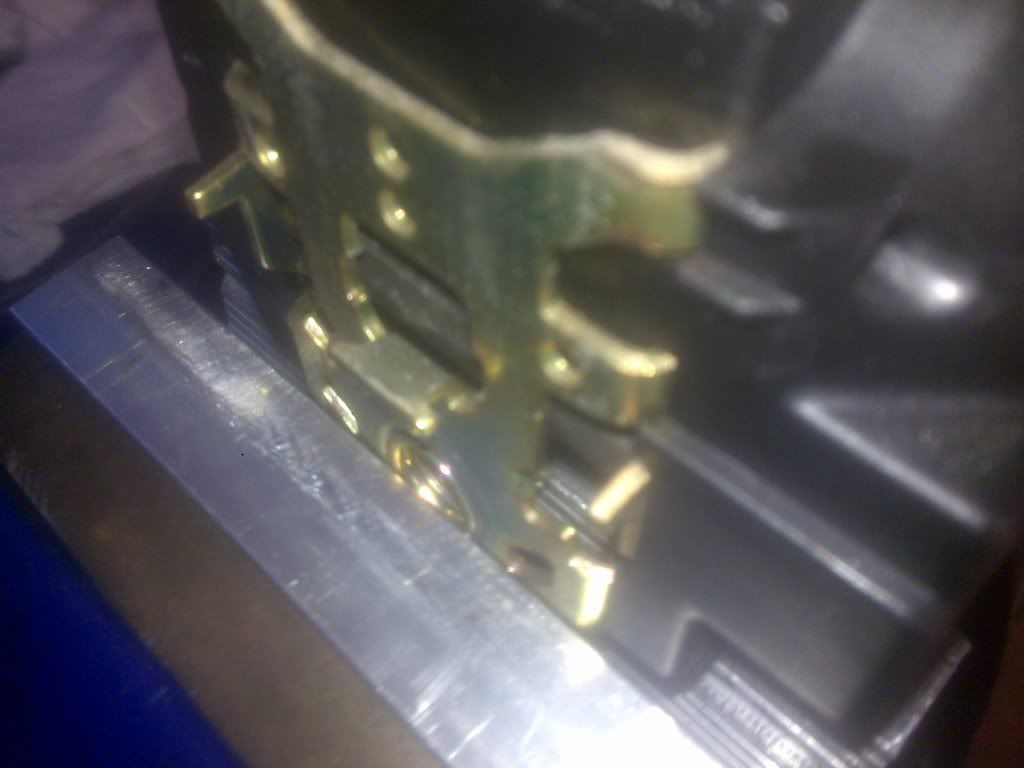
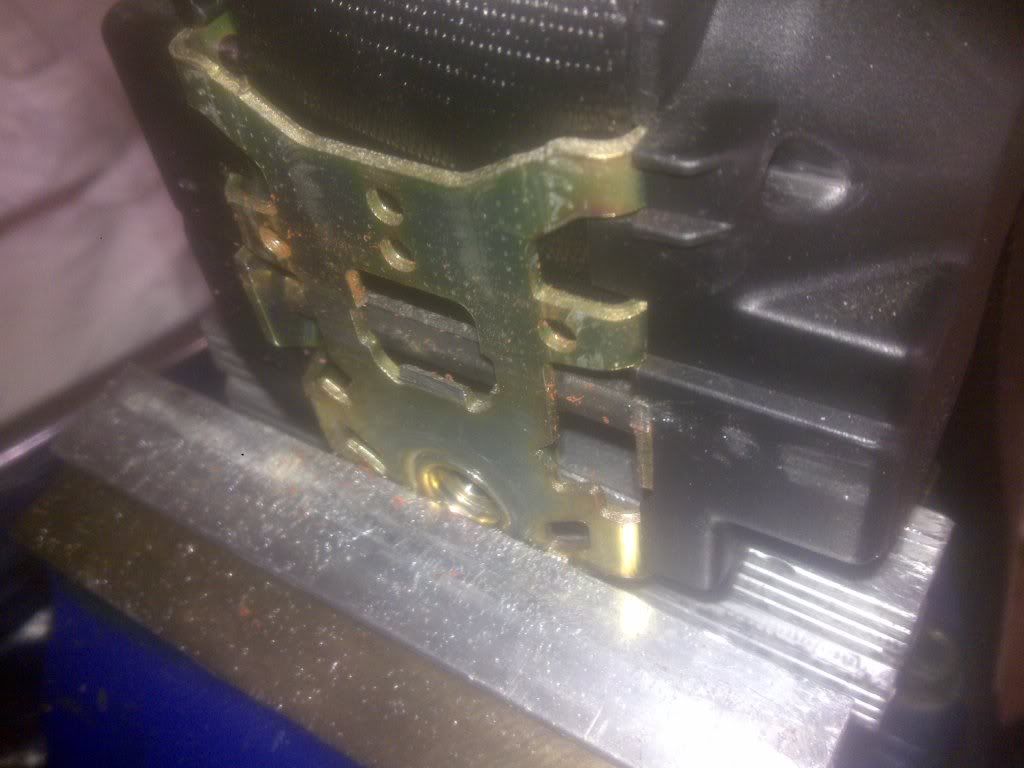
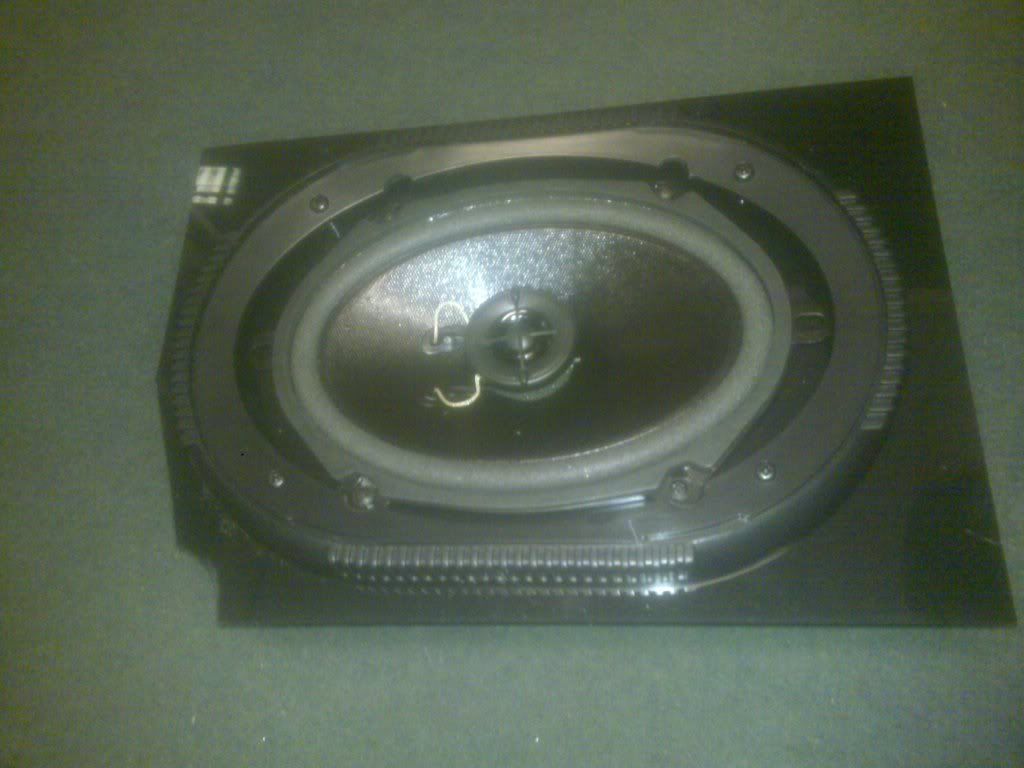
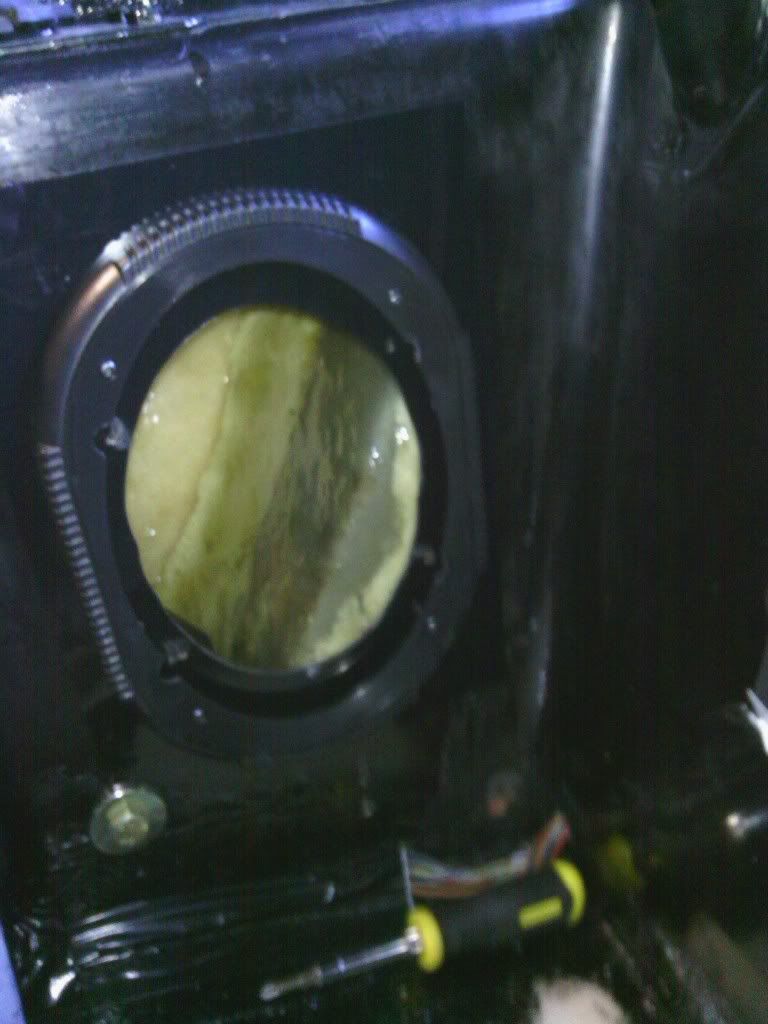
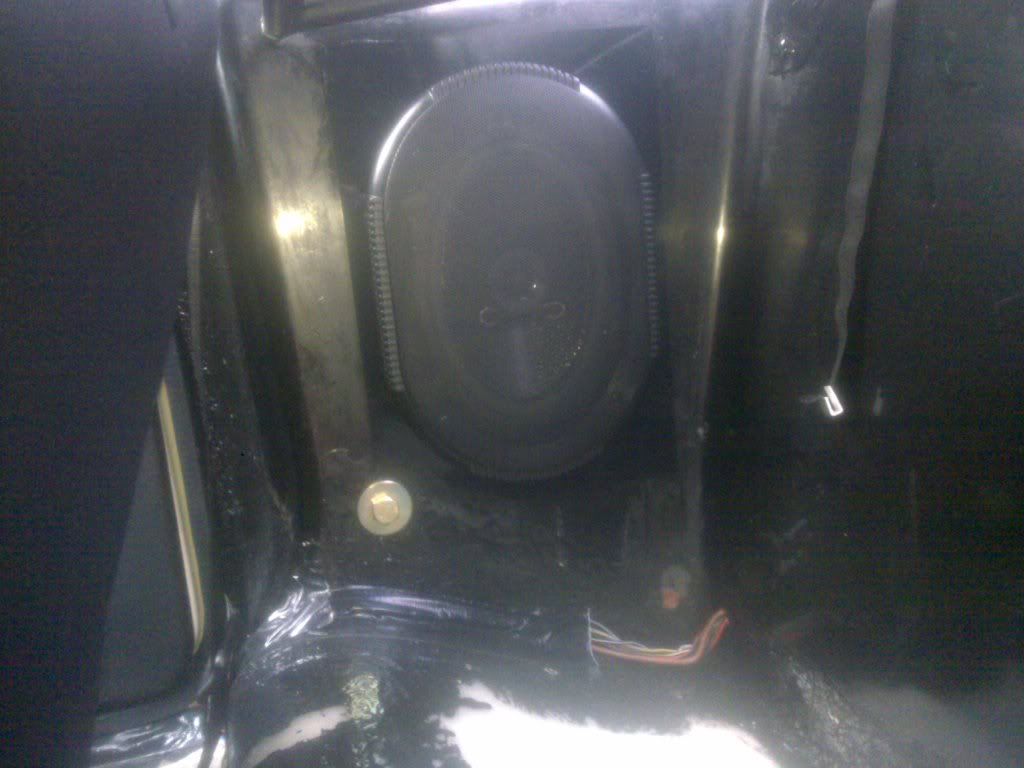
http://i120.photobucket.com/albums/o192/jindal/2012%20quantum/18072012456.jpg

http://i120.photobucket.com/albums/o192/jindal/2012%20quantum/18072012457.jpg

This makes a very thick jelly like consistency thick enough to pain over
and over the whole inner area to build up the thickness, it was then built
up slowly over multiple layers to increase the height of the base to make a
flat area, then the final 2 lavers were done with the front of the car
raised to produce a slope down toward the new drain hole

http://i120.photobucket.com/albums/o192/jindal/2012%20quantum/IMG_20120729_203024.jpg
http://i120.photobucket.com/albums/o192/jindal/2012%20quantum/IMG_20120729_203256.jpg
http://i120.photobucket.com/albums/o192/jindal/2012%20quantum/IMG_20120729_203346.jpg

The drain hole can be seen at the base level with the resin / fiber mix
Below you can see the difference in height of the old hole for the wiring
and the new hole for the speaker wires and the drain

http://i120.photobucket.com/albums/o192/jindal/2012%20quantum/IMG_20120729_202908.jpg

Ok so I know it drains into the car but I didn’t want to unnecessarily fill
the rear quarters with water every time I wash the car, I just wanted to
make sure if any water breaches the inside of the car via the seat belt
holes etc. it won’t end up in the sills causing all sorts of havoc, if
water ends up inside the interior its already made its way past the
exterior and I need to learn to be more careful with the hose or seal the
roof edge to glass rear edge better etc.
I didn’t like the way the seatbelt holes are open into the steel sill, well
more the rear one but even so I’ve seen a few rusty stains in this area on
others so this is my next point of attention,

Before

http://i120.photobucket.com/albums/o192/jindal/2012%20quantum/23072012462.jpg

The old setup,

After

http://i120.photobucket.com/albums/o192/jindal/2012%20quantum/27072012474.jpg

I bonded in a 7/16 stud and washer for the belt end to bear against and
further seal the stud by trapping the sealant against the fiberglass, so
now I can remove and replace the belt end in the future without breaking
the seal, but more importantly know if any water leaks in over the bottom
door seal etc. it won’t track down the sill into either of the holes, (you
can see my early attempt to seal the rear push in hole with a bonded on
tight fitting rubber washer, this hole will be tapped out 7/16 also and
have a plug sealed in once I’ve filled the inner sills with foam at a later
date)

http://i120.photobucket.com/albums/o192/jindal/2012%20quantum/27072012475.jpg

To do away with the long belt bar I had to swap to mk5 fiesta 5dr belts,
this involved replacing the middle buckles with those off a late mk3 fiesta
that did not have belt tensioners in the seats but had the later style
matching belt buckles

http://i120.photobucket.com/albums/o192/jindal/2012%20quantum/24072012472.jpg

I also did away with the rather thin lower washer to a nice 6mm thick one

http://i120.photobucket.com/albums/o192/jindal/2012%20quantum/24072012471.jpg

And to fit the mk5 fiesta reels I had to chop off the lugs at the rear

http://i120.photobucket.com/albums/o192/jindal/2012%20quantum/23072012464.jpg

Like so

http://i120.photobucket.com/albums/o192/jindal/2012%20quantum/23072012465.jpg

To sit flush
Because the fiberglassing and foam inside now partly covers the areas that
the screw on tabs used to fit on to hole the rear speaker plates I had to
come up with an alternative, so after measuring I found the largest
speakers I could fit in without modification were 7x5”s
These are a ford size and don’t tend to come with grills but a friend gave
me some new 6x9 grills that fit without the screws needing to be screwed
into the original rear inner sides (just) so I made new covers using 3mm
thick ABS in A4 size like so

http://i120.photobucket.com/albums/o192/jindal/2012%20quantum/27072012477.jpg

The outer rings can remain in place but the speaker can be removed to leave
an access hole near in size to the original without the panel in place,

http://i120.photobucket.com/albums/o192/jindal/2012%20quantum/IMG_20120729_203013.jpg

The A4 ABS panels are bonded on with sikaflex
The grills fit on and all looks much neater, well it will do once I carpet
it

http://i120.photobucket.com/albums/o192/jindal/2012%20quantum/28072012482.jpg

The resin / fiber mix has been built up thicker than the original mat that
partly covered the steel beam, I know this because this whole area is
smooth now with no dip where the original mat remains underneath, I
estimate its about 4-5mm thick all over but thicker at the base obviously,
the flash on the camera makes it look thinner because it’s quite
translucent and shows the underlying detail, however I will be coating the
inside with liquid rubber roof paint for good measure very soon anyway,
So now after spending £000s of pounds and many hours of work I can sleep
well at night knowing my 2+2 will never suffer any rust in the sills and
will probably float on water with all that buoyancy now built in,
Oh and the new speakers sound great too


On Saturday, July 7, 2012 8:23:21 PM UTC+1, jin wrote:

> So as many of you may know already I have a severe worry regarding the
> sills my car filling up with water, this is not without reason
> especially going by recent posts on here, however my concerns started
> a long time ago – just after I bought the car and discovered it had
> steel laminated in the sills as part of the structure and read stories
> about owners drilling small holes in the sill fiberglass to fit screws
> for later fixings only to find rusty water pouring out!, not why I
> bought the car. but I suppose it’s my fault not checking first, having
> said this id still rather have the quantum with steel in its sills and
> know it’s extremely strong (anyone who has read the newspaper article
> regarding the 2+2 hit by a lorry and several cars will know what I
> mean) than say a GTM rossa that is prone to flexing even when jacking
> up to change a wheel,!!!
> So seeing as this is my best option I have been slowly improving the
> situation by removing all pop rivets that enter into the sill / front
> rear bulkhead sections and either removing them full stop or replacing
> them with bonded in stainless steel studs instead
> Additionally to this id made up a list of areas where water can enter
> in, namely the seatbelt reel holes and the fuel filler neck if not
> properly sealed, also the area where the filler spout fits through he
> sill to the tank, on mine it was just sealed with a split / perished
> badly fitting rubber disk - now totally sealed with proper bonded in
> disks. add to this the cable for the sender was loosely placed through
> an oversize hole in the opposite side sill there are many potential
> entry points, possibly more I’ve not yet thought of, so I decided my
> best option was to totally seal off the steel sills with foam so no
> water or even condensation can get anywhere near them, especially
> since once water gets in it can’t easily get out.
> So after some research I decided the best option was to use this from
> Dow engineering
>
> http://www.dowautomotive.com/capabilities/product_family/betafoam.htm
>
> It will essentially seal out the sills and stiffen the structure, it’s
> the same stuff used in the Mazda RX8 front end for crash protection
> and also the new BMW M5 uses it in the rear sub frame mounts to
> prevent stress cracks in the structure, without the foam it cracks.
> Some other articles I’ve read on this type of structural foam (as it
> is called, not to be confused with the stuff from B&Q) are solely for
> the purposes of chassis stiffness
> The best reference I have read is here
>
> http://www.sr20-forum.com/suspension/11917-foam-filling-chassis.html
>
> The foam I’m using is the same density, if it stiffens the chassis it
> will be a bonus however my sole reason is to seal out moisture, this
> is high density closed cell foam
> Trial runs
> it has been in my mind that there could be an issue of over filling
> the sills and damaging the fiberglass / cracking the gel coat, the
> foam selected is quick rising – literally seconds to full expansion,
> so by the time it travels down a 4 ft. long probe it will have done
> most of its expanding so I’ll just be pouring in to fill the sills
> under the pressure of the tanks and not excess pressure via expansion,
> but for this to work ill need to see the foam as it expands, this will
> be impossible inside the void between the steel sill and the outer
> body sill (my main area of concern) without cutting a hole in one end,
> so after much head scratching I decide on the rear edge as its flatter
> compared to the front and easier to seal off afterwards.
> To mimic the sill I made a mock up using cardboard, the theory being
> if I can control the process enough to not damage the cardboard I’ll
> be fine on the car, I made up a 50mm x 150mm box section to roughly
> mimic the void
>
> [IMG]http://i120.photobucket.com/albums/o192/jindal/2012%20quantum/
> 13062012365.jpg[/IMG]
>
> [IMG]http://i120.photobucket.com/albums/o192/jindal/2012%20quantum/
> 13062012369.jpg[/IMG]
>
> Nozzles assembled and gun purged
>
> [IMG]http://i120.photobucket.com/albums/o192/jindal/2012%20quantum/
> 13062012367.jpg[/IMG]
>
> PVC hose bonded to the end of the mixing nozzle
>
> [IMG]http://i120.photobucket.com/albums/o192/jindal/2012%20quantum/
> 13062012366.jpg[/IMG]
>
> First fill
>
> [IMG]http://i120.photobucket.com/albums/o192/jindal/2012%20quantum/
> 13062012370.jpg[/IMG]
>
> No distortion
>
> [IMG]http://i120.photobucket.com/albums/o192/jindal/2012%20quantum/
> 13062012373.jpg[/IMG]
>
> [IMG]http://i120.photobucket.com/albums/o192/jindal/2012%20quantum/
> 13062012372.jpg[/IMG]
>
> Thin card box
>
> [IMG]http://i120.photobucket.com/albums/o192/jindal/2012%20quantum/
> 13062012374.jpg[/IMG]
>
> Again no distortion and total fill
>
> The sum total of the trial runs
>
> [IMG]http://i120.photobucket.com/albums/o192/jindal/2012%20quantum/
> 13062012371.jpg[/IMG]
>
> Just in case you were wondering how strong structural foam actually
> is, the long box section made from single ply cardboard can now
> support my weight when span over 2 work tables, that’s quite a feat.
>
> The big day
> Firs job was to pull out all the absorbent pads and silica gel pack id
> put in 2 years ago
>
> [IMG]http://i120.photobucket.com/albums/o192/jindal/2012%20quantum/
> 03072012381.jpg[/IMG]
>
> [IMG]http://i120.photobucket.com/albums/o192/jindal/2012%20quantum/
> 03072012382.jpg[/IMG]
>
> Identify the not so obvious  openings needed to be sealed
> Inside the boot looking in towards the inner side pocket
>
> [IMG]http://i120.photobucket.com/albums/o192/jindal/2012%20quantum/
> 04072012383.jpg[/IMG]
>
> View down inside the inner side rear pocket
>
> [IMG]http://i120.photobucket.com/albums/o192/jindal/2012%20quantum/
> 04072012384.jpg[/IMG]
>
> [IMG]http://i120.photobucket.com/albums/o192/jindal/2012%20quantum/
> 04072012386.jpg[/IMG]
>
> Time to cut the sill rear edge, 44mm hole saw and gritted teeth
>
> [IMG]http://i120.photobucket.com/albums/o192/jindal/2012%20quantum/
> 04072012387.jpg[/IMG]
>
> I chose this area as its thick enough to retain rigidity and I know of
> other owners who have cut this area successfully to access the rear
> trailing arm nuts without issue (incidentally mine are captive on a
> welded plate bonded into the sill 2 years ago during rebuild #1 – see
> rebuild thread)
> With a strip light held close to the outside of the sill, just enough
> light passes through the gel coat to illuminate the whole cavity (one
> of the benefits of light colour gel coat)
>
> [IMG]http://i120.photobucket.com/albums/o192/jindal/2012%20quantum/
> 04072012390.jpg[/IMG]
>
> Despite all my concerns, for some reason my steel members are in near
> perfect condition, which is a miracle since the filler neck had spent
> 15 years not actually sealed to the outer bodywork and the front inner
> door / wing pocket had not been sealed at all just above the sill
> member - a common 2+2 fault
>
> [IMG]http://i120.photobucket.com/albums/o192/jindal/2012%20quantum/
> 04072012389.jpg[/IMG]
>
> [IMG]http://i120.photobucket.com/albums/o192/jindal/2012%20quantum/
> 04072012391.jpg[/IMG]
>
> The rusty stain at the base is just superficial and on the rear tip
> only
> Tube inserted inside with the aid of a wooden dowel to overcome the
> shape inside
>
> [IMG]http://i120.photobucket.com/albums/o192/jindal/2012%20quantum/
> 04072012393.jpg[/IMG]
>
> [IMG]http://i120.photobucket.com/albums/o192/jindal/2012%20quantum/
> 04072012394.jpg[/IMG]
>
> Nozzle assembled
>
> [IMG]http://i120.photobucket.com/albums/o192/jindal/2012%20quantum/
> 04072012395.jpg[/IMG]
>
> First pass
>
> [IMG]http://i120.photobucket.com/albums/o192/jindal/2012%20quantum/
> 04072012396.jpg[/IMG]
>
> Not filled to the end just yet, I had some fiberglass panels made up
> to the same thickness of the sills to bond on
> To the inner face
>
> [IMG]http://i120.photobucket.com/albums/o192/jindal/2012%20quantum/
> 04072012404.jpg[/IMG]
>
> Dropped down inside the sill with fiberglass resin smeared round the
> inside of the hole and pulled home by the screw
>
> [IMG]http://i120.photobucket.com/albums/o192/jindal/2012%20quantum/
> 04072012406.jpg[/IMG]
>
> Them foamed down behind from inside the rear side pockets, this then
> was concentrated to the other openings I wanted to seal but trying to
> not over fill the rear side pockets
> Inside the rear bulkhead
>
> [IMG]http://i120.photobucket.com/albums/o192/jindal/2012%20quantum/
> 04072012398.jpg[/IMG]
>
> Rear boot edges
>
> [IMG]http://i120.photobucket.com/albums/o192/jindal/2012%20quantum/
> 04072012411.jpg[/IMG]
>
> Can’t say I’ve not been generous
>
> [IMG]http://i120.photobucket.com/albums/o192/jindal/2012%20quantum/
> 04072012399.jpg[/IMG]
>
> Quick trim
>
> [IMG]http://i120.photobucket.com/albums/o192/jindal/2012%20quantum/
> 04072012400.jpg[/IMG]
>
> [IMG]http://i120.photobucket.com/albums/o192/jindal/2012%20quantum/
> 04072012401.jpg[/IMG]
>
> Passenger side sill
>
> [IMG]http://i120.photobucket.com/albums/o192/jindal/2012%20quantum/
> 04072012402.jpg[/IMG]
>
> First fill
>
> [IMG]http://i120.photobucket.com/albums/o192/jindal/2012%20quantum/
> 04072012403.jpg[/IMG]
>
> Same process, all filled in on top, this filling the inside after
> bonding on the fiberglass closing paned reinforces the join by pushing
> the panel tight to the inside of the sill as the resin sets
>
> [IMG]http://i120.photobucket.com/albums/o192/jindal/2012%20quantum/
> 04072012409.jpg[/IMG]
>
> This is by no means finished, I’ve got to sand down and shape all the
> foam then cover the whole areas of exposed foam with fiberglass and
> resin, I’m just taking a break from curling myself up in the car to do
> the jobs, the fiberglass and resin isn’t entirely necessary since as I
> mentioned before the foam is immensely strong and waterproof, but it
> looks untidy and will be a better job finished off with mat and resin
>
> The front
>
> Although the main area of my concern was the rear, there is still a
> void at the front, not as big but it’s a void none the less, I really
> don’t think this part was entirely necessary but where there’s air
> there is potentially moisture / condensation, also most 2+2 have self-
> tappers and pop rivets in the lower edges of the bulkhead to secure
> the bonnet locators and inner wheel arches, both a potential source of
> water ingress especially if they work loose, I’ve replaced mine with
> stainless studs during the last rebuild but with I’ve got the kit out
> I may as well
> 15mm hole cut, small probe inserted to meet the top of the foam that
> had travelled up from the sill pass, about quarter way down so it had
> crept up well
>
> [IMG]http://i120.photobucket.com/albums/o192/jindal/2012%20quantum/
> 04072012415.jpg[/IMG]
>
> Filled then plugged with my finger to force expansion into all the
> nooks and crannies
>
> [IMG]http://i120.photobucket.com/albums/o192/jindal/2012%20quantum/
> 04072012417.jpg[/IMG]
>
> Then tapped to 3/8 BSP
>
> [IMG]http://i120.photobucket.com/albums/o192/jindal/2012%20quantum/
> 04072012418.jpg[/IMG]
>
> Brass BSP plug sand blasted to remove shiny non-stick plating a
> provide a rough key for resin to bond to, then the tapped void was
> filled with a dash of resin and the plug inserted to just below
> surface level
>
> [IMG]http://i120.photobucket.com/albums/o192/jindal/2012%20quantum/
> 06072012422.jpg[/IMG]
>
> Again I’ll be gel coating over this once set to restore the finish,
> Job so far done,
> The next step will be to shape and contour the foam to a uniform and
> useable shape ready to glass in with mat and resin (already started
> this, pictures to follow) and I’m considering filling the inside of
> the steel beams with foam also to ensure the whole structure is 100%
> sealed but I’m still deciding on the best place to inject the foam
> into,
>
> To be continued……
>

--
You received this message because you are subscribed to the Google Groups
"Quantum Owners Group" group.
To post to this group, send email to [email protected]
To unsubscribe from this group, send email to
[email protected]
For more options, visit this group at
http://groups.google.com/group/quantumowners?hl=en

IMPORTANT NOTE: All information presented herewith is provided on an "As Is"
basis, without warranty or the implication thereof. Neither the Quantum Owners
Club nor the individuals associated with the Quantum Owners Club or in the
preparation of the above information shall have any liability to any person or
entity with respect to liability, loss, or damage caused or alleged to be
caused directly or indirectly by the instructions contained within this or
related message(s).