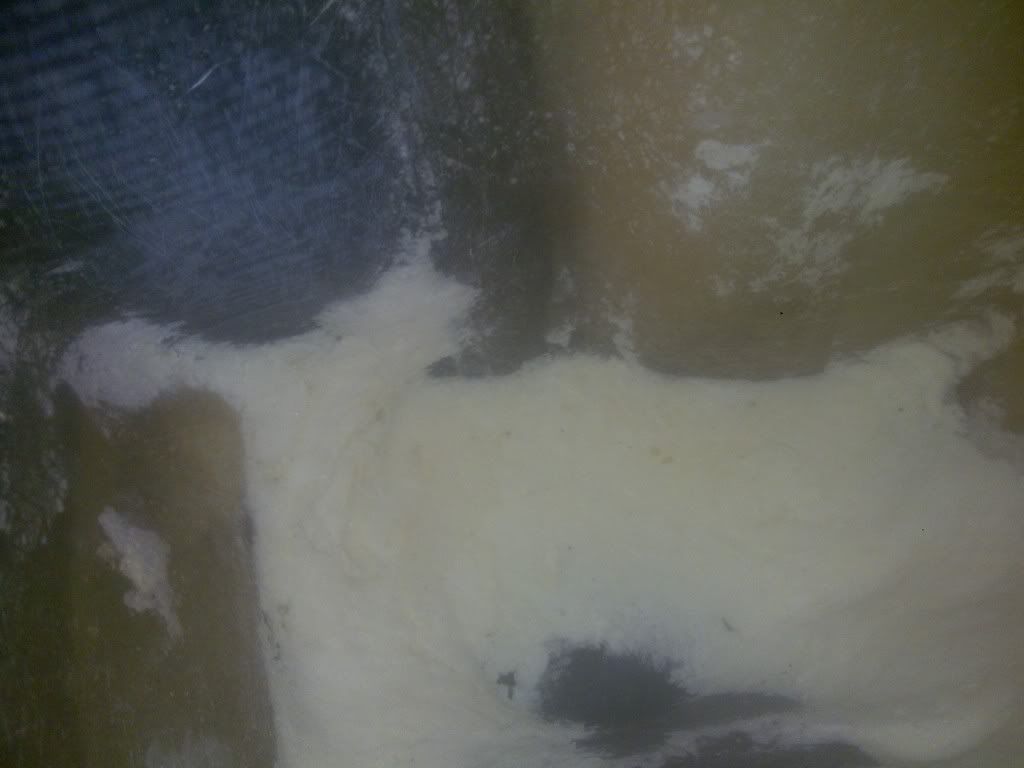
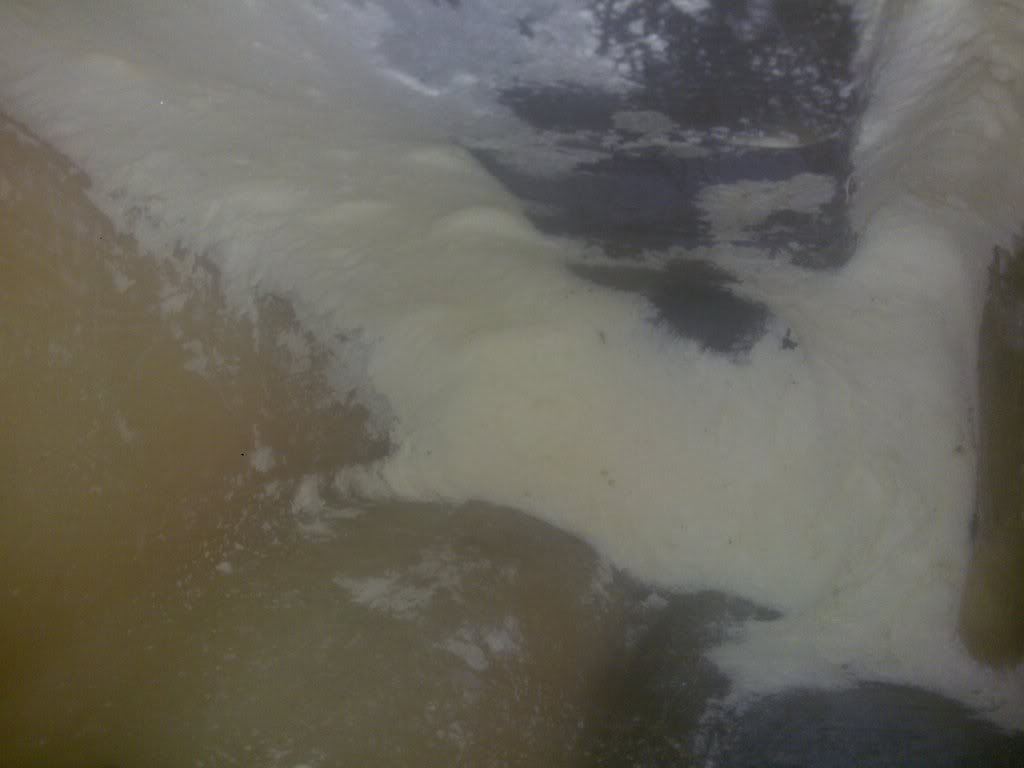
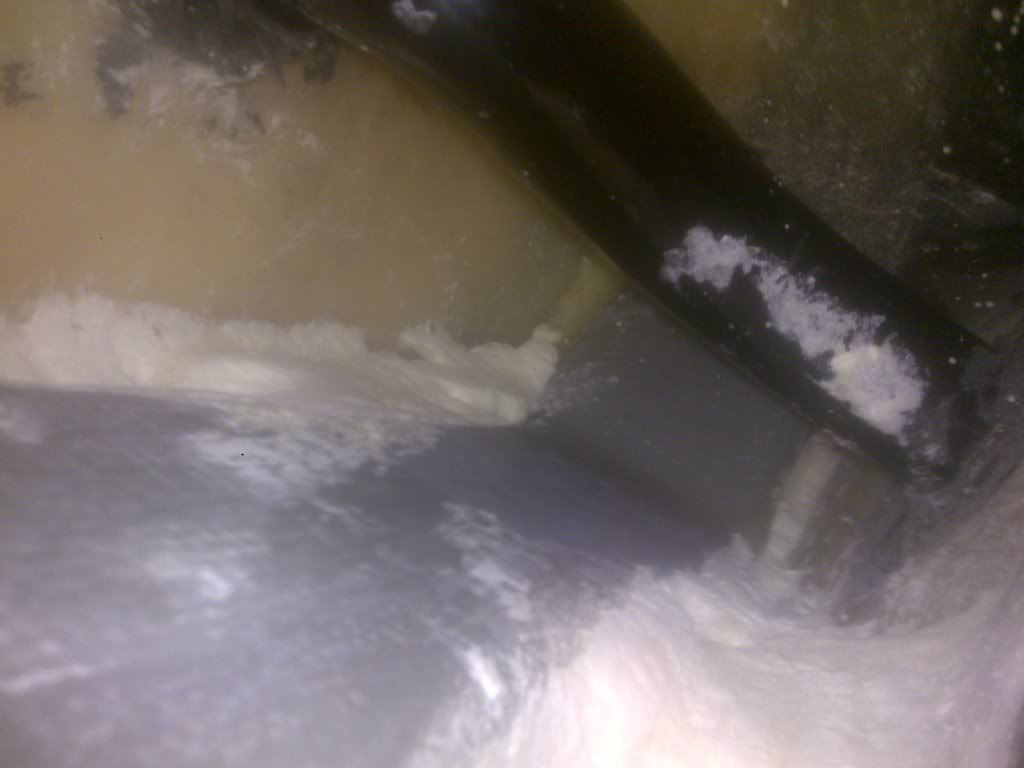
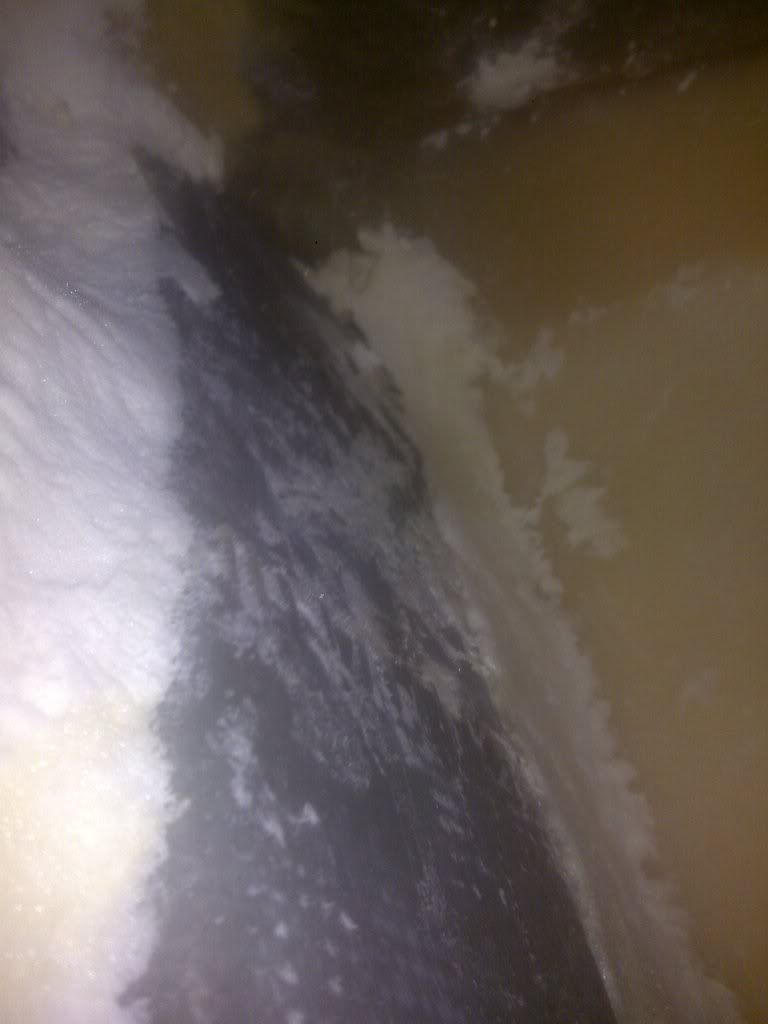
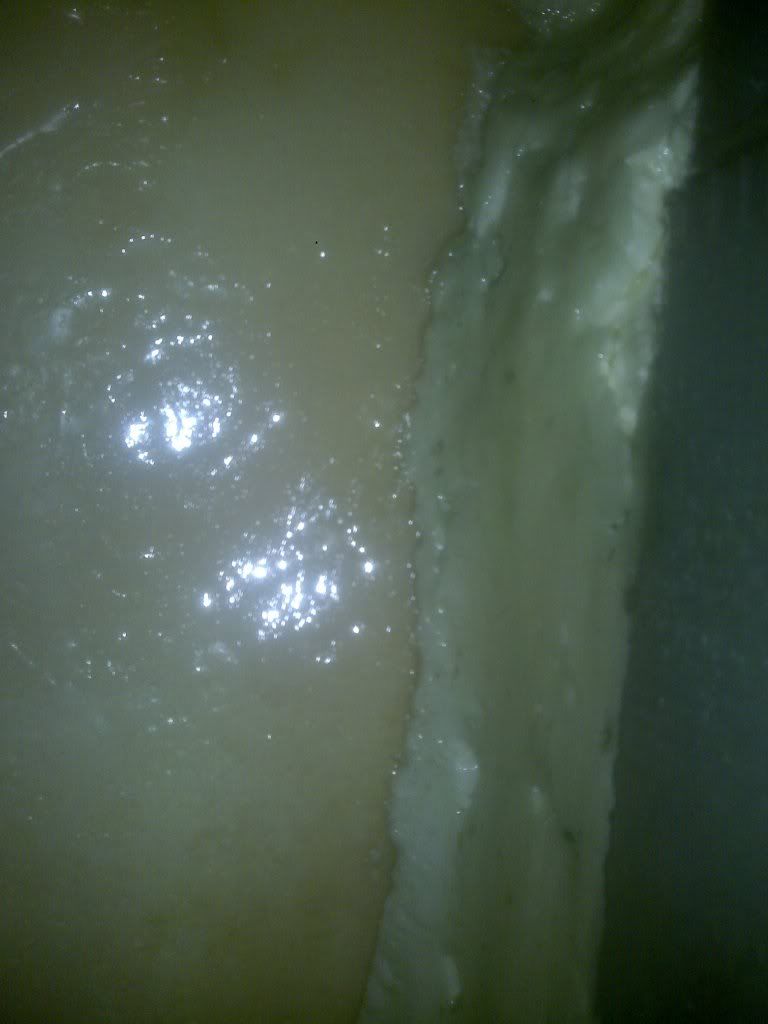
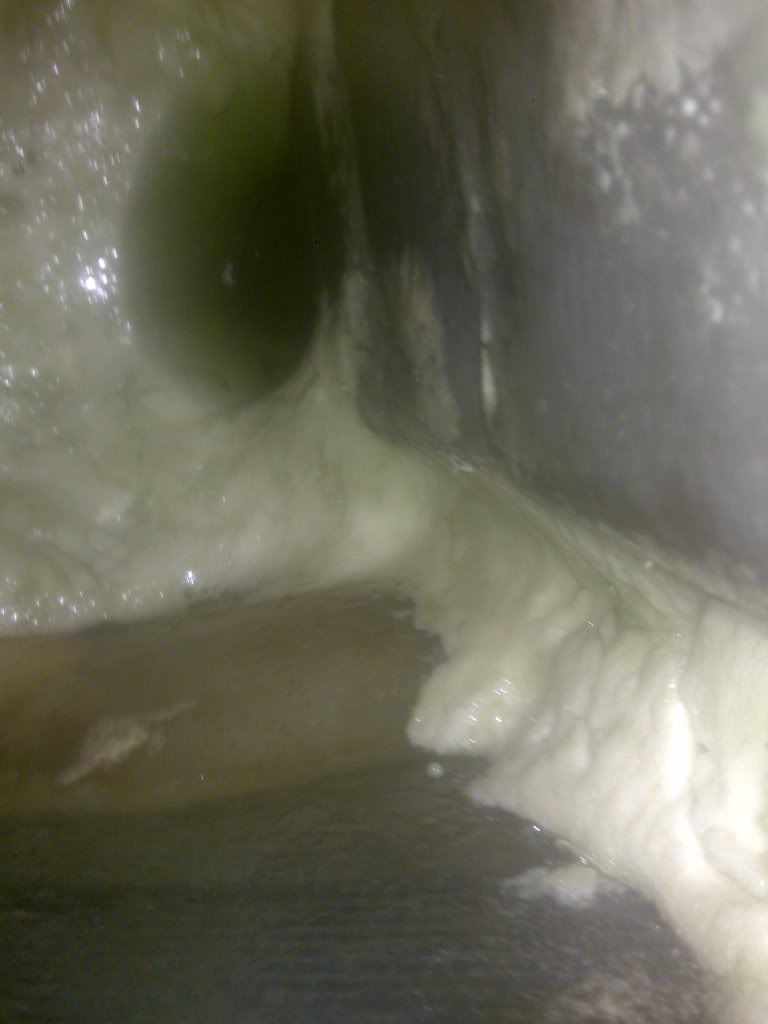
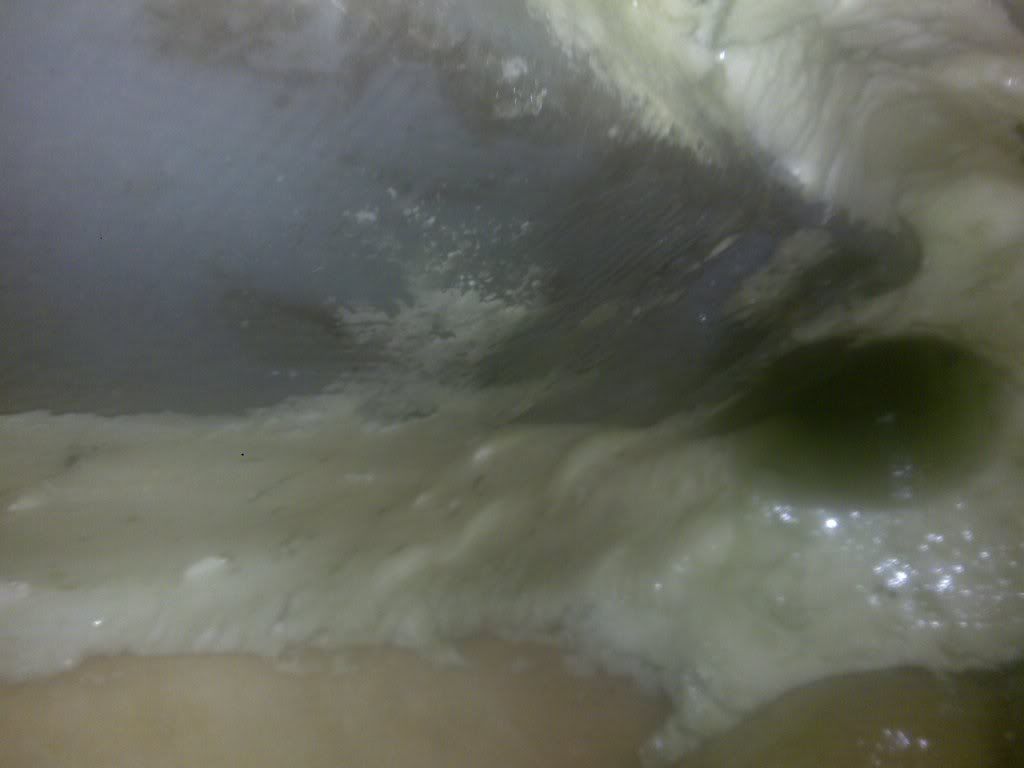
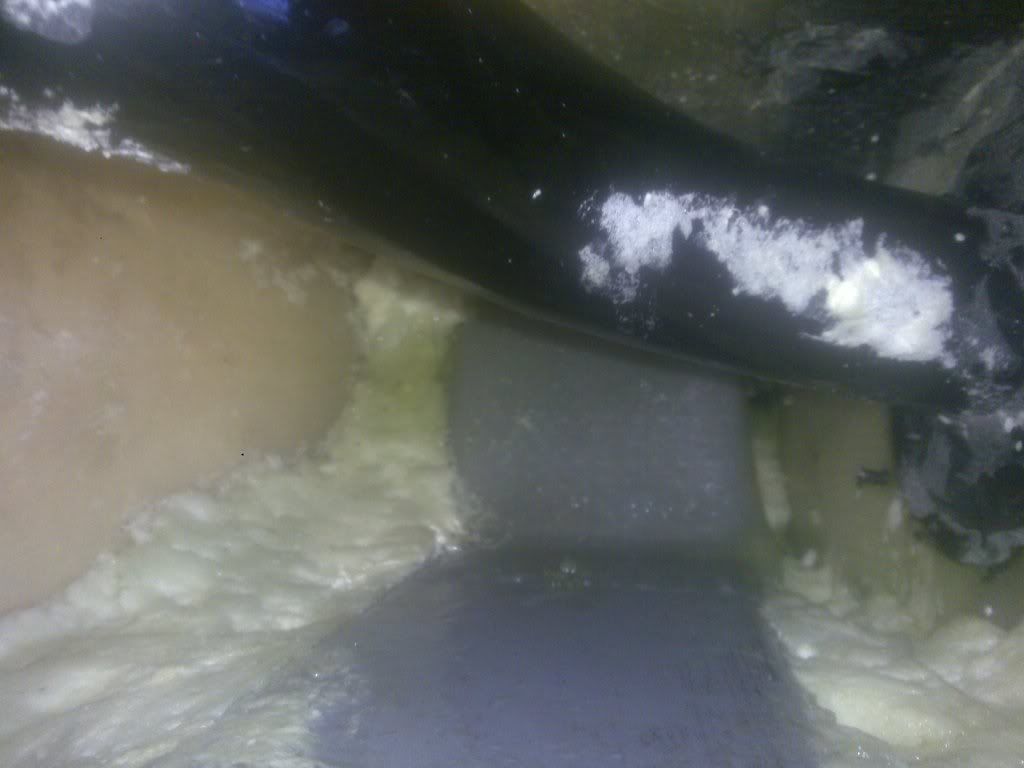
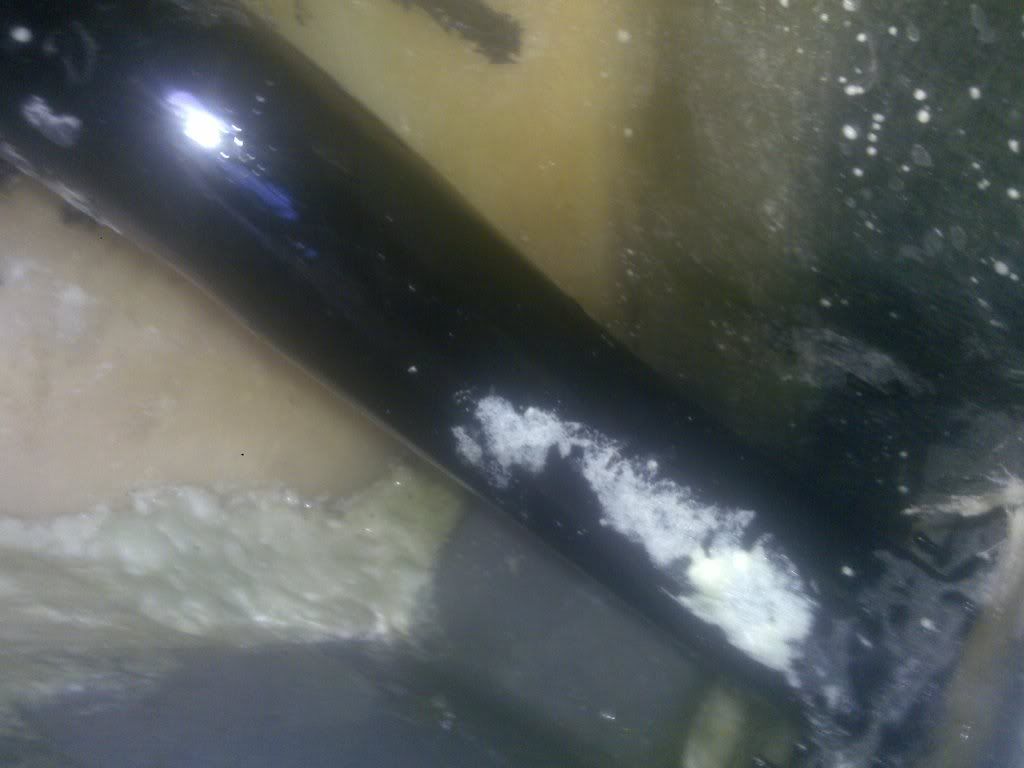
Cheers Jim
I do try to be thorough
Most recent progress

Using various means and improvised tooling I cut / sanded filed the
foam to my desired profile
Driver’s side
Looking down
http://i120.photobucket.com/albums/o192/jindal/2012%20quantum/10072012431.jpg
http://i120.photobucket.com/albums/o192/jindal/2012%20quantum/10072012430.jpg
Looking up
http://i120.photobucket.com/albums/o192/jindal/2012%20quantum/10072012427.jpg
Passenger side
Looking down
http://i120.photobucket.com/albums/o192/jindal/2012%20quantum/11072012436.jpg
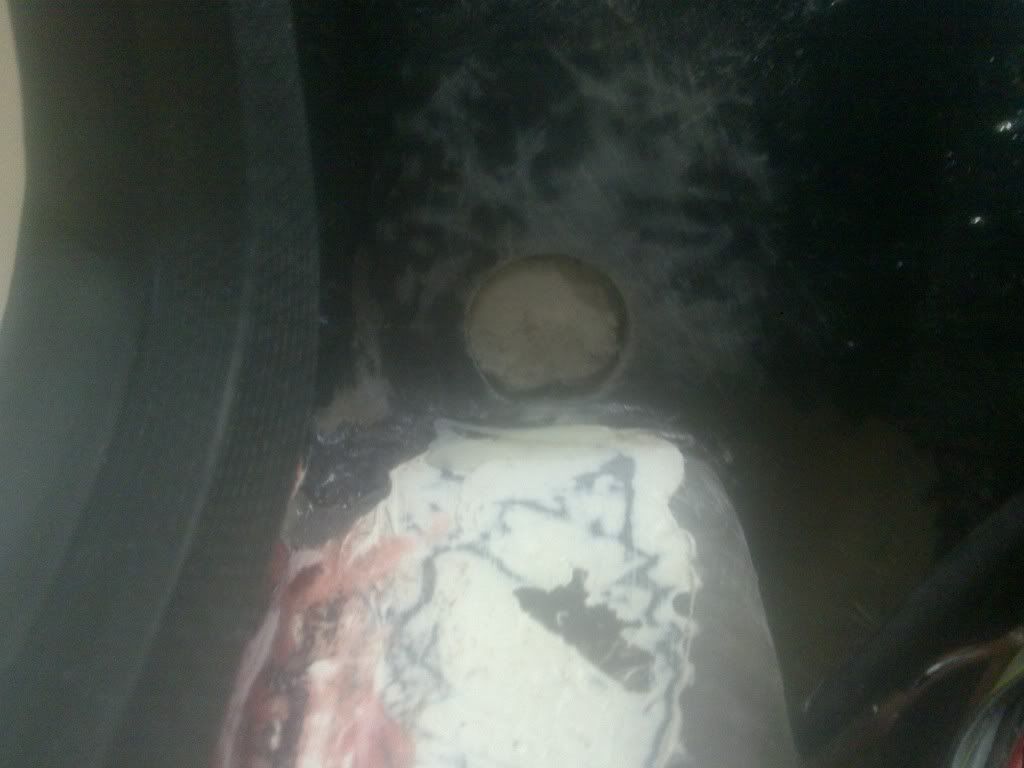
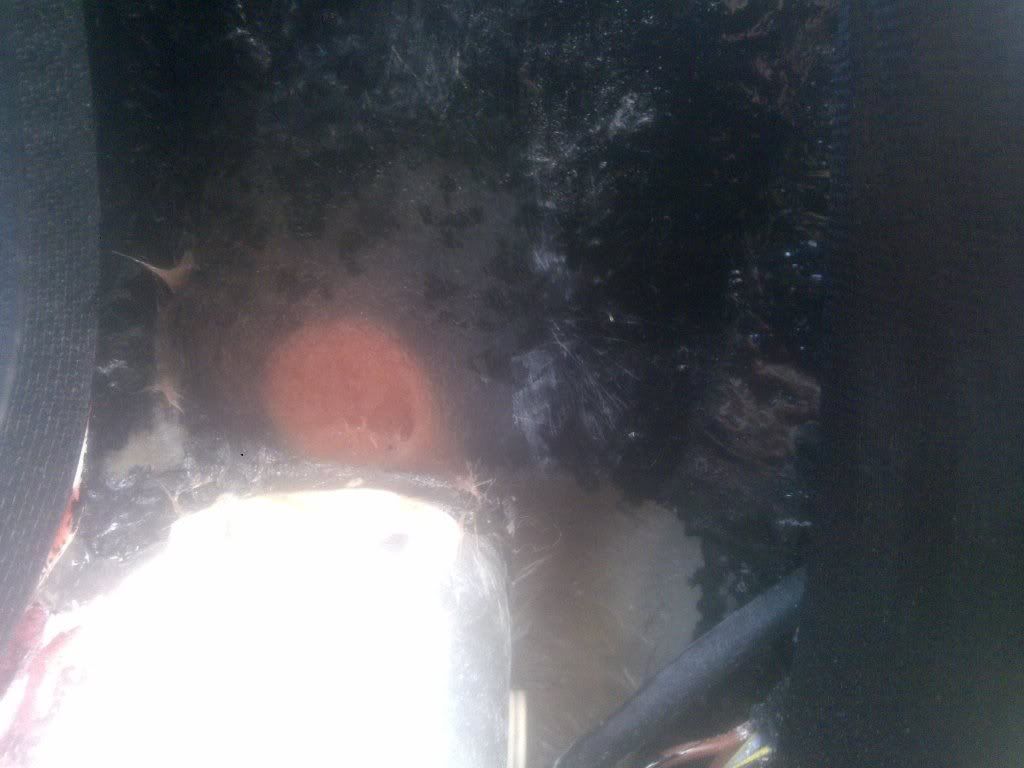
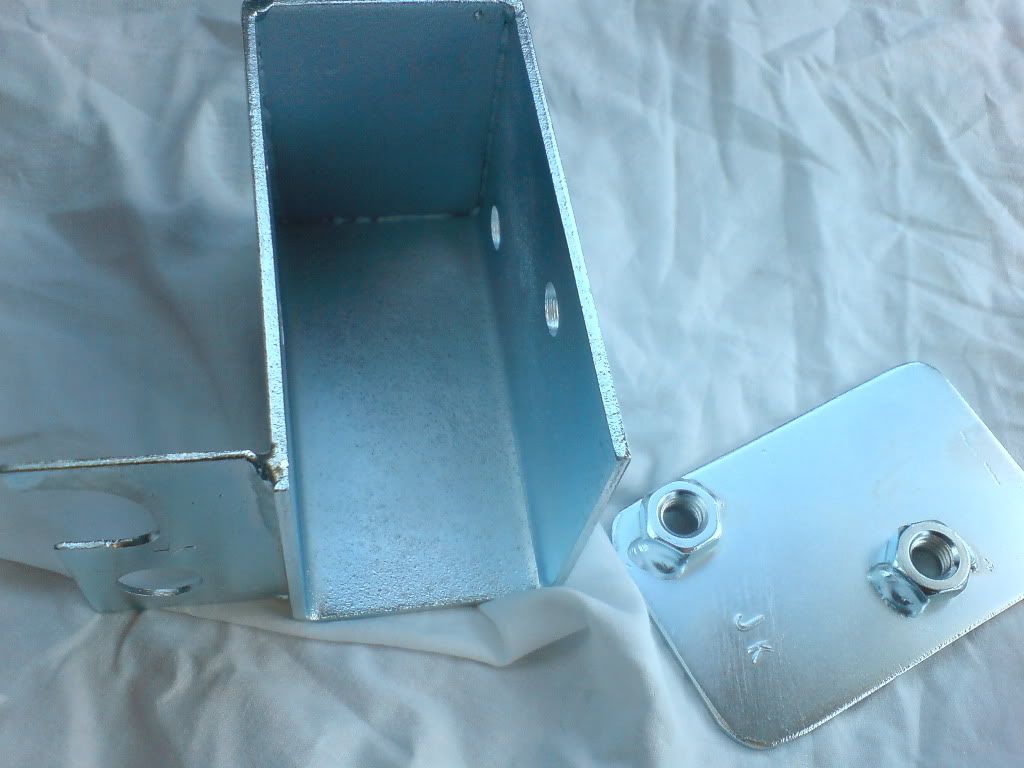
Looking up
http://i120.photobucket.com/albums/o192/jindal/2012%20quantum/11072012438.jpg

Once this was all cleaned up (not sure the vac will ever be the same
again) I started applying the polyester resin, 2 coats initially to
wet out the surface and seal it in and help level off the base (this
part was built up in layers with a slow mix)
http://i120.photobucket.com/albums/o192/jindal/2012%20quantum/10072012433.jpg
http://i120.photobucket.com/albums/o192/jindal/2012%20quantum/10072012434.jpg
http://i120.photobucket.com/albums/o192/jindal/2012%20quantum/10072012432.jpg
http://i120.photobucket.com/albums/o192/jindal/2012%20quantum/11072012444.jpg
http://i120.photobucket.com/albums/o192/jindal/2012%20quantum/11072012442.jpg
http://i120.photobucket.com/albums/o192/jindal/2012%20quantum/11072012443.jpg

Now that’s going off nicely I’m getting ready with the next step which
is to even out the lumps and bumps with a mix of resin and
microbaloons, this will help the resin go further and thicken it up to
prevent it all slumping to the base, then once done I was going to go
ahead and mat it all in, (and I may still do) but my experience with
applying mat and resin is limited at best and I don’t want to end up
making a total monkeys breakfast of it at this stage doing a tricky
job when all has gone pretty well so far, so I may opt to paint over
the whole area inside with a mix of resin and 1/8 milled glass fibre
which should (so I’m told) give a smooth finish and relatively strong
too,
We shall see

Other jobs involved cleaning up the old holes for the rear seatbelts
and wiring loom and filling them in to make a good job of it all
http://i120.photobucket.com/albums/o192/jindal/2012%20quantum/11072012440.jpg
http://i120.photobucket.com/albums/o192/jindal/2012%20quantum/11072012447.jpg
To be continued….


On Jul 11, 8:38 pm, Jim Hearne <[email protected]> wrote:
> Sounds like you've done a lot of homework and it's not the same stuff as
> i thought it was.
>
> Jim
>
> On 09/07/2012 16:46, jin wrote:
>
>
>
> > Cheers or all the replies guys
>
> > Firstly the foam I have selected is structural in the 16lb density
> > range, looking at the literature supplied in the kit (which is
> > identical to the website) quote "Applications
> > BETAFOAM polyurethane foams can be used wherever cavity sealing or
> > stiffening is required, including body-side joints, sills, pillars,
> > underbody cross-car structure, frame rails, longitudinal structure,
> > door panels, engine cradles, lateral rails and hydroformed
> > replacements."
>
> > I chose this foam because we use an almost identical type at work, in
> > fact the only difference is the size of the container and colour, I
> > cant say exactly what its used for but its intention is to absorb mine
> > blast damage yet also seal a large void that will be exposed to very
> > rough terrain and most importantly water,
>
> > in use his is 100 miles away in terms of comparison to the aerosol can
> > stuff from B&Q, the can stuff just doesn t flow enough but just bulges
> > out once injected into a cavity (just ask my wife after I tried to
> > fill the void in our outside cupboard wall partition, she is still
> > moaning now 3 years on.....)
> > the Dow foam, which is mixed 1:1 via mixing nozzles, literally pours
> > into the cavities yet is quite tolerant to not over filling, no where
> > near as sensitive as the canned aerosol stuff,
>
> > im 100% confident that the sill structures are dry since the car has
> > not been wet since October last year, hence why ive been so reluctant
> > to go out in the car if the weather looked a bit dodgy, certainly
> > looking down the cavity there is no evidence of water or even
> > condensation, the garage has been heated all winter (hope my wife
> > isn t reading this....)
>
> > Regarding the trailing arm nuts, I made some steel plates for those a
> > couple of years back and bonded them into the sills back then
>
> >http://i120.photobucket.com/albums/o192/jindal/DSC00716.jpg
> >http://i120.photobucket.com/albums/o192/jindal/DSC00717.jpg
>
> > all along I knew id be doing this so I thought I may as well make
> > captive plates at the start, I had them zinc plated too so they should
> > last indefinitely
>
> > ive run a few crude experiments and even on cut / sanded foam they
> > show no absorption, in fact they are almost hydrophobic in they don t
> > even hold water to the surface, ive weighed pieces before and after
> > immersion with no weight gain, incidentally no air bubbles were
> > expelled during immersion and the test pieces emerged totally dry,
> > however as mentioned I will be fiberglassing the open face of the foam
> > anyway for good measure, ive sanded most of it to shape (great to work
> > with, sands really easily - bit messy though) and I should get the
> > areas glassed over at the weekend, my main aim at the end of this is
> > to
> > A. block off all entries to the sill cavity with fibreglass / foam so
> > water can not penetrate
> > B. remove all air from the structure so there is no chance that
> > moisture can cause effect,
>
> > I too had r4ad tales regarding minis and such like with foam in the
> > sills going rotten, but the general consensus among those that fill
> > sills with foam often (mainly an American / Jap thing) is technology
> > has moved on allot since those days - to be fair minis used to leave
> > the factory with rust, as mentioned before if this foam absorbed water
> > or was non structural it would not be selected for what we do at work,
>
> > Ill keep you posted on the finishing touches
>
> > On Jul 9, 9:50 am, "[email protected]"
> > <[email protected]> wrote:
> >> Funny story about rigid foam.
>
> >> We once made some targets for planes,
>
> >> we filled 200 litre steel drums with rigid foam, almost structural foam,
> >> then painted the outside bright orange.
>
> >> they were fixed using steel chains into the wash target area.
>
> >> planes continually shot through them and they still floated even with loads
> >> of bullet holes through them.  this went on for about
> >> 6 weeks, but then some bullets shot through the chains, and the drums
> >> flaoted around the coast and washed up near grate yarmouth beach.
>
> >> Suffice to say they were not happy that "chemical drums had been washed up
> >> onto there prize beach!"
> >> so the whole project was stopped.
>
> >> so now they still tow old boats in there and sink them instead.
> >> shame as there must be tonnes of steel there now rusting away.
>
> >> Steve
>
> >> ----- Original Message -----
> >> From: "Jim Hearne" <[email protected]>
> >> To: <[email protected]>
> >> Sent: Monday, July 09, 2012 9:30 AM
> >> Subject: Re: [Quantum Owners] Re: foam filling the sills 2+2 waterproofing
>
> >> Can it absorb water ?, i know when i scraped a load of it off some s/h
> >> double glazed window frames it had a lot of water in it.
> >> But maybe that was just from the cut surface.
>
> >> Jim
>
> >> -----Original Message-----
> >> From: [email protected]
> >> Sent: Monday, July 09, 2012 9:26 AM
> >> To: [email protected]
> >> Subject: Re: [Quantum Owners] Re: foam filling the sills 2+2 waterproofing
>
> >> Jim,
>
> >> yes it contains water, but it is used up in the foaming proccess to make
> >> the
> >> carbon dioxide bubbles, and so no water is left once the
> >> reactions have taken place.
>
> >> The problem with this regarding rusting is, that the cavity needs to be
> >> fully dry before the foam enters, so that no water is trapped
> >> against any metal at the interface with the foam, so I would suggest trying
> >> to do this in the winter or damp conditions will result in
> >> accelerated rusting.  so its very important to make it a warm and dry day
> >> when doing this, and maybe even use a hair dryer or fan heater to
> >> blow air through the cavity to ensure no moisture is present before
> >> foaming.
>
> >> Steve
>
> >> ----- Original Message -----
> >> From: "Jim Hearne" <[email protected]>
> >> To: <[email protected]>
> >> Sent: Monday, July 09, 2012 9:21 AM
> >> Subject: Re: [Quantum Owners] Re: foam filling the sills 2+2 waterproofing
>
> >>> (in most cases
> >>> water is used to make carbon dioxide to make the bubbles and the foam
> >>> rise).
> >> Do you mean the foam actually contains water ?
> >> Isn't this the exact opposite to what Jin wants to achive.
> >> I know you can spray water on the foam to make it set more.
>
> >> Jim
>
> >> -----Original Message-----
> >> From: [email protected]
> >> Sent: Monday, July 09, 2012 9:09 AM
> >> To: [email protected]
> >> Subject: Re: [Quantum Owners] Re: foam filling the sills 2+2 waterproofing
>
> >> Hi everyone,
>
> >> Well the foaming sills issue:-
>
> >> just by chance I happen to be a Polymer chemist.  My special skills in
> >> polyurethanes,
>
> >> so some observations.
>
> >> 2 pack Polyurethanes would be a very good solution for this type of work,
> >> and structural foam very ideal.
>
> >> Actually the low density foam in fridges and even in the B7Q cans is
> >> actually the same material but with more blowing agant (in most cases
> >> water is used to make crabon dioxide to make the bubbles and the foam
> >> rise).
>
> >> Normally  the mix ratio is about 100 resin (Polyol - the flexible
> >> component)
> >> mixed with  110 - 150 parts crosslinker  (MDI - the hardener ish)
> >> which gives a very strong rigid structure. the density/ strength is then
> >> purely controlled by how much the material is blown by adding more water
> >> more carbon dioxide is produced.
>
> >> The biggest problem is as you mentioned the fast reaction time of the
> >> materials, which presents potential problems in that it has to flow, blow
> >> and completely fill the cavity.
>
> >> Usually to slow these materials down if over catalysed we put in a small
> >> amount of inhibitors, (basically they attack some fo the catalyst so
> >> just reducing catalyst level) and an easy one to get hold of is,  gring up
> >> an aspirin, the acid component of this when mixed in does slow the foam
> >> down.
>
> >> I am not sure how you are getting the liquid into the sills?
>
> >> On the Dow website the mention NVH, basically sound absorbing, which is the
> >> same base chemicals, but at very different ratios,
> >> and very flexible in comparison.
>
> >> Normally mix ratio  about 100 resin (Polyol)  mixed with 40-60 parts
> >> crosslinker (MDI)
>
> >> At work we actually make NVH parts, and rigid parts, but the biggest
> >> difficulty is getting the materials into where you want them,
> >> or the other alternative is to make a mould and premake the shape, which
> >> isn't so bad for NVH, but obviously not very practical to foam the sills.
> >> (The extra strength only comes from the fact that the structural foam
> >> actually bonds to all the faces inside the sill).
>
> >> ok chemistry lesson over. lol
>
> >> Steve
>
> >> ----- Original Message -----
> >> From: "jin" <[email protected]>
> >> To: "Quantum Owners Group" <[email protected]>
> >> Sent: Monday, July 09, 2012 7:46 AM
> >> Subject: [Quantum Owners] Re: foam filling the sills 2+2 waterproofing
>
> >> oh yeah your right
>
> >> lets try again
>
> >> So as many of you may know already I have a severe worry regarding
> >> the
> >> sills my car filling up with water, this is not without reason
> >> especially going by recent posts on here, however my concerns started
> >> a long time ago just after I bought the car and discovered it had
> >> steel laminated in the sills as part of the structure and read
> >> stories
> >> about owners drilling small holes in the sill fiberglass to fit
> >> screws
> >> for later fixings only to find rusty water pouring out!, not why I
> >> bought the car. but I suppose it s my fault not checking first,
> >> having
> >> said this id still rather have the quantum with steel in its sills
>
> ...
>
> read more »

--
You received this message because you are subscribed to the Google Groups
"Quantum Owners Group" group.
To post to this group, send email to [email protected]
To unsubscribe from this group, send email to
[email protected]
For more options, visit this group at
http://groups.google.com/group/quantumowners?hl=en

IMPORTANT NOTE: All information presented herewith is provided on an "As Is"
basis, without warranty or the implication thereof. Neither the Quantum Owners
Club nor the individuals associated with the Quantum Owners Club or in the
preparation of the above information shall have any liability to any person or
entity with respect to liability, loss, or damage caused or alleged to be
caused directly or indirectly by the instructions contained within this or
related message(s).